Growing your own plants from seed can be a fun, rewarding, and cost-effective way to start your garden. However, for many people, the process of starting seeds can seem daunting or confusing. But don’t worry – with a little bit of knowledge and preparation, anyone can successfully start seeds at home! In this comprehensive guide, we’ll cover everything you need to know about starting seeds, from selecting the right seeds and soil to germination and transplanting. Whether you’re a seasoned gardener or a beginner, this guide will provide you with all the information you need to grow healthy and thriving plants from seed. So roll up your sleeves, get your hands dirty, and let’s get started on the journey from seed to sprout!
Understanding the seed germination process
Understanding the seed germination process is crucial for successful gardening and nurturing healthy plants from the very beginning. When you sow a seed, it may seem like a tiny, lifeless speck, but within it lies the potential for growth and transformation.

Germination is the magical process where a seed awakens from its dormant state and begins to sprout. It is a complex series of events triggered by the right environmental conditions. These conditions typically include moisture, warmth, and oxygen.
Water plays a vital role in germination as it softens the seed coat, allowing the embryo inside to absorb the necessary nutrients from the soil. Once hydrated, the seed activates enzymes that break down stored starches and proteins into simpler forms that can be used for growth.
Temperature also influences germination. Different plant species have specific temperature requirements for optimal seed germination. Some seeds prefer warmer conditions, while others thrive in cooler temperatures. Understanding the ideal temperature range for your chosen seeds is essential for successful germination.
Additionally, oxygen is essential for the respiration process during germination. The embryo requires oxygen to convert stored nutrients into energy. Adequate oxygen levels in the soil are crucial to support the metabolic activities of the sprouting seed.
Observing the germination process can be an awe-inspiring experience. As the seed absorbs water and undergoes internal changes, it swells and eventually cracks open. A tiny white root, known as the radicle, emerges first, followed by the emergence of the shoot, known as the plumule. From this point, the seedling will continue to grow, developing leaves and strengthening its root system.
To ensure successful germination, it is essential to provide the right conditions for your seeds. This includes using quality soil or seed-starting mix, maintaining proper moisture levels, and providing adequate warmth and light. Each plant species may have specific requirements, so it is essential to research and understand the needs of the seeds you are starting.
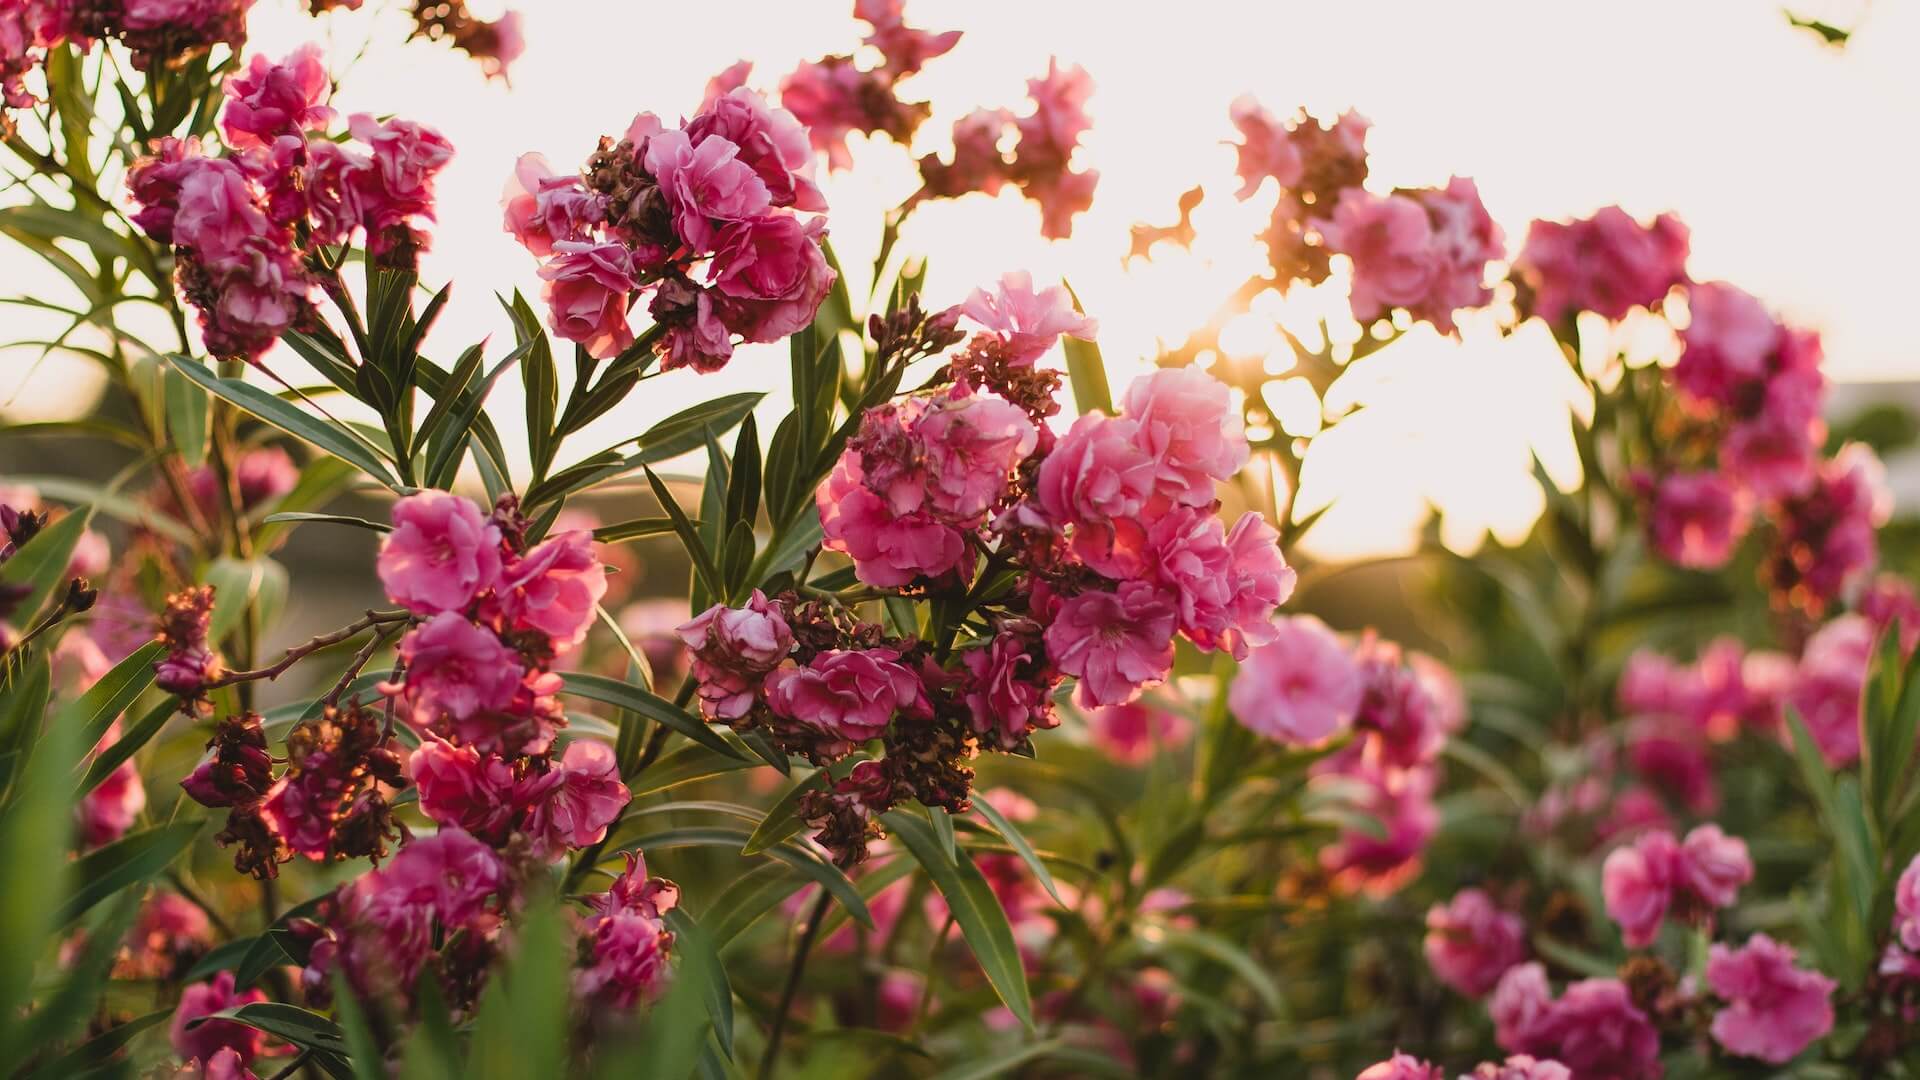
Choosing the right seeds for your garden
With so many varieties and options available, it can be overwhelming to make the best choice for your specific needs. However, by considering a few key factors, you can ensure a successful and bountiful garden.
First and foremost, take into account your location and climate. Different plants thrive in different growing conditions, such as temperature, sunlight, and soil type. Research which plants are well-suited to your region and choose seeds that are known to perform well in your specific climate. This will give your plants the best chance of success and minimize the risk of failure due to unsuitable growing conditions.
Next, consider your goals and preferences. Are you looking to grow vegetables, herbs, flowers, or a combination of all three? Do you have specific varieties in mind, or are you open to experimenting with different options? Think about the purpose of your garden and what you hope to achieve with it. This will help you narrow down your choices and select seeds that align with your vision.
Another important factor to consider is the level of experience you have in gardening. Some plants require more care and attention than others, making them better suited for experienced gardeners. If you’re a beginner, opt for seeds that are known to be easy to grow and maintain. This will give you the confidence and satisfaction of seeing your seeds sprout and flourish, providing a positive gardening experience.
Lastly, don’t forget to consider the space and resources available to you. Take into account the size of your garden or containers and choose seeds that fit well within those constraints. Additionally, consider factors such as water availability, time commitment, and any specific requirements certain plants may have. By aligning your seed choices with the resources you have, you can set yourself up for success and avoid undue stress or disappointment.
Gathering essential supplies for seed starting
Before you embark on your seed starting journey, take the time to gather all the necessary tools and materials. By being prepared, you’ll create an optimal environment for your seeds to sprout and grow into healthy plants.
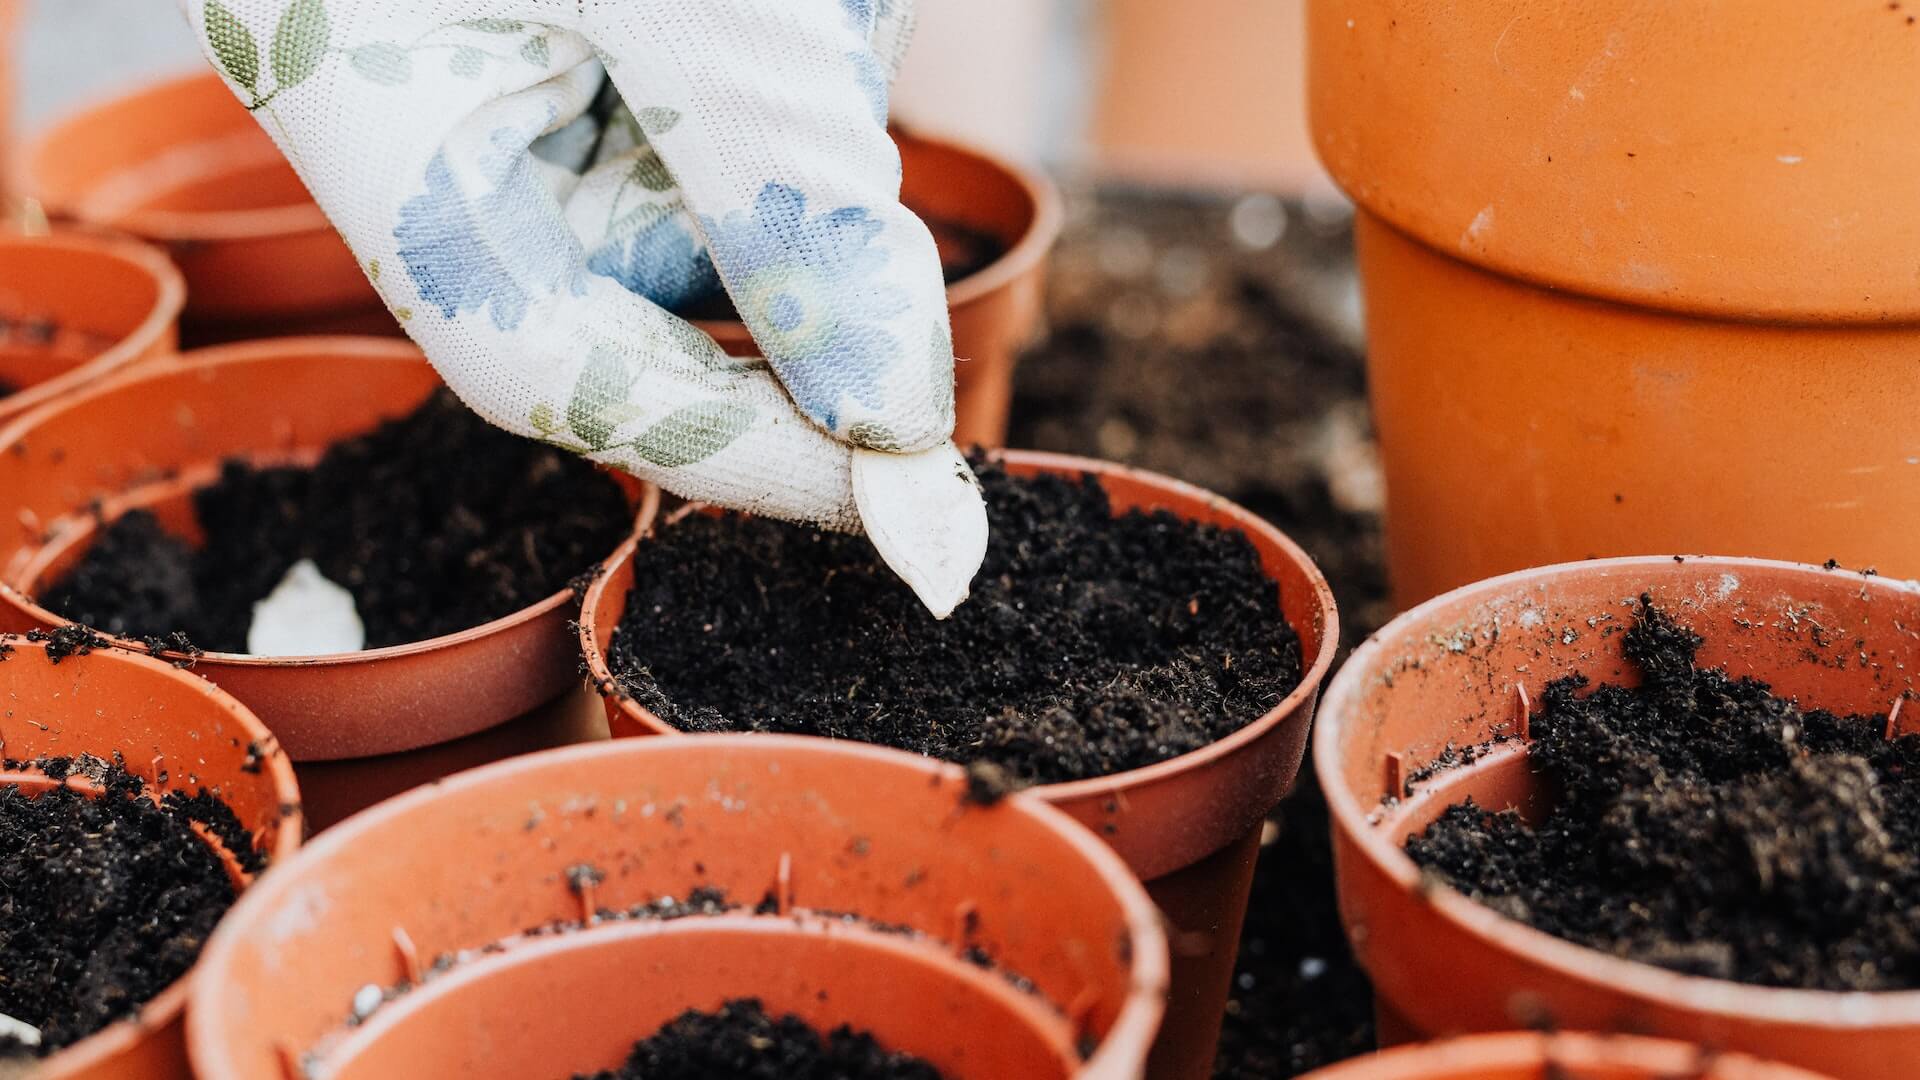
First and foremost, you’ll need containers for planting your seeds. Options include seedling trays, individual pots, or even recycled containers like yogurt cups or egg cartons. Ensure that the containers have drainage holes to prevent waterlogging and promote healthy root development.
Next, you’ll need a high-quality seed starting mix. This specialized soil mixture provides the perfect balance of nutrients, moisture retention, and drainage. Avoid using regular garden soil, as it may contain pests, diseases, or weed seeds that could harm your delicate seedlings.
To sow your seeds with precision, invest in a small handheld seed sower or use DIY alternatives like a toothpick or a small spoon. This will help you space out the seeds evenly and prevent overcrowding as they germinate.
Another vital supply is a clear plastic dome or a plastic wrap to create a mini greenhouse effect. This will trap moisture and heat, creating a warm and humid environment ideal for seed germination. Alternatively, you can use a seedling heat mat to provide consistent bottom heat, promoting faster and more uniform germination.
Don’t forget about labeling! It’s crucial to keep track of the different types of seeds you’re planting. Use waterproof plant labels or popsicle sticks to mark each container, ensuring you can identify your seedlings as they grow.
Lastly, a source of light is essential for healthy seedling growth. If you don’t have access to natural sunlight, invest in fluorescent or LED grow lights. Position the lights a few inches above the seedlings, adjusting the height as they grow taller to prevent leggy plants.
Preparing the ideal seed starting environment
While seeds are resilient, providing them with the optimal conditions will greatly increase their chances of thriving.
First and foremost, selecting the right containers or trays is essential. Consider using seed trays or small individual pots with good drainage to prevent waterlogging and promote healthy root growth. It’s also worth investing in biodegradable or reusable containers to minimize waste and promote sustainability.
Next, choose a high-quality seed starting mix that is well-draining and sterile. Avoid using regular garden soil, as it can contain pests, diseases, and weed seeds that may harm delicate seedlings. A seed starting mix provides the right balance of moisture retention and aeration necessary for seed germination.
Maintaining consistent moisture levels is key during the germination process. Some seeds require constant moisture, while others prefer a slightly drier environment. Use a spray bottle or a misting system to gently water the seeds, ensuring they stay moist but not saturated. Covering the containers with clear plastic or a humidity dome can also help retain moisture and create a greenhouse-like environment.
Proper lighting is another critical factor for successful seed starting. Seeds require sufficient light to trigger germination and promote healthy growth. Positioning the containers near a south-facing window can provide adequate natural light, but if natural light is limited or inconsistent, consider using artificial grow lights. LED or fluorescent lights with a spectrum specifically designed for plant growth are ideal for providing the necessary light intensity and spectrum.
Maintaining a consistent temperature is also important for seed germination. Most seeds germinate best within a specific temperature range. Consider using a heat mat or placing the containers in a warm location to provide the optimal temperature conditions. Using a thermometer can help monitor and adjust the temperature accordingly.
Lastly, proper ventilation is crucial to prevent damping-off disease and promote strong seedlings. Once the seeds have germinated and the seedlings start to emerge, remove the plastic covers or humidity domes to allow airflow. Positioning a small fan nearby can help circulate air and strengthen the stems of the young seedlings.
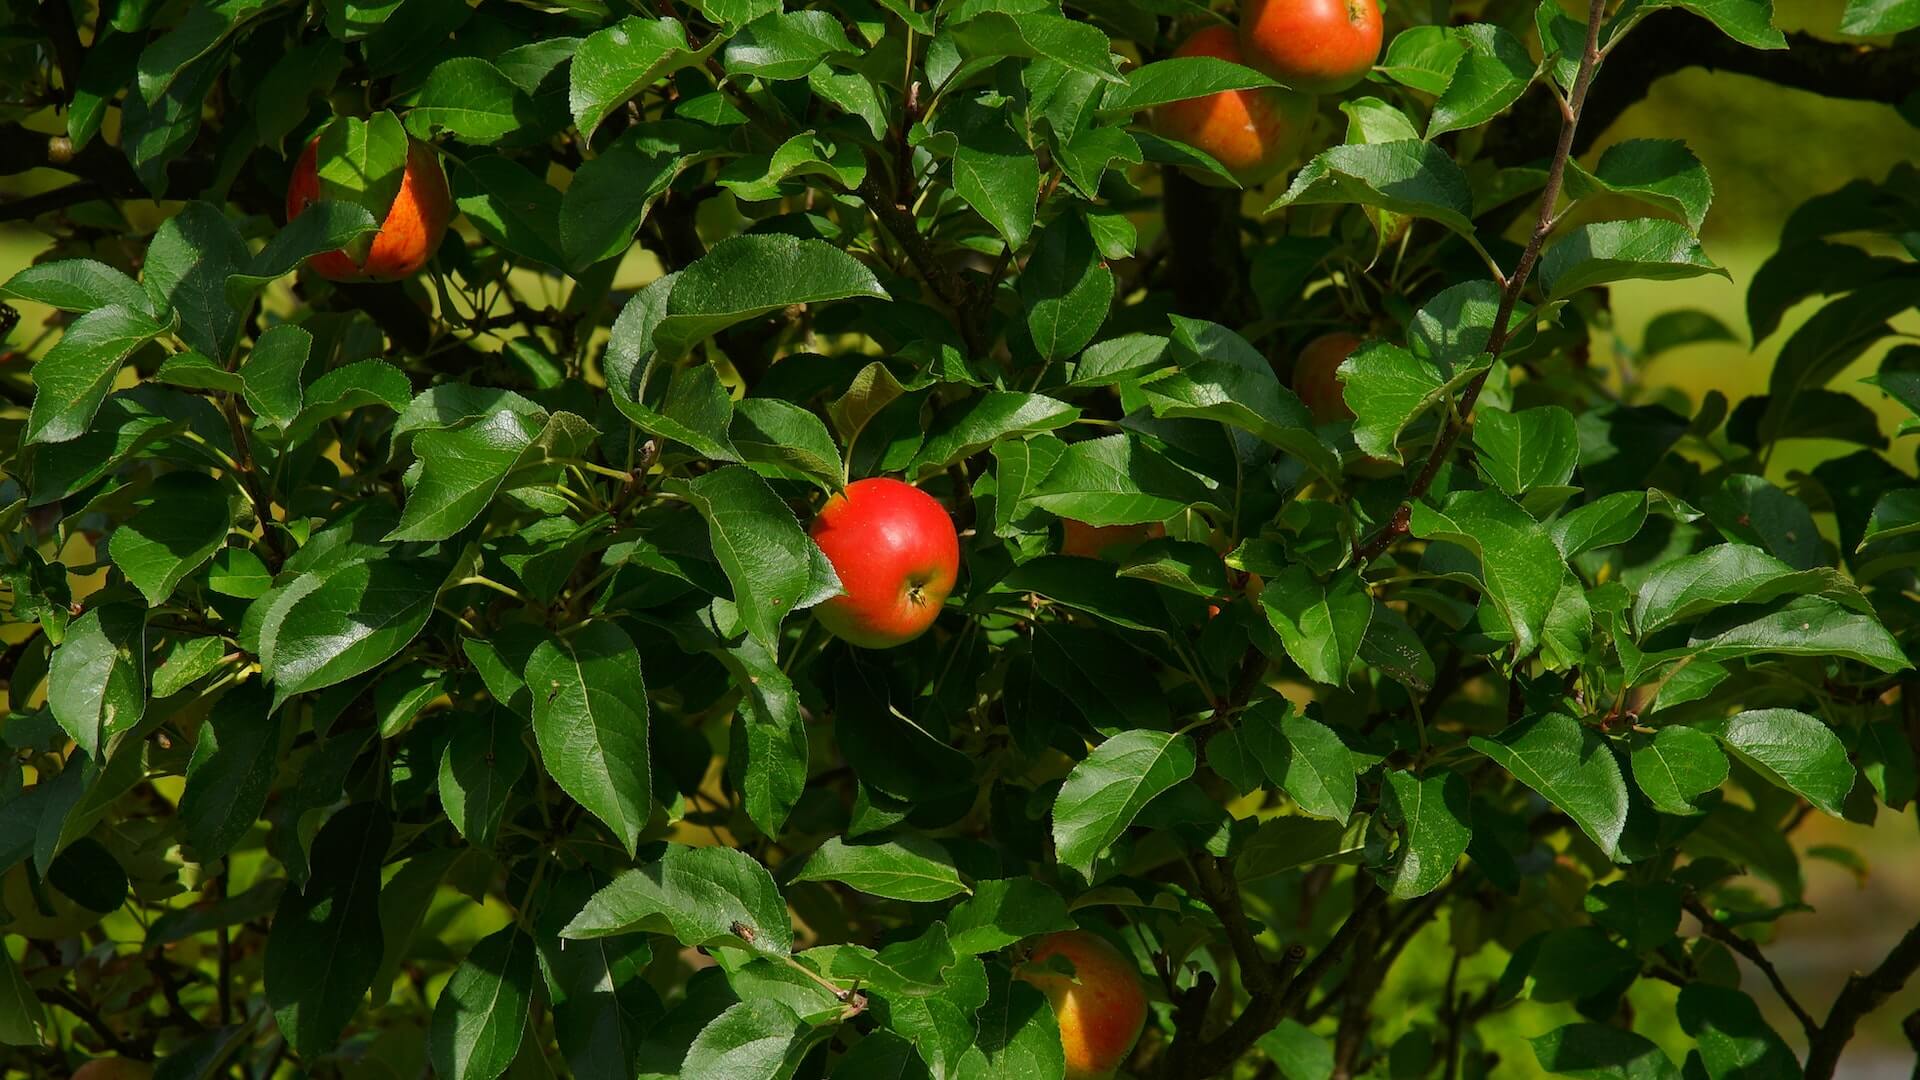
Transplanting seedlings into pots or the garden
Once your seedlings have grown strong and sturdy, it’s time to give them a new home in pots or the garden.

Before transplanting, it’s important to prepare the new environment for your seedlings. If you’re using pots, choose containers that are the right size for your plants. Make sure they have drainage holes to prevent waterlogging. Fill the pots with a well-draining potting mix, rich in nutrients.
If you’re transplanting into the garden, select a spot that receives adequate sunlight and has fertile soil. Remove any weeds or grass from the area and loosen the soil to allow for easy root penetration. Consider adding compost or organic matter to enrich the soil and provide essential nutrients.
When it comes to the actual transplanting process, handle the seedlings with care. Gently loosen the soil around each seedling, being cautious not to damage the delicate roots. Using your fingers or a small trowel, create a hole in the new container or garden bed that is deep enough to accommodate the roots of the seedling.
Place the seedling into the hole, ensuring that the top of the root ball is level with or slightly below the soil surface. Gently backfill the hole with soil, pressing it lightly around the base of the seedling to provide support. Water the transplanted seedlings thoroughly to help them establish their new roots.
After transplanting, it’s important to monitor your seedlings closely. Keep the soil consistently moist but not waterlogged. Provide adequate sunlight or shade, depending on the specific requirements of your plants. Protect them from extreme weather conditions or pests that may harm their growth.
Remember to gradually acclimate your seedlings to their new environment if they were previously grown indoors. This process, known as hardening off, involves gradually exposing them to outdoor conditions over a period of time, allowing them to adjust to temperature and wind changes.
Nurturing and caring for young sprouts
Once your seeds have germinated and sprouted, it’s crucial to provide them with the right nurturing and care to ensure their healthy growth. Young sprouts are delicate and vulnerable, requiring attention and a nurturing touch.
1. Watering:
Proper watering is essential during this stage. The soil should be kept consistently moist but not waterlogged. Using a spray bottle or a gentle watering can, carefully water the soil around the sprouts, avoiding direct contact with the delicate leaves.
2. Light:
Adequate light is vital for the growth and development of young sprouts. Place them in a location with bright, indirect sunlight or use artificial grow lights if natural light is limited. Keep a close eye on the sprouts to ensure they are not getting scorched or deprived of light.
3. Temperature and Humidity:
Maintaining the right temperature and humidity levels is crucial for sprout development. Most sprouts thrive in temperatures between 65°F and 75°F (18°C-24°C). Use a thermometer to monitor the temperature and consider using a humidity dome or misting the sprouts regularly to maintain the appropriate humidity.
4. Transplanting:
As the sprouts grow, they will outgrow their seedling trays or containers. It is essential to transplant them into larger pots or garden beds at the appropriate time. Handle the delicate sprouts with care, gently loosening the soil around the roots and transferring them to their new home.
5. Nutrients:
Young sprouts require a balanced supply of nutrients to support their growth. Start feeding them with a diluted organic fertilizer once they have developed their first set of true leaves. Follow the instructions on the fertilizer package and gradually increase the strength as the sprouts mature.
6. Support:
Some sprouts, such as tomatoes or tall flowers, may require support to prevent them from bending or breaking under their weight. Use stakes, trellises, or cages to provide the necessary support and guide their growth in the desired direction.
Troubleshooting common issues in seed starting
Seed starting can be a rewarding and fulfilling experience, but it’s not without its challenges. As you embark on your journey from seed to sprout, it’s important to be prepared for common issues that may arise along the way. Here are some troubleshooting tips to help you overcome potential obstacles and ensure successful seed starting.
1. Poor Germination:
If your seeds fail to germinate, it could be due to factors such as improper temperature, insufficient moisture, or old seeds. Ensure that you provide the optimal temperature and moisture conditions for your specific seeds. Consider conducting a germination test beforehand to check the viability of your seeds.
2. Damping Off:
Damping off is a fungal disease that can cause seedlings to collapse and die. To prevent damping off, make sure to use sterile soil or seed starting mix, provide good air circulation, avoid overwatering, and maintain proper spacing between seedlings.
3. Leggy Seedlings:
Leggy or elongated seedlings can occur when they don’t receive enough light. Insufficient light causes seedlings to stretch towards the light source, resulting in weak and spindly growth. To prevent this, provide adequate light by using grow lights or placing seedlings in a sunny location. Consider adjusting the position of the light source to ensure even light distribution.
4. Mold or Fungal Growth:
Excessive moisture and poor air circulation can lead to the development of mold or fungal growth on the soil surface. To prevent this, avoid overwatering and ensure proper drainage. Increase air circulation by using a fan or opening windows. If mold or fungi appear, gently remove the affected soil and improve ventilation.
5. Nutrient Deficiencies:
Seedlings require essential nutrients to grow strong and healthy. If you notice stunted growth or yellowing leaves, it could indicate a nutrient deficiency. Consider using a balanced fertilizer or organic amendments to provide the necessary nutrients. Follow the recommended application rates and avoid overfertilizing, as it can cause damage to the seedlings.
Conclusion
Whether you’re an experienced gardener or a beginner, the information presented in this article will give you the knowledge and confidence to successfully start your own seeds. From choosing the right seeds to providing proper care and nurturing, each step is crucial in ensuring healthy sprouts that will eventually flourish into beautiful plants. So grab your gardening tools, follow our guide, and watch your seeds transform into vibrant sprouts that will bring life and beauty to your garden. Happy gardening!