
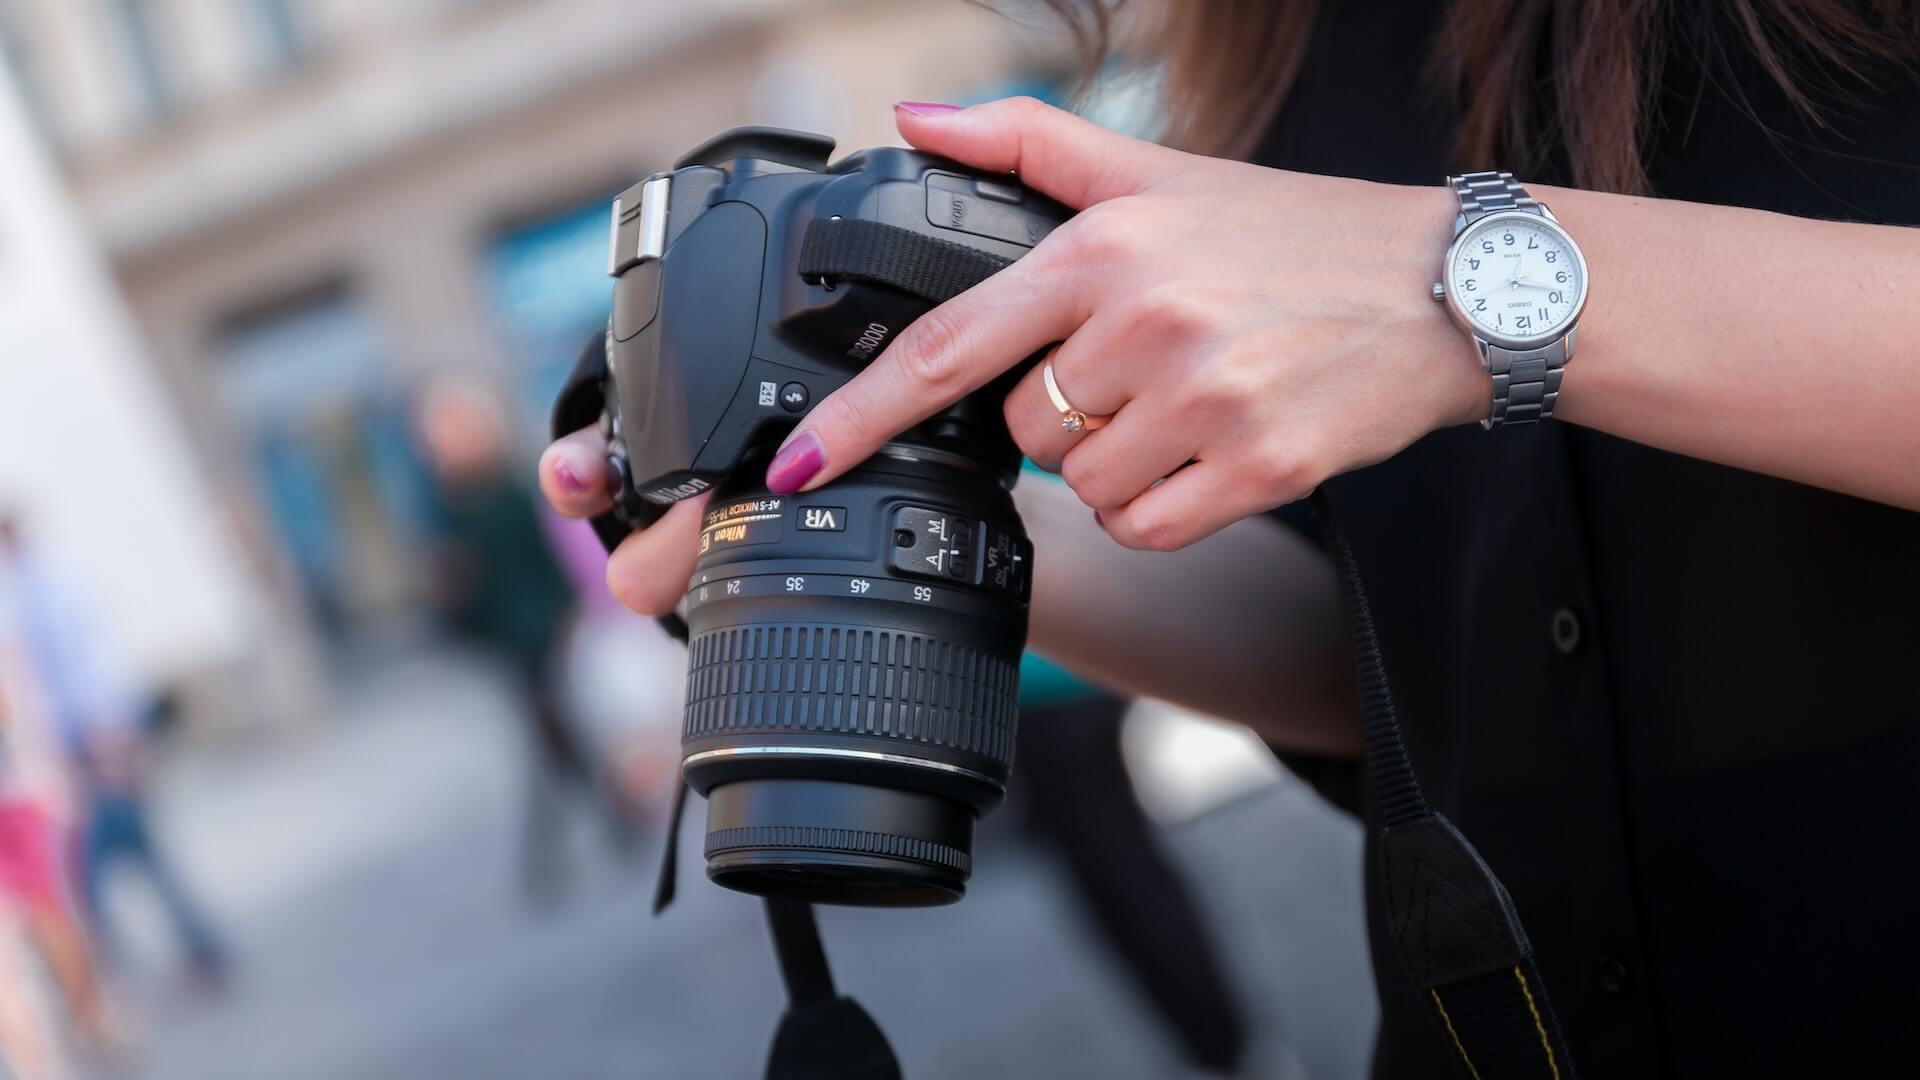
Digital cameras have revolutionized the way we capture and store our memories. With so many different modes and settings available, however, it can be overwhelming to try and understand how to get the best results from your camera. Whether you’re a beginner or a professional photographer, knowing how to use your camera’s modes is essential for achieving the best possible results. In this post, we will unlock the secrets of digital camera modes and guide you through each setting, explaining what they do and when to use them. From auto to manual modes, we’ll help you gain a better understanding of your camera’s capabilities and how you can use them to take stunning photos. So whether you’re looking to capture the perfect portrait, landscape, or action shot, read on to unlock the secrets of your digital camera modes.
Introduction to digital camera modes
Digital cameras offer a multitude of modes that can seem overwhelming to beginners and even seasoned photographers. Understanding these modes is essential to unlocking the full potential of your camera and capturing stunning images in various situations. In this comprehensive guide, we will delve into the different digital camera modes, demystifying their functions and explaining how they can enhance your photography.
Introduction to digital camera modes is the first step in this journey. These modes provide predefined settings that optimize your camera’s performance for specific shooting scenarios, making it easier to achieve desired results. From automatic modes that handle all the settings for you, to more advanced modes that allow for manual control, there is a mode for every level of expertise and creative vision.
The most common digital camera modes include:
1. Auto Mode:
This is the default mode for most cameras, ideal for beginners or when you want to capture quick snapshots. In this mode, the camera takes care of all the settings, including exposure, focus, and white balance.
2. Program Mode:
Similar to Auto Mode, Program Mode also sets the exposure and focus automatically. However, it provides more control over other settings such as ISO, white balance, and flash, giving you the flexibility to fine-tune your images.
3. Aperture Priority Mode:
In this mode, you have control over the aperture setting while the camera adjusts the other settings accordingly. Aperture determines the depth of field, allowing you to create images with a blurred background or sharp focus throughout.
4. Shutter Priority Mode:
As the name suggests, Shutter Priority Mode allows you to control the shutter speed while the camera takes care of other settings. This mode is ideal for capturing fast-moving subjects or achieving intentional motion blur.
5. Manual Mode:
Manual Mode gives you full control over all the camera settings, including aperture, shutter speed, ISO, and more. It requires a good understanding of photography fundamentals but allows for complete creative freedom and precision.
Understanding the different digital camera modes will empower you to capture images that truly reflect your vision. In the following sections of this guide, we will explore each mode in detail, providing tips and insights to help you make the most of your camera’s capabilities.
Auto mode: The beginner’s friend
When it comes to using a digital camera, the auto mode is often the go-to option for beginners. It’s like having a trusty friend by your side, guiding you through the process of capturing stunning images. In auto mode, the camera takes care of all the technical settings, such as exposure, focus, and white balance, allowing you to focus solely on framing your shot.
For those who are just starting their photography journey, auto mode provides a hassle-free experience. You don’t need to worry about understanding complex concepts like aperture, shutter speed, or ISO. The camera analyzes the scene and makes all the necessary adjustments to produce a well-exposed and balanced photograph.
This mode is particularly useful in situations where you need to quickly capture a moment without having the luxury of time to manually adjust the settings. Whether it’s a candid shot of your loved ones or a fast-moving subject, the auto mode ensures that you never miss those precious moments.
However, while auto mode is great for beginners, it does have its limitations. It may not always produce the desired results in challenging lighting conditions or when you want to achieve a specific creative effect. This is where exploring other camera modes becomes crucial to unlocking the full potential of your digital camera.
Program mode: More control with ease
Program mode is a versatile shooting mode that provides a balance between control and convenience for those who want to capture great photos without delving into the complexities of manual mode. This mode is often represented by a “P” on the camera’s mode dial.
In program mode, the camera sets the aperture and shutter speed automatically, based on its built-in metering system, to achieve proper exposure. However, unlike fully automatic modes, program mode allows you to have more control over other important settings, such as ISO, white balance, exposure compensation, and flash.
One of the key advantages of program mode is its flexibility. It allows you to adjust specific settings while maintaining the camera’s automatic exposure calculations. For instance, if you want to prioritize a higher ISO to capture shots in low light conditions, you can easily tweak the ISO setting without worrying about the other technical aspects.
Moreover, program mode enables you to make creative choices by utilizing exposure compensation. This feature allows you to intentionally underexpose or overexpose your images, adding a personal touch or achieving certain artistic effects. It comes in handy when dealing with challenging lighting situations or when you want to emphasize specific elements in your composition.
Another benefit of program mode is its ability to handle rapidly changing shooting scenarios. It allows you to respond quickly to unexpected moments without compromising image quality. This makes it an ideal mode for capturing action shots, street photography, or any situation where you need to adjust settings swiftly.
While program mode simplifies the technical aspects of photography, it is still essential to have a basic understanding of exposure and camera settings to maximize its potential. Experimenting with different combinations of settings and observing their effects on the final image will help you become more familiar with program mode and its capabilities.
Aperture priority mode: Mastering depth of field
Aperture priority mode is a powerful tool in the world of digital photography, allowing you to take full control over the depth of field in your images. Depth of field refers to the range of sharpness in a photograph, from the foreground to the background. By mastering aperture priority mode, you can create stunning images with a shallow or wide depth of field, depending on your creative vision.
In aperture priority mode, you have the ability to manually set the aperture value while the camera adjusts the shutter speed to maintain proper exposure. This means that you can control how much of your scene is in focus, whether you want a blurred background to make your subject pop, or a sharp background to capture all the details.
A wider aperture (represented by a smaller f-number like f/1.8 or f/2.8) will result in a shallow depth of field, where only a small portion of the image is in focus. This is perfect for portraits, where you want to isolate your subject from the background and create a beautiful, creamy bokeh effect.
On the other hand, a narrower aperture (represented by a larger f-number like f/11 or f/16) will give you a wider depth of field, where more of the image from foreground to background is in focus. This is ideal for landscape photography, where you want to capture all the details from the closest flower to the distant mountains.
By experimenting with different aperture settings in aperture priority mode, you can unleash your creativity and effectively control the visual impact of your photographs. Understanding the relationship between aperture, depth of field, and the overall composition of your image will enable you to tell stories, evoke emotions, and capture moments in a way that truly connects with your viewers.
Shutter priority mode: Capturing motion with precision
Shutter priority mode is a powerful tool in the arsenal of any photographer looking to capture motion with precision. This mode allows you to take control of the shutter speed while the camera handles the rest of the exposure settings. Whether you’re photographing a fast-moving athlete on the field or a majestic waterfall cascading down, mastering shutter priority mode can make a world of difference in freezing or blurring the motion.
The key to using shutter priority mode effectively lies in understanding the relationship between shutter speed and motion. A faster shutter speed, such as 1/1000th of a second, freezes action, capturing every detail with razor-sharp precision. This setting is perfect for capturing the split-second action of a sports event or a bird in flight.
On the other hand, a slower shutter speed, like 1/30th of a second, creates a sense of motion blur. This technique can be used to convey a sense of movement or add a touch of artistic flair to your photographs. It works wonders when photographing flowing water, creating a silky smooth effect that enhances the overall mood of the image.
To get started with shutter priority mode, simply dial in your desired shutter speed using the camera’s mode dial or menu options. The camera will automatically adjust the aperture and ISO to maintain proper exposure. Keep in mind that as you increase the shutter speed, you may need to compensate by widening the aperture or increasing the ISO to maintain proper exposure.
Experimenting with different shutter speeds in various shooting situations is crucial to mastering this mode. Practice capturing a moving subject at different speeds to see how it affects the final image. Remember, each situation may require a different shutter speed to achieve the desired effect, so don’t be afraid to adjust and experiment.
Manual mode: Full control for creative freedom
Manual mode is where the true magic happens in the world of photography. It gives you complete control over your camera settings, allowing you to unleash your creativity and capture stunning images that truly reflect your vision.
In manual mode, you have the power to adjust three key settings: aperture, shutter speed, and ISO. Let’s break them down:
1. Aperture:
This refers to the size of the opening in the lens through which light passes. It determines the depth of field, or how much of the image is in focus. A wider aperture (lower f-number) creates a shallow depth of field, ideal for portraits or subjects you want to isolate from the background. On the other hand, a smaller aperture (higher f-number) increases the depth of field, keeping more of the image sharp and in focus.
2. Shutter speed:
This controls the duration of time the camera’s shutter remains open, determining the amount of light that reaches the image sensor. A faster shutter speed freezes motion, while a slower shutter speed creates motion blur. It’s perfect for capturing stunning long-exposure shots of flowing water or light trails.
3. ISO:
This represents the sensitivity of your camera’s image sensor to light. A lower ISO (e.g., 100) is suitable for shooting in bright conditions, while a higher ISO (e.g., 1600 or higher) is necessary for low-light situations. However, keep in mind that higher ISO settings can introduce digital noise or graininess to your images.
In manual mode, you have the freedom to experiment with different combinations of these settings, adjusting them to achieve the desired exposure and creative effect. It may take some practice and trial-and-error, but once you master manual mode, you’ll have complete control over your photography and the ability to capture images that truly reflect your artistic vision. So go ahead, unlock the secrets of manual mode, and embrace the limitless possibilities it offers for creative expression.
Scene modes: Optimizing settings for specific scenarios
Scene modes are a valuable feature found in most digital cameras that can enhance your photography by automatically adjusting settings to suit specific scenarios. These modes are designed to optimize your camera’s settings, such as exposure, shutter speed, aperture, and white balance, to capture the best possible image in various shooting conditions.
Whether you’re capturing a stunning landscape, a close-up of a flower, or a fast-moving subject, scene modes can help you achieve the desired results without the need for manual adjustments. Common scene modes include portrait, landscape, sports, macro, night, and sunset, among others.
For instance, if you’re shooting a portrait, selecting the portrait scene mode will automatically set a wider aperture to create a shallow depth of field, resulting in a beautifully blurred background that emphasizes the subject. On the other hand, if you’re capturing a landscape, the landscape scene mode will adjust settings to maximize depth of field, ensuring that both the foreground and background are in sharp focus.
Sports mode is specifically designed to freeze fast-moving action, adjusting the shutter speed and focusing system to capture crisp and clear images of athletes in motion. Macro mode, on the other hand, allows you to capture intricate details in close-up shots, adjusting the focus and depth of field to emphasize small subjects like flowers or insects.
Night mode is perfect for low-light or nighttime photography, as it optimizes the ISO sensitivity and shutter speed to capture well-exposed images without excessive noise or blur. Meanwhile, sunset mode enhances the warm tones and vibrant colors often associated with sunsets, creating captivating and atmospheric photographs.
Understanding exposure compensation
Exposure compensation is a powerful tool that every photographer should understand and utilize to its full potential. It allows you to adjust the exposure of your digital camera to capture the perfect image, even in challenging lighting conditions.

In simple terms, exposure compensation is a way to manually override the camera’s metering system. The camera’s metering system is designed to calculate the optimal exposure based on the light available in the scene. However, there are situations where the camera may not accurately determine the correct exposure, resulting in overexposed or underexposed images.
This is where exposure compensation comes into play. By using this feature, you can intentionally make your image brighter or darker than what the camera suggests. It gives you creative control over the final look of your photograph.
To use exposure compensation, start by locating the dedicated exposure compensation button or dial on your camera. It is usually marked with a “+” and “-” symbol or an “EV” (exposure value) icon. Once found, simply adjust the dial or press the button while simultaneously turning the main dial to increase or decrease the exposure, respectively.
For example, if you’re capturing a bright scene with snow or a beach on a sunny day, the camera’s metering system might perceive all the brightness and try to compensate by underexposing the image. In this case, you can use exposure compensation to increase the exposure and ensure that the snow or sand appears white rather than gray.
Conversely, if you’re photographing a subject against a bright background, such as a sunset or a window, the camera may meter for the brightness and result in an underexposed subject. By applying negative exposure compensation, you can darken the background and bring out the details in your subject.
Experimenting with different exposure compensation values in various lighting conditions will help you understand its impact on your images. As a general guideline, increasing the exposure compensation by one stop will make the image brighter by doubling the amount of light, while decreasing it by one stop will make the image darker by halving the light.
It’s worth noting that exposure compensation is primarily used in semi-automatic shooting modes, such as aperture priority or shutter priority. In manual mode, you have complete control over all exposure settings, and exposure compensation is not necessary.
Using the histogram for better exposure
Mastering exposure is one of the key elements in capturing stunning photographs. While the human eye can adjust to different lighting conditions effortlessly, digital cameras require a bit of assistance to achieve optimal exposure. This is where the histogram becomes an invaluable tool for photographers.
The histogram is a visual representation of the distribution of tones in an image. It showcases the brightness levels from shadows to highlights, allowing you to analyze the exposure accuracy of your photograph. By interpreting the histogram, you can make informed adjustments to achieve a well-balanced exposure.
When examining the histogram, a few key points to keep in mind are the shape, peaks, and gaps. A well-exposed image will have a histogram that spreads out evenly across the entire tonal range, with no clipping at either end. Peaks indicate areas of high tonal concentration, while gaps suggest areas of underexposure or overexposure.
To utilize the histogram effectively, start by capturing an image and reviewing its histogram on the camera’s LCD screen. If the histogram is skewed towards the left, it indicates underexposure, and if it leans towards the right, overexposure is present. Making adjustments to the exposure settings such as shutter speed, aperture, or ISO can help bring the histogram towards the center, ensuring a more balanced exposure.
Furthermore, the histogram can also assist in avoiding the loss of important details in highlights or shadows. If the histogram is touching the edges on either side, it signifies areas where detail has been lost due to overexposure or underexposure. Adjusting the exposure settings accordingly can help preserve those details and create a more visually compelling image.
Tips for experimenting with different camera modes
Experimenting with different camera modes can be a fun and rewarding experience for photographers of all skill levels. Each camera mode offers unique features and settings that can elevate your photography to new heights. Here are some tips to help you get started and make the most out of your camera’s various modes.

1. Familiarize yourself with the basics:
Before diving into the more advanced camera modes, make sure you have a solid understanding of the basic modes such as Auto, Program, Aperture Priority, and Shutter Priority. This will provide a strong foundation for exploring the more creative modes.
2. Start with Aperture Priority mode:
This mode allows you to control the aperture while the camera selects the appropriate shutter speed. It’s perfect for experimenting with depth of field and creating beautiful bokeh effects. Adjusting the aperture can dramatically change the look and feel of your photos, so don’t be afraid to play around with different settings.
3. Explore Shutter Priority mode:
In this mode, you have control over the shutter speed while the camera determines the correct aperture. Use this mode to capture motion and freeze fast-moving subjects or create captivating long-exposure shots. Experiment with different shutter speeds to achieve the desired effect.
4. Get creative with Manual mode:
Manual mode gives you full control over both the aperture and shutter speed. It requires a bit more technical knowledge and practice, but it allows for complete creative freedom. Use Manual mode when you want precise control over every aspect of your image. It’s perfect for tricky lighting situations or when you want to achieve a specific artistic vision.
5. Don’t forget about scene modes:
Many cameras come with a variety of scene modes tailored to specific shooting situations such as landscape, portrait, sports, and more. These modes automatically optimize the camera settings for the given scenario, making it easier to capture great shots without getting overwhelmed by manual adjustments.
6. Experiment with creative modes:
Some cameras offer special creative modes like black and white, sepia, or even toy camera effects. These modes can add a unique touch to your photos and help you explore different artistic styles. Don’t be afraid to step out of your comfort zone and unleash your creativity.
7. Practice and review:
As with any new skill, practice is key. Take your camera out regularly and experiment with different modes in various shooting conditions. Take note of what works well and what doesn’t, and review your images to learn from your experiences. This will help you develop a better understanding of how each mode affects your photos.
Conclusion
By unlocking the secrets of different camera modes, you will have the power to take your photography skills to the next level. Whether you are a beginner or an experienced photographer, understanding and utilizing these modes will allow you to capture stunning images in various situations. So grab your camera, experiment with different modes, and watch as your photography skills blossom. Happy shooting!

