Night photography can be one of the most magical and rewarding types of photography. Capturing the beauty of the night sky or the city lights can create stunning and unforgettable images. However, night photography can also be one of the most challenging types of photography, requiring a different set of skills and techniques than daytime photography. In this post, we will explore some of the best tips and techniques for mastering night photography. From understanding exposure and ISO to using tripods and shutter speeds, we will cover everything you need to know to capture the magic of the night in your photographs. So grab your camera and get ready to learn how to take stunning night photos that will leave your viewers in awe.
Introduction to night photography
Night photography is a captivating genre that allows photographers to capture the enchanting beauty of the nocturnal world. From the shimmering lights of a bustling cityscape to the mystical glow of a starry night sky, night photography opens up a realm of creative possibilities.

Unlike daytime photography, night photography presents unique challenges and requires a distinct set of techniques to achieve stunning results. The absence of natural light sources and the need to work with longer exposure times demand careful planning, technical proficiency, and a creative eye.
One of the most important aspects of night photography is understanding how to work with low light conditions. Without adequate lighting, capturing sharp and detailed images can be a daunting task. This is where the mastery of exposure settings, such as aperture, shutter speed, and ISO, becomes crucial.
Additionally, the use of a sturdy tripod is essential for night photography. It provides stability during long exposure shots, ensuring sharpness and minimizing camera shake. Alongside this, using a remote shutter release or the camera’s self-timer can further prevent any unwanted movement.
Understanding the challenges of shooting in low light conditions
Shooting in low light conditions can be both a challenge and an opportunity for photographers. While daylight photography offers ample natural light and vibrant colors, capturing the magic of the night requires a different set of skills and techniques.
One of the main challenges of shooting in low light is the limited availability of light sources. With the absence of natural sunlight, photographers must rely on artificial sources such as streetlights, buildings, or even the moon and stars to illuminate their subjects. This scarcity of light can result in underexposed images, noise, and reduced image quality if not handled correctly.
Additionally, the lack of light poses difficulties in focusing accurately. Autofocus systems often struggle in low light conditions, resulting in blurry or out-of-focus images. This requires photographers to switch to manual focus or utilize techniques like focus stacking to ensure sharpness and clarity.
Another challenge in low light photography is the longer exposure times required to capture enough light. This can lead to issues such as camera shake or motion blur if the photographer doesn’t have a steady hand or use a tripod. It’s crucial to stabilize the camera properly to avoid these unwanted effects and achieve sharp images.
Furthermore, low light conditions often introduce high contrast situations, with bright highlights and deep shadows. Balancing these extremes to retain details in both dark and bright areas becomes crucial to create visually appealing and well-exposed photographs. Techniques like bracketing or using graduated neutral density filters can help overcome these challenges and preserve the dynamic range of the scene.
Essential equipment for night photography
When venturing into the captivating world of night photography, having the right equipment is essential to capture the magic that unfolds after dusk. While you can still achieve impressive results with basic gear, investing in a few key pieces can greatly enhance your night photography experience.

1. Camera:
A camera with manual mode capability is crucial for night photography. Look for a camera that offers manual control over settings such as aperture, shutter speed, and ISO. This allows you to have full creative control and adjust the settings according to the specific lighting conditions.
2. Tripod:
Since long exposures are often necessary for night photography, a sturdy tripod is a must-have accessory. It provides stability, preventing any camera shake and ensuring sharp and well-defined images. Look for a tripod that is lightweight, adjustable, and easily portable for convenience during outdoor shoots.
3. Wide-angle lens:
A wide-angle lens allows you to capture a broader view of the night sky, cityscape, or any other subject you are photographing. It helps in incorporating more of the scene into the frame, adding depth and dimension to your photos. Look for a lens with a wide maximum aperture, which allows more light to enter the camera and helps in capturing sharp and detailed images in low-light situations.
4. Remote shutter release:
A remote shutter release or cable release enables you to trigger the camera’s shutter without physically touching it. This eliminates the risk of camera shake caused by pressing the shutter button manually. With a remote shutter release, you can keep your camera steady on the tripod while capturing long exposures, ensuring crisp and blur-free images.
5. Flashlight or headlamp:
A flashlight or headlamp is a handy tool when navigating in the dark while setting up your gear or adjusting camera settings. It helps in illuminating your surroundings without disturbing the ambient light or affecting the exposure of your photographs.
Mastering exposure settings for night photography
When shooting in low light conditions, your camera’s exposure settings play a vital role in determining the quality and clarity of your images.
Firstly, it’s important to understand the three key elements of exposure: aperture, shutter speed, and ISO. These settings work in harmony to control the amount of light entering your camera.
To start, adjusting the aperture is crucial. In night photography, it is recommended to use a wide aperture (low f-stop number) to allow more light to reach the camera sensor. This helps in capturing the fine details and enhancing the overall brightness of your images.
Next, the shutter speed plays a significant role in controlling the duration of the exposure. When shooting at night, longer exposure times are often necessary to capture the available light. However, it’s essential to use a tripod or stabilize your camera to prevent any unwanted blurriness caused by hand movements during longer exposures.
Lastly, ISO sensitivity determines the camera sensor’s ability to capture light. In low light conditions, it is advisable to increase the ISO to amplify the sensor’s sensitivity. However, be cautious as higher ISO settings can introduce digital noise, resulting in grainy images. Experiment with different ISO levels to strike a balance between capturing sufficient light and maintaining image quality.
Additionally, utilizing the camera’s histogram can help ensure proper exposure. The histogram provides a graphical representation of the tonal distribution in your image, allowing you to make adjustments accordingly. Aim for a well-balanced histogram, avoiding overexposed highlights or underexposed shadows.
Using a tripod for stability and sharpness
When it comes to capturing the magic of night photography, using a tripod is an essential technique that can elevate your images to a whole new level. The low light conditions encountered during nighttime can make it challenging to achieve sharp and steady shots. That’s where a tripod becomes your best friend.
A tripod provides the stability needed to avoid camera shake, resulting in crisp and clear images. This is especially important when shooting with longer exposures, as even the slightest movement can cause blurriness. By mounting your camera on a tripod, you eliminate the risk of unintentional movement and allow for longer shutter speeds without sacrificing image quality.
Not only does a tripod keep your camera steady, but it also allows you to explore various creative techniques. With a stable base, you can experiment with longer exposures to capture stunning light trails, starry skies, or even create captivating light paintings. These techniques often require extended exposure times, which can only be achieved effectively with the help of a tripod.
Furthermore, using a tripod enables you to take advantage of lower ISO settings, resulting in reduced noise and increased image clarity. By keeping your camera steady, you can lower the ISO and maintain image quality, even in low-light situations.
When selecting a tripod for night photography, consider its stability, height, and weight. Look for a sturdy tripod that can support the weight of your camera and lens comfortably. Additionally, choose a tripod that offers adjustable legs and a height suitable for your shooting preferences. Remember, you may be standing for long periods, so finding a tripod that is comfortable to work with is essential.
Utilizing long exposure techniques for creative night shots
Utilizing long exposure techniques is a game-changer when it comes to capturing creative night shots. This technique allows you to capture the magic and beauty of the nighttime scenery in a unique and mesmerizing way.

Long exposure photography involves leaving the camera shutter open for an extended period of time, typically several seconds or even minutes. This allows the camera to capture more light and movement, resulting in stunning effects.
One of the most common subjects for long exposure shots at night is capturing light trails. This can be achieved by photographing moving vehicles, city streets, or even stars. The longer the exposure, the longer the light trails will appear, creating a sense of movement and energy in your photos.
Another fascinating aspect of long exposure photography is the ability to capture breathtaking starry skies. By using a tripod to keep your camera steady, you can open up the shutter for minutes at a time, allowing the camera to capture the rotation of the Earth and the mesmerizing patterns created by the stars. This technique can result in awe-inspiring images that showcase the vastness and beauty of the night sky.
Furthermore, long exposure techniques can also be used to capture unique light painting images. By using a handheld light source, such as a flashlight or glow stick, you can create captivating patterns, shapes, and even words in the darkness. This technique allows for endless creativity and experimentation, resulting in truly one-of-a-kind photographs.
When utilizing long exposure techniques, it is essential to keep in mind the importance of stability. Using a sturdy tripod and a remote shutter release or self-timer function will help minimize any camera shake or blur. Additionally, experimenting with different exposure times and settings will allow you to achieve the desired effects and create truly stunning night images.
Working with artificial light sources to enhance your images
While natural light is beautiful, incorporating artificial light can add depth, drama, and a mesmerizing quality to your nighttime shots.

One technique you can employ is using a handheld flashlight or a portable LED light to create interesting light patterns or illuminate specific areas of your composition. By painting light onto your subject or the surrounding elements, you can add a sense of mystery and intrigue to your photographs.
Another way to leverage artificial light sources is by incorporating city lights or street lamps into your frame. These sources of light can create stunning bokeh effects or provide a captivating backdrop for your subject. Experiment with different angles and compositions to capture the interplay between the artificial light and the surrounding environment.
Additionally, don’t shy away from experimenting with long exposure photography techniques. By using a tripod and selecting a slow shutter speed, you can capture the trails of car lights or the mesmerizing movement of fireworks, creating a dreamy and ethereal atmosphere in your images.
Remember to play around with the white balance settings on your camera to achieve the desired color tone and mood. Adjusting the white balance can make the artificial light sources appear warmer or cooler, further enhancing the overall ambiance of your nighttime photographs.
Overcoming noise and grain in night photography
Night photography can be incredibly captivating, with its ethereal glow and mesmerizing starry skies. However, one challenge that photographers often face when capturing these magical moments is dealing with noise and grain in their images.
When shooting in low-light conditions, such as during nighttime, the camera sensor needs to amplify the signal to capture enough light. This amplification process can introduce unwanted digital noise and grain, resulting in a loss of image quality.
To overcome this challenge and achieve stunning night photographs with minimal noise, there are several techniques you can employ.
1. Choose the right camera settings:
Start by setting your camera to its lowest possible ISO setting. This will minimize the sensitivity of the sensor and reduce the noise in your images. Additionally, using a wide aperture (low f-stop number) will allow more light to enter the camera, reducing the need for high ISO settings.
2. Use long exposure techniques:
Night photography often requires longer exposure times to capture enough light. However, longer exposures can also increase the risk of noise. To mitigate this, consider using a sturdy tripod to keep your camera steady and prevent any unintentional movements that may introduce blur. This will allow you to use longer exposure times without compromising image sharpness.
3. Take advantage of noise reduction tools:
Many cameras have built-in noise reduction features that can be enabled in the camera settings. These tools analyze the image and apply noise reduction algorithms to minimize the appearance of noise. However, keep in mind that these features can increase processing time and may not always produce the desired results. Experiment with different settings to find the right balance between noise reduction and preserving image details.
4. Post-processing techniques:
Even with the best camera settings and noise reduction tools, some level of noise may still be present in your night photographs. Fortunately, post-processing software such as Adobe Lightroom or Photoshop offers advanced noise reduction capabilities. These tools allow you to selectively reduce noise while preserving important details, resulting in cleaner and more visually appealing images.
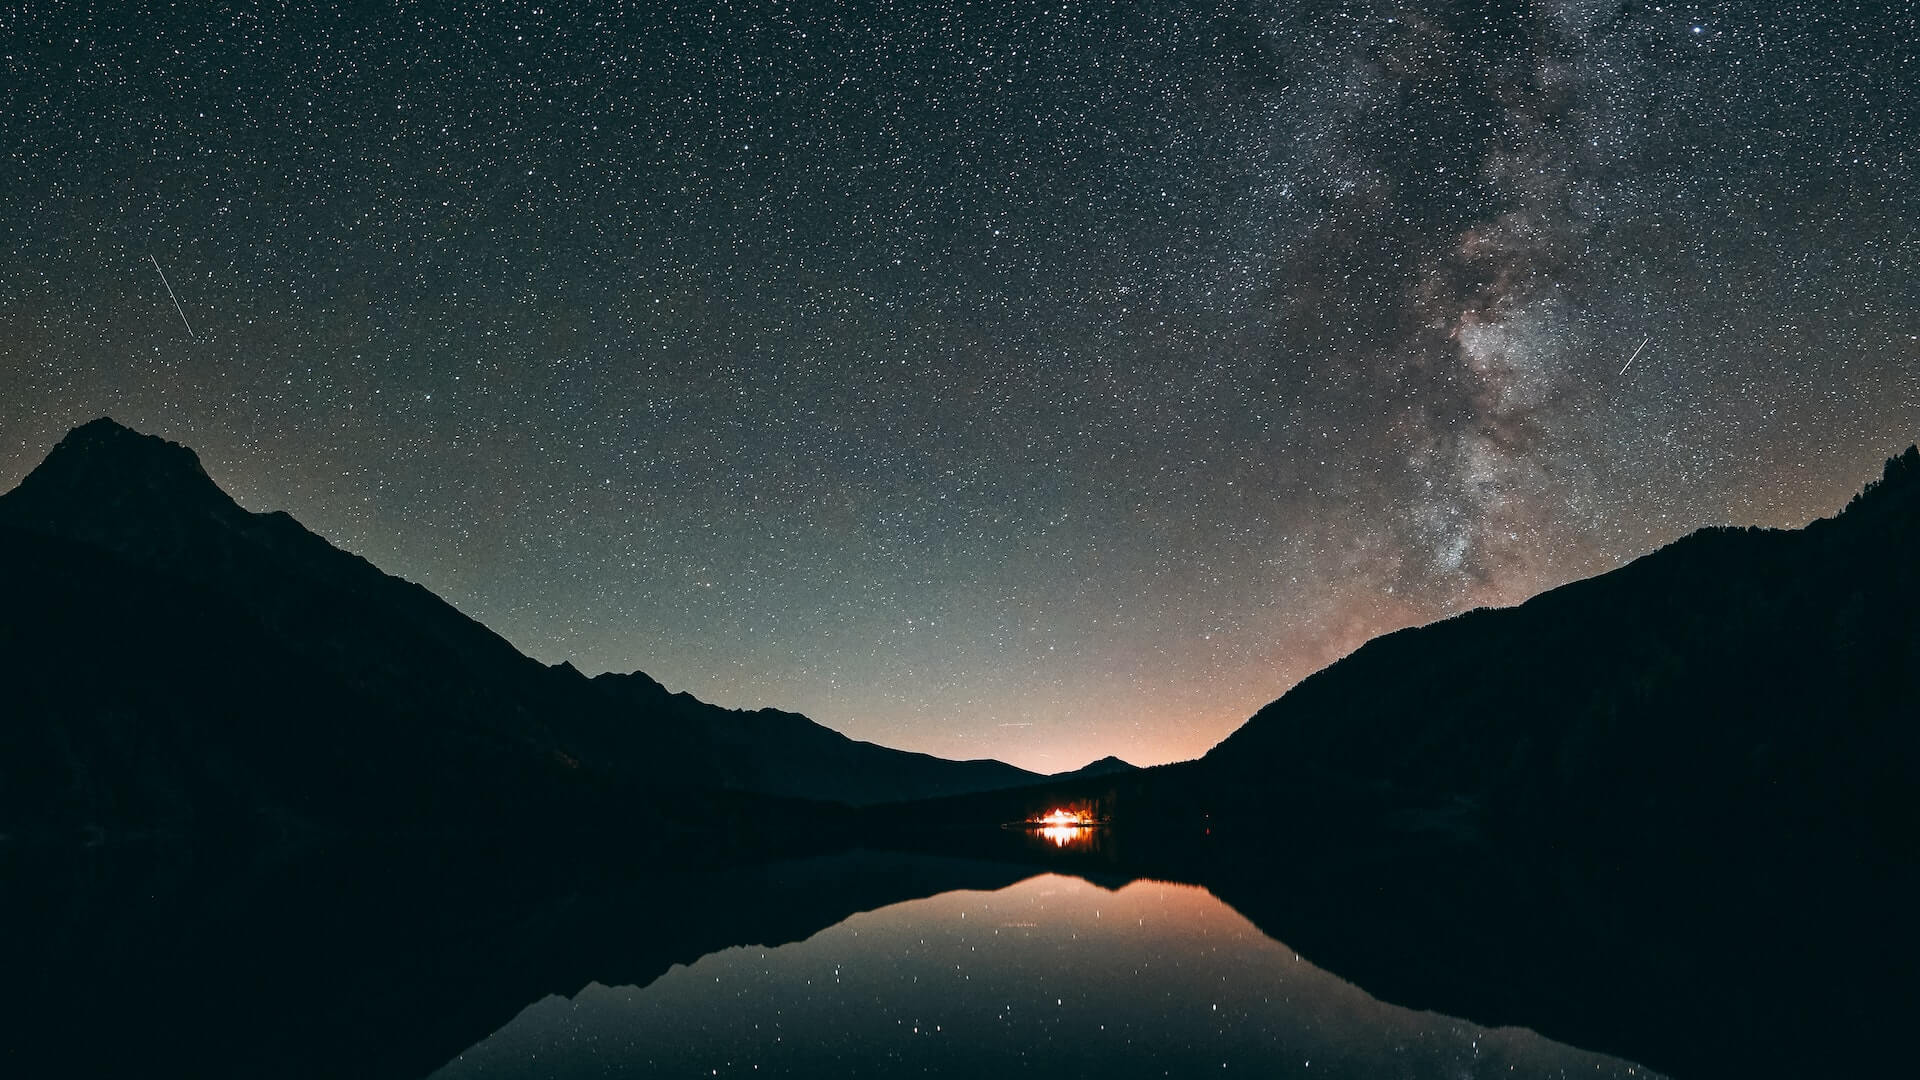
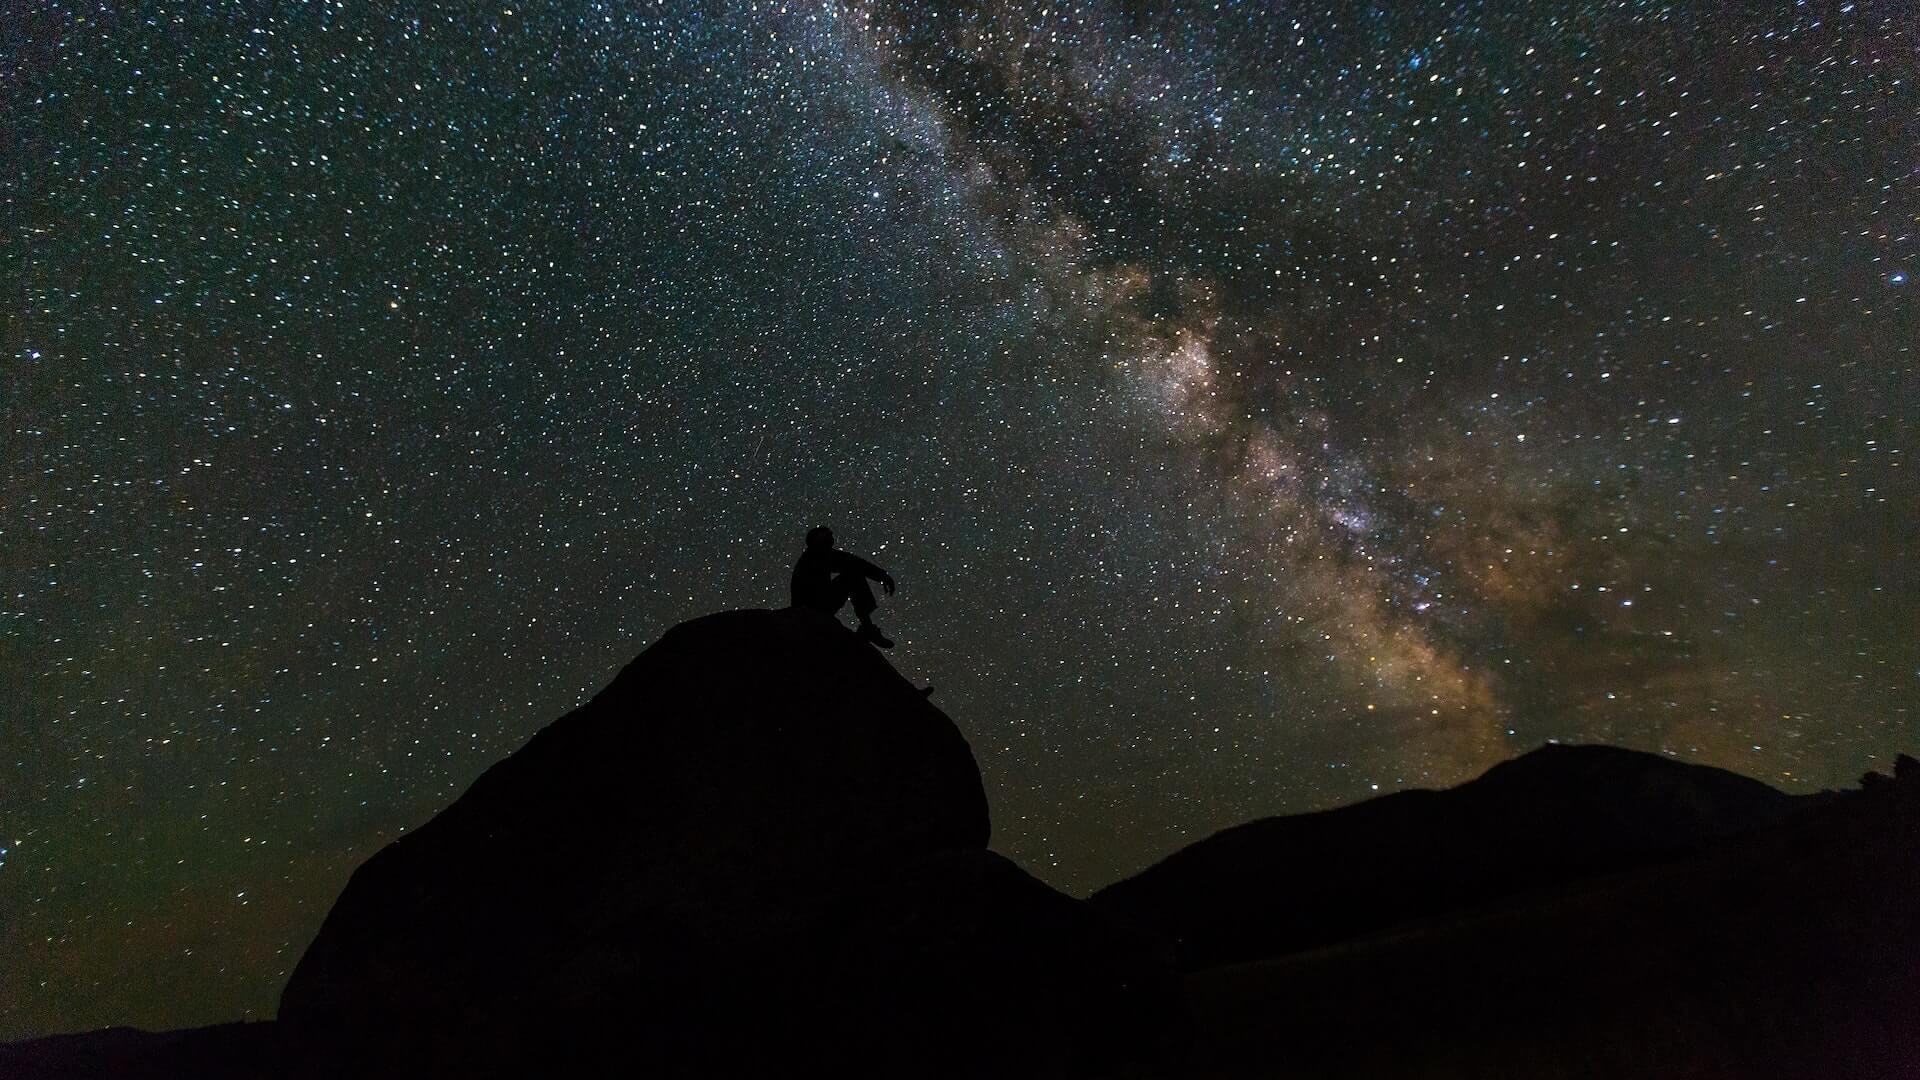
Techniques for capturing star trails and night sky photography
Capturing star trails and night sky photography can be a truly magical experience. The night sky offers a canvas filled with twinkling stars, constellations, and the possibility of capturing the movement of celestial bodies over time. To master these techniques and create stunning images, here are some tips to get you started.

1. Find a dark location:
To capture clear and vibrant star trails, it is crucial to find a location away from light pollution. Look for areas with minimal artificial light sources, such as remote countryside or national parks. This will ensure that the stars shine brightly and your images are not washed out by ambient light.
2. Use a sturdy tripod:
Night sky photography requires long exposure times, which means any camera movement can result in blurry images. Invest in a sturdy tripod to keep your camera stable throughout the exposure. This will ensure sharp and crisp star trails.
3. Set your camera to manual mode:
Shooting in manual mode gives you full control over your camera settings. Start by setting your aperture to a wide-open f-stop, such as f/2.8 or lower, to allow as much light as possible to enter the lens. Then, set your ISO to a high value, around 1600-3200, to capture the faint starlight effectively.
4. Experiment with exposure times:
The duration of your exposure will determine the length and brightness of the star trails. Start with exposure times of 30 seconds to a few minutes and adjust accordingly. Longer exposures will result in longer trails, while shorter ones will capture individual points of light.
5. Consider using the bulb mode:
Bulb mode allows you to manually control the length of your exposure beyond the limits of your camera’s shutter speed settings. With a remote shutter release or intervalometer, you can keep the shutter open for several minutes or even hours to capture stunning star trails across the night sky.
6. Use a wide-angle lens:
A wide-angle lens, such as a 14-24mm or 16-35mm, is ideal for capturing expansive night sky scenes. The wide field of view allows you to include more stars and create a sense of depth in your composition.
7. Plan your shoot:
Before heading out, research the best time and location for capturing star trails. Apps and websites such as Stellarium, PhotoPills, or The Photographer’s Ephemeris can help you determine the position of stars, the Milky Way, and other celestial objects at a specific time and location. This will enable you to plan your shot and compose your image with precision.
Tips for post-processing and enhancing night photographs
Once you have captured stunning night photographs, the next step is to bring out their full potential through post-processing and enhancing techniques. These tips will help you take your night photography to the next level:
1. Adjust Exposure and Contrast:
Nighttime scenes often have a wide range of dark and light areas. Adjusting the exposure and contrast can help bring out the details and create a more balanced image.
2. Reduce Noise:
Shooting at high ISO settings in low light conditions can introduce noise into your photographs. Utilize noise reduction tools or software to minimize noise while preserving details.
3. Enhance Colors:
The colors in night photographs can sometimes appear dull or muted. Use tools like saturation or vibrancy adjustments to make the colors pop and create a more vibrant image.
4. Sharpen Your Image:
Nighttime shots may lack sharpness due to longer exposure times or camera shake. Utilize sharpening tools to enhance the details and make your image appear crisp.
5. Adjust White Balance:
The white balance settings on your camera may not accurately capture the true colors of the night scene. Experiment with different white balance settings during post-processing to achieve the desired mood and color temperature.
6. Play with Shadows and Highlights:
Night photographs often have dramatic contrasts between dark shadows and bright highlights. Use shadow and highlight adjustments to bring out the details in these areas and create a more dynamic image.
7. Experiment with Filters:
Post-processing software allows you to simulate the effects of various filters. Experiment with filters like starburst, gradient, or light pollution reduction to add a unique touch to your night photographs.
8. Crop and Straighten:
Nighttime shots may benefit from cropping and straightening to enhance the composition and eliminate any distracting elements. Experiment with different cropping ratios and straightening tools to find the best composition for your image.
Safety considerations and precautions when shooting at night
While capturing stunning nighttime shots can be an exhilarating experience, it’s crucial to be aware of potential risks and take necessary precautions to ensure your well-being.
1. Location Assessment:
Before setting out, thoroughly research and scout your chosen location. Be aware of any potential hazards such as uneven terrain, slippery surfaces, or areas with limited visibility. Familiarize yourself with the surroundings to minimize the risk of accidents.
2. Personal Safety:
Dress appropriately for the weather conditions and wear comfortable footwear. As you’ll likely be spending a significant amount of time outdoors, consider carrying extra layers, insect repellent, and a first aid kit. It’s also advisable to inform someone about your shooting plans and estimated return time.
3. Equipment Safety:
Night photography often requires additional gear, such as tripods, filters, and remote shutter releases. Ensure that your equipment is in good working condition to prevent any mishaps. Pay attention to cable management, especially when shooting in low-light conditions, to avoid tripping over wires or damaging equipment.
4. Light Sources:
When setting up your equipment, be mindful of any nearby light sources, such as street lamps or car headlights. These may interfere with your composition or cause unwanted lens flare. Position yourself and your camera in a way that minimizes such distractions.
5. Personal Security:
If shooting in unfamiliar or isolated areas, prioritize your personal security. Consider shooting with a friend or in a group, especially in remote locations. Be aware of your surroundings and trust your instincts. It’s advisable to avoid isolated areas during late hours or in areas with a history of safety concerns.
6. Respect for the Environment:
As photographers, it’s crucial to practice responsible photography and leave no trace. Avoid damaging the natural environment, disturbing wildlife, or trespassing on private property. By respecting your surroundings, you contribute to preserving the beauty of the locations you capture.
Conclusion
Capturing the magic of the night can be challenging, but with the right techniques and equipment, you can create stunning and mesmerizing images. Remember to experiment with different settings, be patient, and embrace the darkness as your canvas. Whether you are a beginner or an experienced photographer, these techniques will surely take your night photography skills to the next level. So grab your camera, head out into the night, and let your creativity shine!