Growing your own tomatoes can be a rewarding and fun experience. Not only do you get to enjoy the fruits of your labor, but you also get to control the entire process from seed to harvest. However, gardening can be intimidating, especially if you are new to it. But don’t worry, we are here to help! In this comprehensive guide to tomato gardening, we will take you through every step of the process, from selecting the right seeds to harvesting your ripe, juicy tomatoes. We’ll cover everything from soil preparation, planting, watering, fertilizing, pruning, and even pest management. Whether you’re a seasoned gardener or a beginner, this guide will help you grow healthy and delicious tomatoes that will make your mouth water. So, roll up your sleeves, grab your tools, and let’s get started on this exciting journey of growing your own tomatoes!
Choosing the right tomato varieties for your garden
With so many different types of tomatoes available, each with its unique characteristics and flavor profiles, it can be overwhelming to make a decision. However, by considering a few key factors, you can narrow down your choices and select the varieties that are best suited for your specific gardening goals.

The first thing to consider is the climate and growing conditions in your area. Different tomato varieties have varying levels of tolerance to heat, cold, humidity, and diseases. It’s important to choose varieties that thrive in your particular climate to maximize their growth potential and yield.
Next, think about the purpose of your tomatoes. Are you looking to grow them for fresh eating, canning, or making sauces? Some varieties are better suited for slicing and enjoying raw, while others are more suitable for cooking and preserving. Determining the primary use of your tomatoes will help you select varieties that align with your culinary preferences.
Another factor to consider is the size and shape of the tomatoes. Do you prefer large beefsteak tomatoes, or would you rather have smaller cherry or grape tomatoes? Determining the desired size and shape will not only impact the aesthetics of your garden but also influence how you plan to use the tomatoes in your cooking.
Lastly, consider the flavor profiles of different tomato varieties. Some tomatoes are known for their sweet, mild taste, while others have a more tangy or acidic flavor. Researching and tasting different varieties can help you identify the flavors that appeal to your taste buds and ensure an enjoyable culinary experience.
Preparing the soil for planting tomatoes
The quality of your soil plays a significant role in the overall success of your tomato crop.
Firstly, start by choosing a location that receives ample sunlight, as tomatoes thrive in full sun. Ideally, select an area with well-draining soil to prevent waterlogging, as excessive moisture can lead to root rot and other fungal diseases. If your soil tends to be heavy or clay-like, consider adding organic matter such as compost or aged manure to improve its texture and drainage.
Next, remove any weeds, rocks, or debris from the planting area. Weeds compete with tomatoes for nutrients and water, so it’s essential to eliminate them before planting. Additionally, removing rocks and debris will ensure that the tomato roots have enough space to grow and develop.
To further enhance the soil’s fertility, consider conducting a soil test. This will provide valuable insights into its nutrient composition and pH level. Based on the results, you can adjust the soil’s pH by adding amendments such as lime to raise the pH or sulfur to lower it. Maintaining a slightly acidic soil pH of around 6.0 to 6.8 is optimal for tomato plants.
Once the soil is clear and the pH is adjusted if necessary, it’s time to incorporate organic matter into the soil. This can be done by spreading a layer of compost or well-rotted manure over the planting area. Organic matter enriches the soil with essential nutrients, improves its structure, and enhances moisture retention.
After adding the organic matter, use a garden fork or tiller to gently work it into the top 6 to 8 inches of soil. This will ensure that the nutrients are evenly distributed and readily accessible to the tomato plants’ roots.
Lastly, take some time to smooth and level the soil surface, removing any large clumps or unevenness. This will provide a uniform bed for planting and make it easier for the young tomato seedlings to establish themselves.
Starting tomato seeds indoors
By starting your seeds indoors, you gain greater control over the growing conditions, allowing you to provide the optimal environment for your tomato plants to thrive.
To begin, gather all the necessary materials: potting soil, seed-starting trays or containers, a light source such as grow lights or a sunny windowsill, and of course, high-quality tomato seeds. It’s important to choose a variety of tomato that suits your climate and growing preferences.
Fill the seed-starting trays or containers with a well-draining potting soil. Moisten the soil slightly to create a suitable environment for seed germination. Then, gently press the tomato seeds into the soil, following the recommended planting depth specified on the seed packet.
Cover the seeds lightly with a thin layer of soil and mist with water to ensure good moisture levels. Place a plastic cover or dome over the trays to create a mini greenhouse effect, promoting moisture retention and heat.
Now, it’s time to provide the optimal lighting conditions for your tomato seedlings. If using grow lights, position them a few inches above the trays or containers. If relying on natural sunlight, place them in a sunny windowsill where they can receive at least 6-8 hours of direct sunlight per day.
As your tomato seeds germinate and sprout, remove the plastic cover to prevent excessive humidity and encourage air circulation. Continue to monitor the moisture levels in the soil, ensuring it remains consistently damp but not waterlogged.
Once the seedlings have developed their first true leaves, it’s time to thin them out. Choose the healthiest and strongest seedlings, and carefully transplant them into individual pots or larger containers. This step allows each tomato plant to have enough space to grow and develop its root system.
Remember to gradually introduce your tomato seedlings to outdoor conditions before transplanting them into the garden. This process, known as hardening off, helps the plants acclimate to the outdoors and reduces the risk of transplant shock.
Transplanting tomato seedlings into the garden
Transplanting tomato seedlings into the garden is a critical step in the journey from seed to harvest. It’s the moment when your delicate seedlings make the transition from the controlled environment of pots or seed trays to the great outdoors, where they will grow and thrive.

Before transplanting, it’s important to ensure that your tomato seedlings are strong and healthy. They should have developed a sturdy stem and have a few sets of true leaves. This indicates that they are ready to face the challenges of the garden.
Choose a sunny spot in your garden with well-draining soil for transplanting. Prepare the soil by loosening it and removing any weeds or debris. Dig a hole that is slightly larger than the root ball of the seedling, ensuring that it is deep enough to cover the stem up to the first set of leaves. This will encourage the development of a strong root system.
Gently remove the seedling from its pot, being careful not to damage the roots. If the roots are tightly packed, you can gently tease them apart to encourage outward growth. Place the seedling in the hole, making sure that it is vertically aligned. Fill the hole with soil, firming it gently around the base of the plant. Water the transplanted seedling thoroughly to settle the soil and provide it with much-needed hydration.
To protect the young tomato plants from the elements, consider using a protective cover, such as a cloche or a row cover, for the first few days after transplanting. This will shield them from harsh winds, temperature fluctuations, and pests, giving them a better chance to establish themselves in their new home.
Remember to space your tomato plants according to the recommended guidelines for the variety you are growing. Proper spacing allows for good air circulation and reduces the risk of disease.
After transplanting, regularly monitor the moisture levels of the soil and provide water as needed. Mulching around the plants can help retain moisture, suppress weeds, and regulate soil temperature.
Transplant shock is a common concern when moving seedlings to the garden, but by following these steps and providing proper care, you can minimize stress and give your tomato seedlings the best possible start in their outdoor journey.
Proper spacing and staking techniques for tomato plants
Tomatoes are known to be sprawling plants that require adequate space to grow and thrive. By following these spacing and staking techniques, you can ensure healthy plants and a successful harvest.
Firstly, when planting tomato seeds or seedlings, it’s important to provide enough room between each plant. The recommended spacing for determinate tomato varieties is typically 2 to 3 feet apart, while indeterminate varieties require 3 to 4 feet of space. This allows air circulation and prevents overcrowding, which can lead to diseases and hinder the growth of your plants.
To maximize space and promote better growth, consider using stakes or cages to support your tomato plants. Staking involves inserting a sturdy stake, such as bamboo or metal, into the ground near the plant and tying the main stem to the stake as it grows. This method helps keep the plant upright, prevents it from sprawling on the ground, and reduces the risk of diseases caused by soil-borne pathogens.
Alternatively, using cages is another effective method to support tomato plants. Place a cage around each plant, allowing the stems to grow through the openings. This provides support, keeps the plants off the ground, and helps maintain their natural shape. Cages can be purchased or easily made using wire mesh or fencing material.
Remember to install the stakes or cages at the time of planting to avoid damaging the roots later on. As your tomato plants grow, periodically check and adjust their positioning, ensuring they are secured to the stakes or within the cages. Be gentle when tying the stems to avoid causing any damage.
Essential care and maintenance for tomato plants
Taking care of your tomato plants is crucial to ensure a successful and bountiful harvest. Here are some essential care and maintenance tips to keep in mind throughout the growing season.
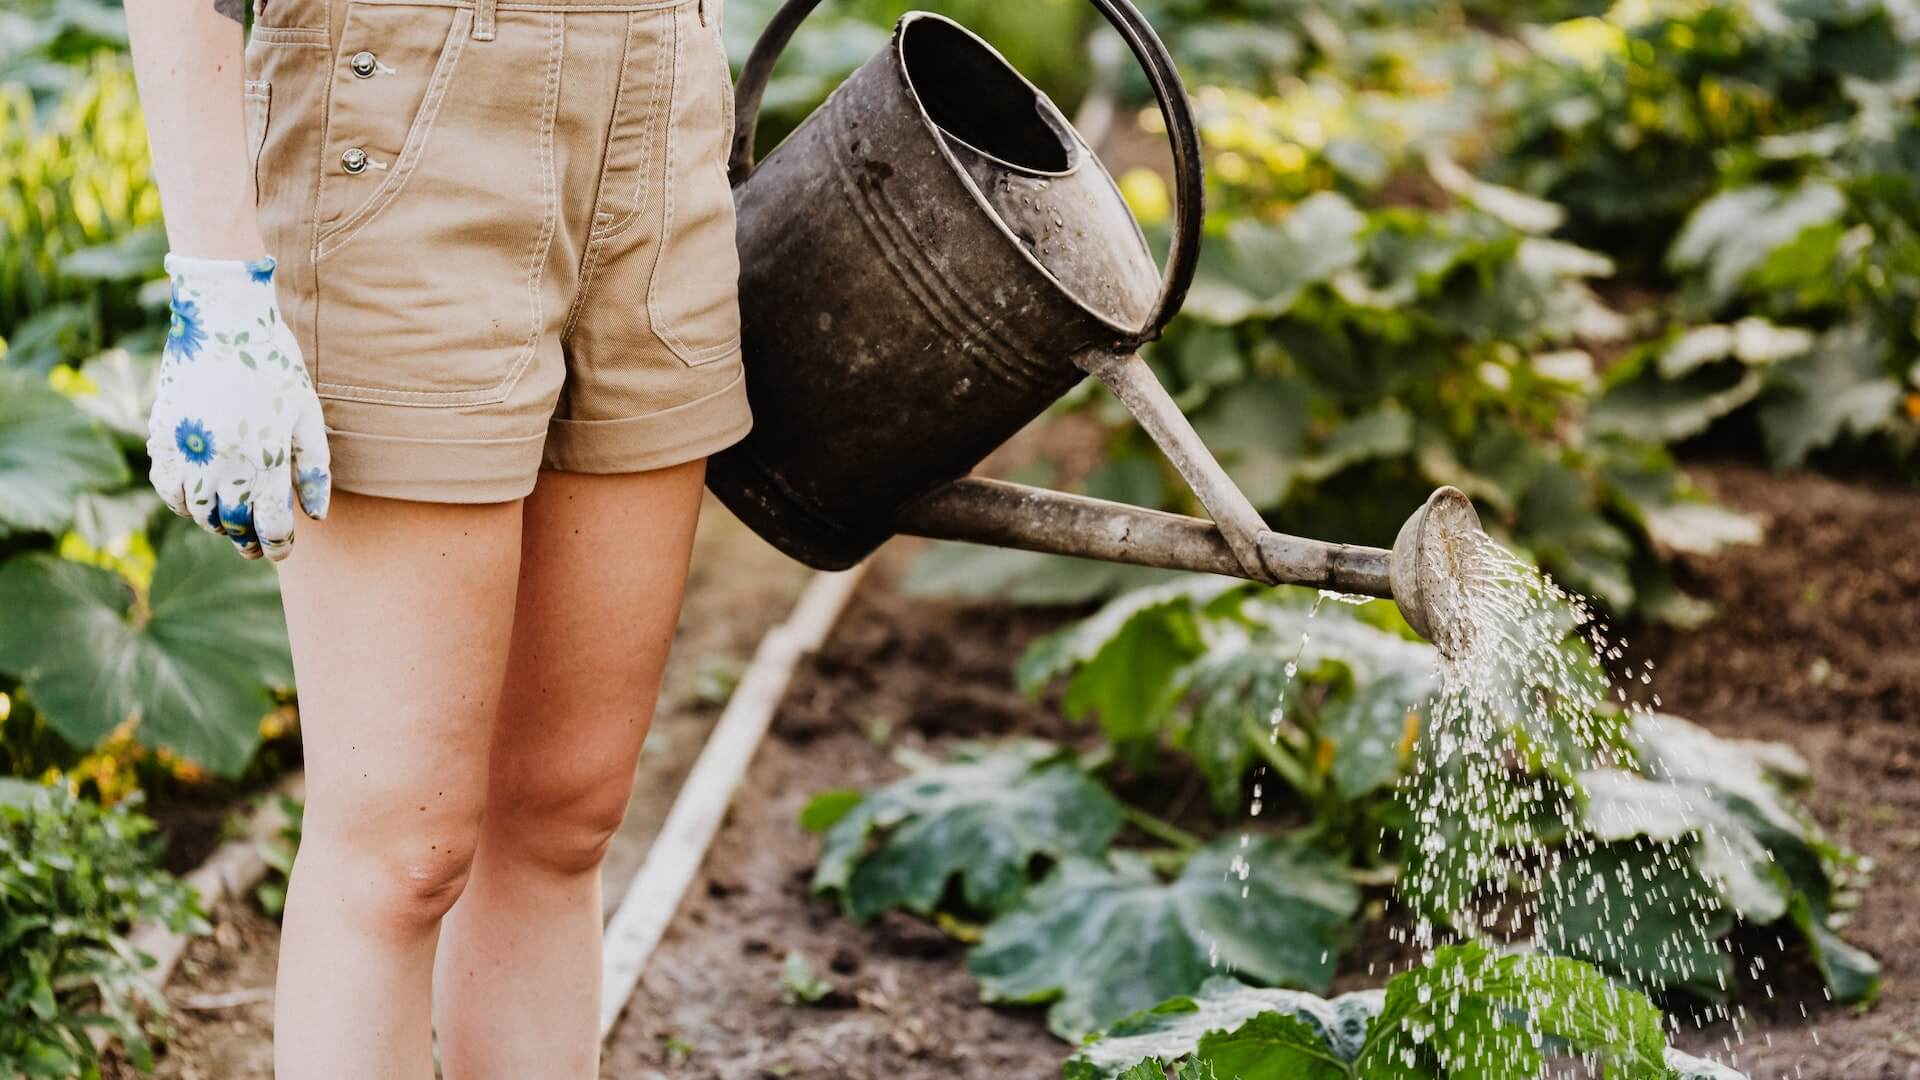
First and foremost, watering is key. Tomatoes need consistent moisture, but overwatering can lead to root rot and other issues. Aim for deep watering once or twice a week, making sure to water at the base of the plant to avoid wetting the leaves. Mulching around the plants can help retain moisture and prevent weeds from competing for nutrients.
Regular pruning is another important aspect of tomato plant care. Removing suckers, which are the small shoots that develop in the leaf axils, helps redirect the plant’s energy towards fruit production. Additionally, pruning lower leaves can improve airflow and reduce the risk of diseases.
Supporting your tomato plants is crucial, especially as they grow taller and bear heavy fruit. Staking, caging, or trellising are common methods to provide support. Choose a method that suits your space and tomato variety, ensuring the plants are well-supported and have room to grow without becoming crowded.
Fertilizing is essential for healthy tomato plants and optimal fruit production. Start by incorporating organic matter, such as compost or well-rotted manure, into the soil before planting. As the plants grow, consider using a balanced fertilizer or a fertilizer specifically formulated for tomatoes. Follow the recommended application rates and frequency to provide the necessary nutrients.
Regular monitoring for pests and diseases is crucial to catch any issues early on. Common tomato pests include aphids, whiteflies, and tomato hornworms. Use organic pest control methods whenever possible, such as handpicking pests or using insecticidal soap. Additionally, keep an eye out for common diseases like blight or powdery mildew and take appropriate measures to prevent or treat them.
Lastly, proper harvesting techniques ensure that you enjoy the best flavor and quality from your tomatoes. Wait until the fruits are fully ripe, as they will have the best taste and texture. Gently twist or cut the tomato from the vine, being careful to avoid damaging the plant.
Watering and fertilizing tips for healthy tomato growth
Properly hydrating and nourishing your tomato plants will ensure vigorous growth, vibrant foliage, and a bountiful harvest.
When it comes to watering, tomatoes have specific needs that should be met consistently. Deep and thorough watering is key to encouraging strong root development. Aim to water the plants deeply, providing enough moisture to reach the root zone. This can be achieved by applying water directly to the base of the plants, ensuring it penetrates the soil deeply.
While tomatoes require consistent moisture, it’s essential to strike a balance to avoid overwatering. Overwatering can lead to root rot and other fungal diseases. To determine when your plants need watering, check the top inch of soil. If it feels dry to the touch, it’s time to water. However, if it still feels moist, hold off on watering for a day or two and check again.
In addition to watering, fertilizing plays a crucial role in supplying the necessary nutrients for healthy tomato growth. Prior to planting, prepare the soil by incorporating organic matter such as compost or well-rotted manure. These amendments will enrich the soil with essential nutrients, improving its structure and fertility.
Once your tomatoes are planted, regular fertilization is essential. Choose a balanced, slow-release fertilizer specifically formulated for tomatoes. This will provide a steady supply of nutrients over an extended period. Follow the recommended application rates on the fertilizer packaging, taking care not to over-fertilize, as this can lead to excessive foliage growth at the expense of fruit production.
During the growing season, consider supplementing with additional organic fertilizers or compost tea to provide a boost of nutrients. Apply these fertilizers according to the manufacturer’s instructions or as recommended for organic gardening practices.
Remember that tomato plants have different nutrient requirements at different stages of growth. Start with a higher nitrogen fertilizer during the early stages to encourage leafy growth, then switch to a fertilizer higher in phosphorus and potassium as the plants start to flower and set fruit.
Dealing with common tomato pests and diseases
Tomatoes are a popular choice for home gardeners due to their versatility and delicious flavor. However, just like any other plant, tomatoes are susceptible to various pests and diseases that can hinder their growth and affect the quality of the fruits. To ensure a successful tomato harvest, it is crucial to be proactive in dealing with these common issues.

One common tomato pest is the tomato hornworm. These voracious caterpillars can quickly defoliate tomato plants, leaving behind bare stems. To control them, inspect your plants regularly and remove any hornworms by hand. You can also introduce natural predators like parasitic wasps or use organic insecticides if the infestation is severe.
Another troublesome pest is the aphid. These tiny insects feed on the sap of tomato plants, causing stunted growth and distorted leaves. To combat aphids, you can spray a mixture of water and dish soap directly on the affected plants. Ladybugs are also natural predators of aphids, so attracting them to your garden can provide effective control.
Fungal diseases, such as early blight and powdery mildew, are common problems that tomato gardeners face. Early blight appears as dark spots on leaves, stems, and fruits, eventually leading to plant decline. Powdery mildew, on the other hand, presents as a white powdery coating on the leaves. To prevent these diseases, ensure proper spacing between plants to promote airflow and reduce humidity. Avoid overhead watering and instead water at the base of the plants. Applying a fungicidal spray specifically formulated for tomatoes can also help prevent or control these diseases.
Blossom-end rot is a physiological disorder rather than a pest or disease, but it can still cause significant damage to tomato fruits. It appears as a dark, sunken spot at the bottom of the fruit and is caused by calcium deficiency or fluctuations in soil moisture. To prevent blossom-end rot, maintain consistent soil moisture by watering regularly and providing adequate calcium through amendments or fertilizers.
Harvesting and storing tomatoes
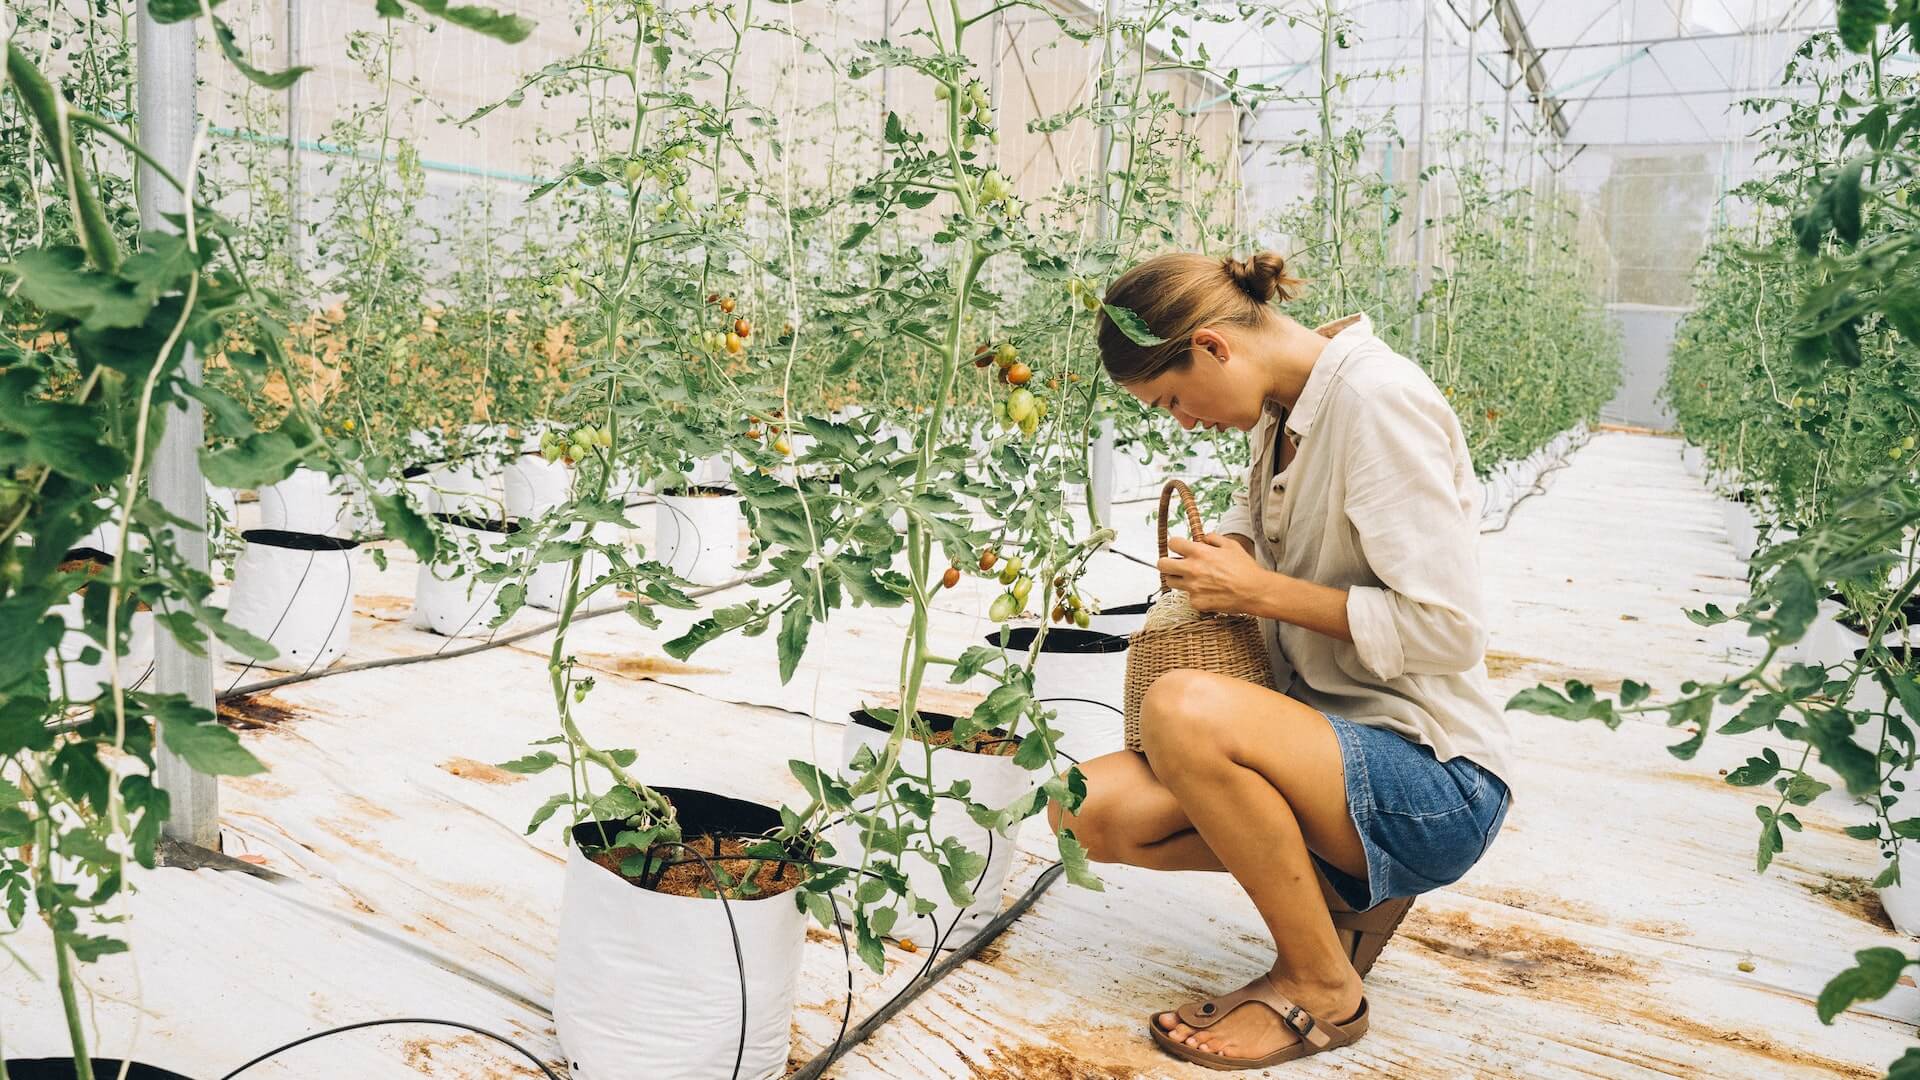
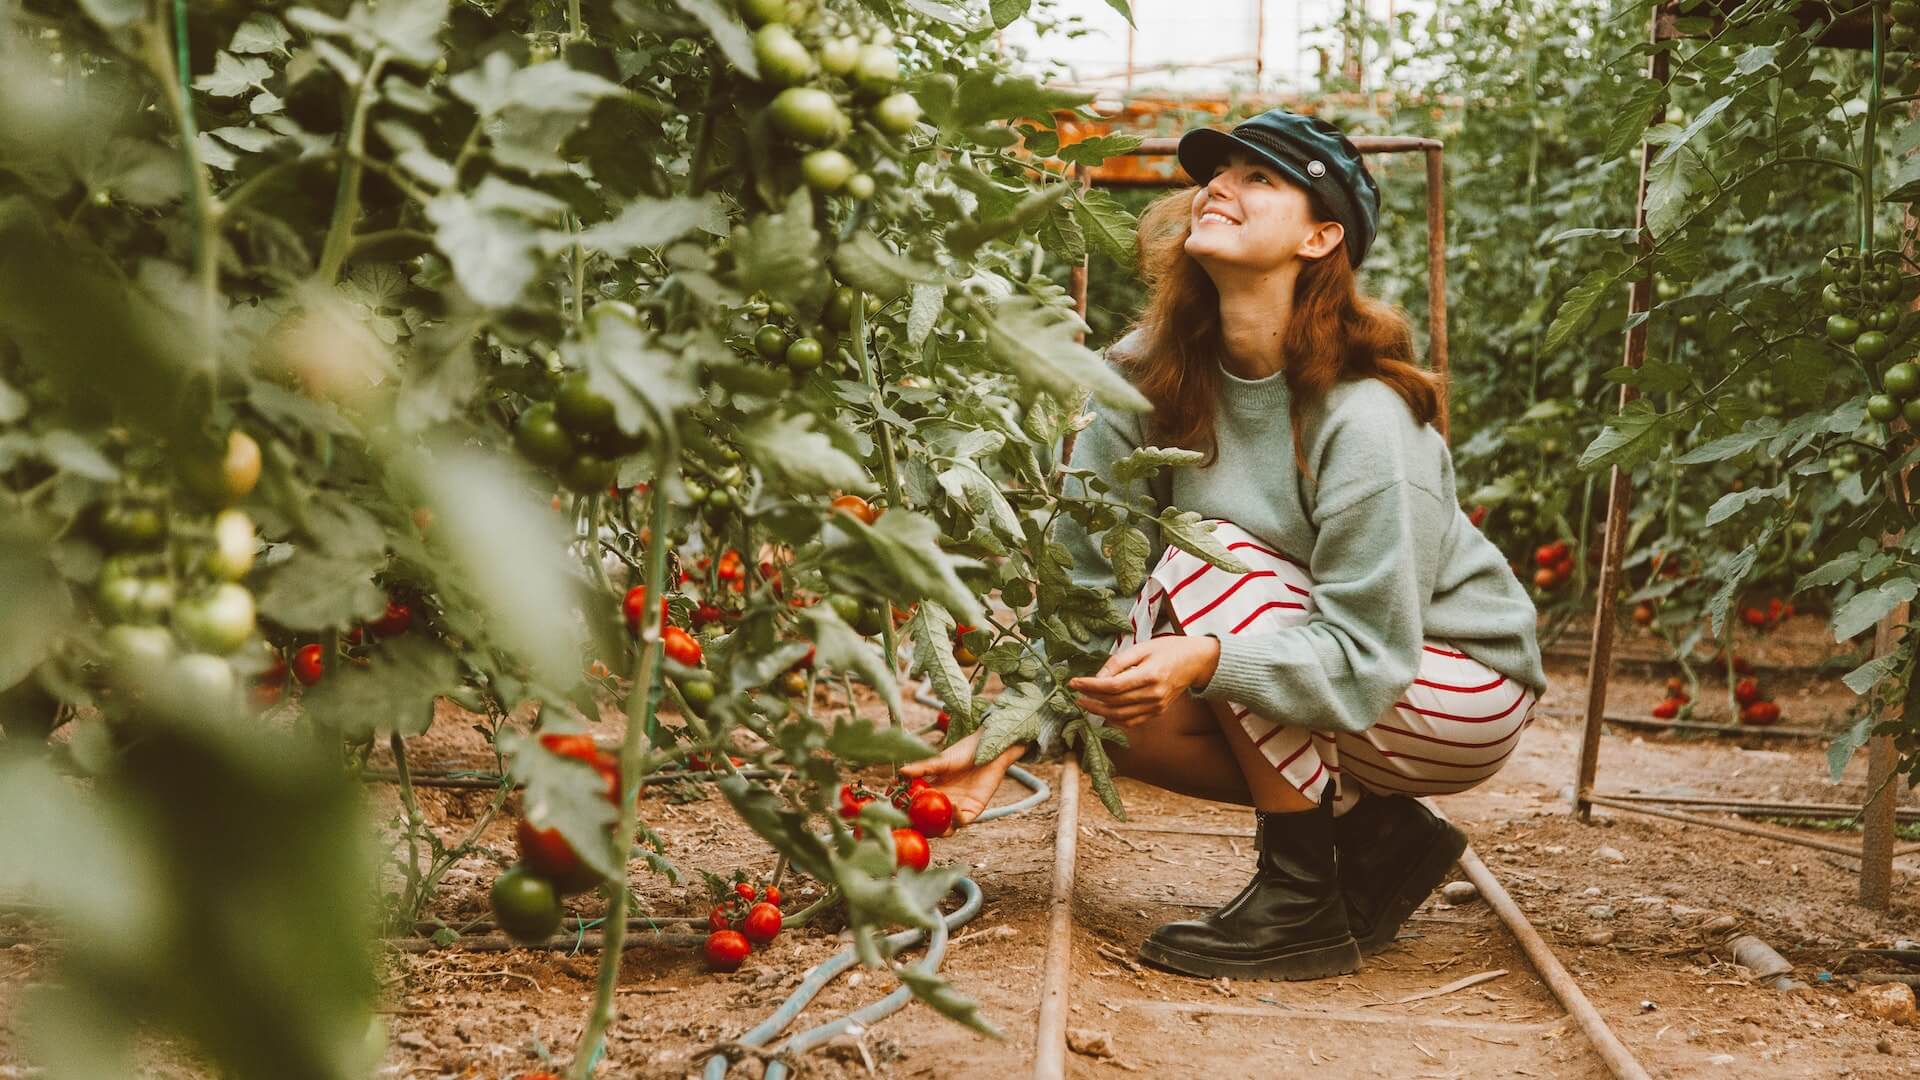
Harvesting and storing tomatoes is the culmination of all your hard work and patience throughout the growing season. The moment when you can finally taste the vibrant flavors of your homegrown tomatoes is incredibly rewarding. However, it is essential to know the right techniques for harvesting and storing tomatoes to ensure their optimal taste and longevity.
When it comes to harvesting tomatoes, timing is key. You want to wait until the fruits are fully ripe on the vine before picking them. A ripe tomato should have a vibrant color, be firm (yet slightly yielding to gentle pressure), and easily detach from the stem with a gentle twist or snip. Remember that tomatoes will continue to ripen after being picked, so it’s better to harvest them slightly underripe if you want to avoid overripening.
To avoid damaging the delicate fruits, handle them with care when harvesting. Use a pair of clean, sharp pruning shears or scissors to cut the stem about half an inch above the fruit. Avoid pulling or twisting the tomatoes off the vine, as this may cause unnecessary stress and damage to both the fruit and the plant.
Once you’ve harvested your tomatoes, it’s time to store them properly to maximize their shelf life. One option is to allow them to fully ripen on your kitchen counter. Simply place the tomatoes in a single layer, with some space between each fruit, and let them ripen at room temperature. This method is ideal if you plan to use the tomatoes within a few days.
If you have a larger harvest or want to store tomatoes for a longer period, consider refrigerating them. Place the fully ripe tomatoes in a breathable container, such as a cardboard box or a mesh bag, and store them in the refrigerator’s crisper drawer. However, be aware that refrigeration can affect the flavor and texture of tomatoes, so it’s best to use them within a week.
Another alternative for long-term storage is preserving tomatoes through canning or freezing. Canning involves processing the tomatoes in jars with the addition of acids (like lemon juice) and heat to ensure their safety. Freezing, on the other hand, requires blanching the tomatoes briefly before transferring them to freezer-safe containers. Both methods allow you to enjoy the taste of your homegrown tomatoes even during the off-season.
Delicious tomato recipes to enjoy from your homegrown harvest
After months of nurturing and caring for your tomato plants, the time has finally come to enjoy the fruits of your labor – literally! There’s nothing quite like the taste of a sun-ripened, homegrown tomato picked fresh from the vine. But why stop at just enjoying them on their own? With a bountiful harvest at your fingertips, it’s the perfect opportunity to explore a variety of mouthwatering tomato recipes.
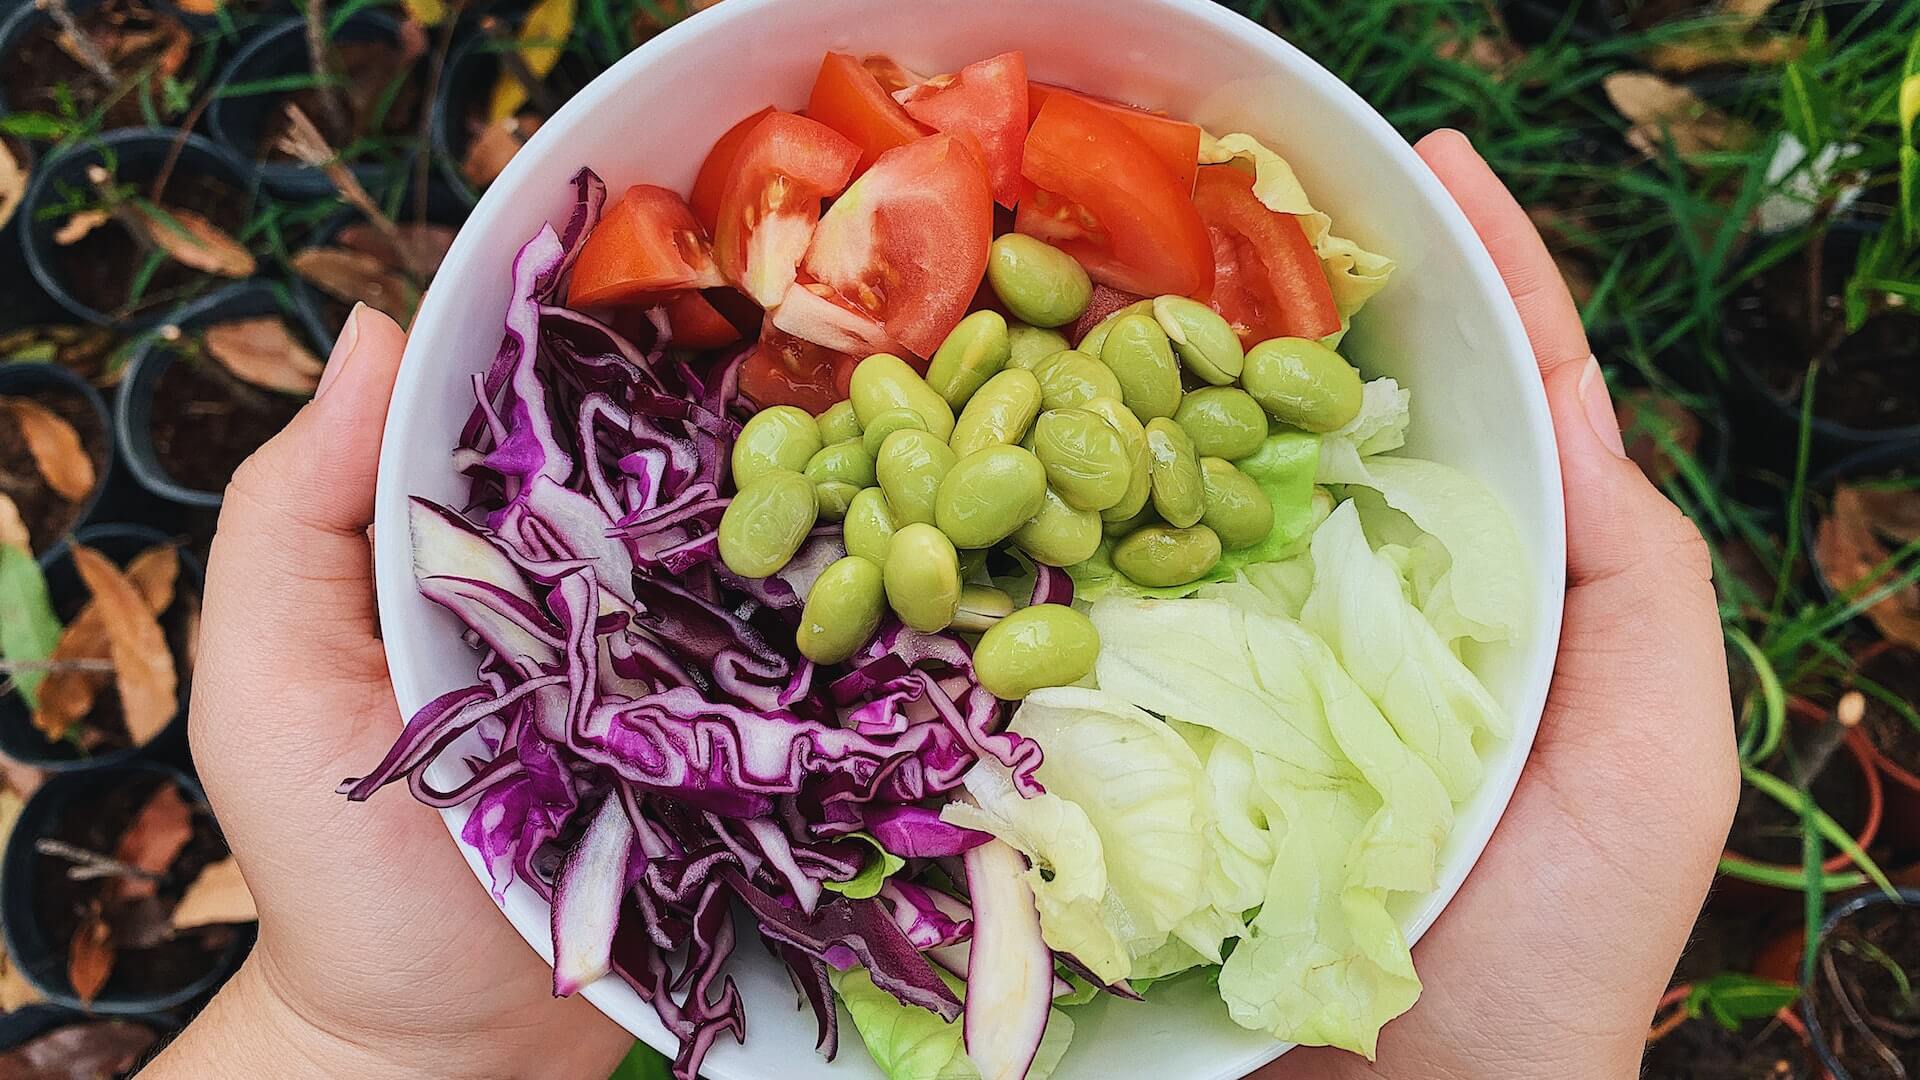
1. Caprese Salad:
This classic Italian dish showcases the vibrant flavors of tomatoes, fresh mozzarella cheese, and fragrant basil leaves. Drizzle with balsamic glaze and a sprinkle of salt and pepper for a simple yet elegant appetizer or side dish.
2. Tomato Bruschetta:
Slice up juicy tomatoes and combine them with minced garlic, fresh basil, olive oil, and a touch of balsamic vinegar. Pile this delicious mixture onto toasted bread slices for a delightful and flavorful appetizer.
3. Homemade Tomato Sauce:
There’s nothing quite like the rich, robust taste of homemade tomato sauce. Simmer your freshly harvested tomatoes with onions, garlic, herbs, and a pinch of sugar to create a versatile sauce that can elevate any pasta dish or serve as a base for pizza.
4. Tomato Gazpacho:
Beat the summer heat with a refreshing bowl of chilled tomato gazpacho. Blend ripe tomatoes with cucumbers, bell peppers, onions, garlic, and a splash of olive oil for a cold soup bursting with flavors.
5. Tomato Tart:
Impress your guests with a visually stunning tomato tart. Layer thinly sliced tomatoes on a bed of puff pastry, sprinkle with cheese and herbs, then bake until golden and bubbling. This savory tart is perfect for brunch or a light dinner.
6. Tomato Salsa:
Spice things up with a homemade tomato salsa. Dice up tomatoes, onions, jalapenos, cilantro, and lime juice for a zesty condiment that pairs well with tortilla chips, tacos, or grilled meats.
7. Stuffed Tomatoes:
Hollow out ripe tomatoes and stuff them with a savory filling of your choice, such as rice, ground meat, or a medley of vegetables. Bake until tender for a satisfying and wholesome meal.
Troubleshooting common tomato gardening problems
Tomato gardening can be a rewarding and fulfilling experience, but it’s not without its challenges. As an avid gardener, you may encounter various problems that can hinder the growth and productivity of your tomato plants. However, with proper troubleshooting techniques, you can overcome these obstacles and ensure a successful harvest.
One common issue that tomato growers face is fungal diseases, such as early blight or powdery mildew. These diseases can cause yellowing leaves, brown spots, and a decline in plant health. To prevent fungal diseases, it’s crucial to provide adequate air circulation by spacing your plants appropriately and removing any infected foliage. Additionally, applying organic fungicides or using preventive measures like copper sprays can help combat these diseases effectively.
Another challenge tomato gardeners often encounter is nutrient deficiencies. Tomatoes require a balanced supply of nutrients, especially nitrogen, phosphorus, and potassium, for healthy growth and fruit production. If you notice yellowing leaves, stunted growth, or poor fruit development, it may indicate a nutrient deficiency. Conducting a soil test can help identify the specific nutrient lacking in your soil. Once identified, you can address the issue by incorporating organic fertilizers or amendments to replenish the nutrient levels.
Pest infestations can also wreak havoc on your tomato plants. Common tomato pests include aphids, tomato hornworms, and whiteflies. These pests can cause leaf damage, defoliation, and even transmit diseases. Implementing preventive measures such as regular inspection, handpicking pests, and using organic pest control methods like neem oil or insecticidal soaps can help keep these unwanted visitors at bay.
Furthermore, environmental factors like extreme temperatures, inconsistent watering, or excessive sunlight can impact the health and productivity of your tomato plants. Tomatoes thrive in warm temperatures, ideally between 70-85°F (21-29°C). During heatwaves, providing shade or using row covers can protect your plants from excessive sun and heat. Additionally, maintaining a consistent watering routine, ensuring proper drainage, and using mulch can help regulate soil moisture levels and prevent issues like blossom-end rot or cracking.
Conclusion
Growing your own tomatoes is a rewarding experience, and with the tips and techniques outlined in this blog post, you’ll be well on your way to a bountiful harvest. From choosing the right tomato variety to nurturing your plants and dealing with common challenges, we’ve covered it all. Now it’s time to get your hands dirty and watch your tomato plants thrive. Happy gardening!