HDR photography is a technique that allows photographers to capture stunning, high-quality images with incredible detail and depth. It stands for High Dynamic Range photography, which means that it captures a wider range of light and dark tones in a single image. This technique can be particularly useful when capturing images with high contrast, such as landscapes, cityscapes, and architecture. However, mastering the art of HDR photography can be challenging. It requires an understanding of the technical aspects of photography and the ability to use specialized software to process the images. In this post, we will share some tips and techniques to help you master the art of HDR photography. From setting up your camera and choosing the right settings, to processing your images in post-production, we will provide you with everything you need to know to take your HDR photography to the next level.
Introduction to HDR photography and its benefits
HDR (High Dynamic Range) photography is a technique that allows photographers to capture a wider range of light and detail in their images. By combining multiple exposures of the same scene, HDR photography creates stunning images with enhanced tonal range and clarity.
The benefits of HDR photography are numerous. Firstly, it allows photographers to overcome the limitations of traditional photography where the camera struggles to capture both dark shadows and bright highlights in a single shot. With HDR, you can capture the full spectrum of light, from the darkest shadows to the brightest highlights, resulting in images that are more true to life.
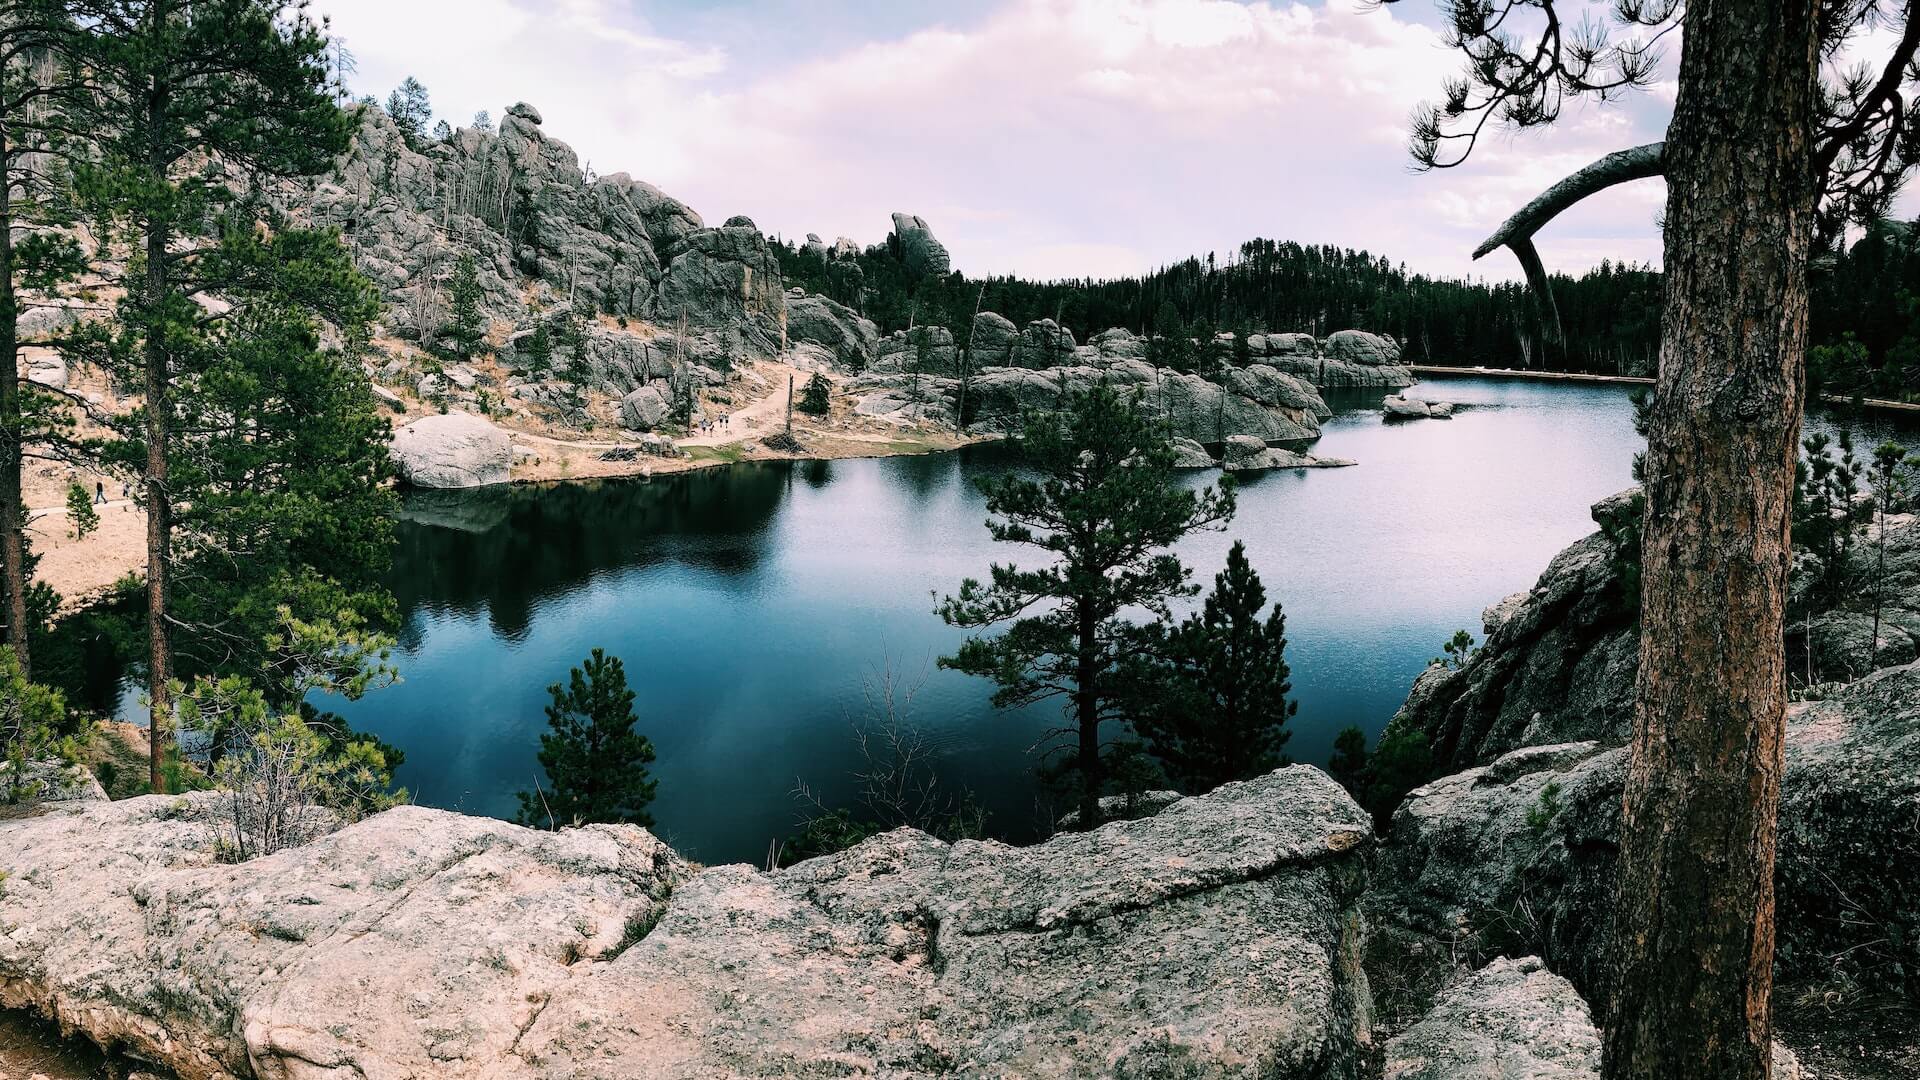
Additionally, HDR photography enables photographers to create images with greater depth and detail. The technique brings out the subtle nuances and textures in a scene, revealing intricate details that may have been lost in a single exposure. This can be particularly advantageous in landscape photography, where the intricate details of nature can be fully showcased.
Furthermore, HDR photography offers creative possibilities for photographers to express their artistic vision. By manipulating the exposure settings and merging multiple images, photographers can create surreal and dramatic effects, adding a unique touch to their photographs.
Lastly, HDR photography can be a valuable tool for photographers in challenging lighting situations. Whether it’s a high contrast scene with harsh lighting or a low-light situation with deep shadows, HDR allows photographers to capture the full range of tones and colors, resulting in well-balanced and visually captivating images.
Understanding the concept of dynamic range in photography
Understanding the concept of dynamic range in photography is crucial for mastering the art of HDR (High Dynamic Range) photography. Dynamic range refers to the difference between the darkest and lightest areas in a photograph. In a scene with a wide dynamic range, such as a landscape with bright sunlight and deep shadows, a single photograph may struggle to capture the full range of tones accurately.
This is where HDR photography comes into play. By capturing multiple exposures of the same scene at different exposure levels, you can preserve details in both the highlights and shadows. The goal is to create a final image that more closely resembles what the human eye sees.
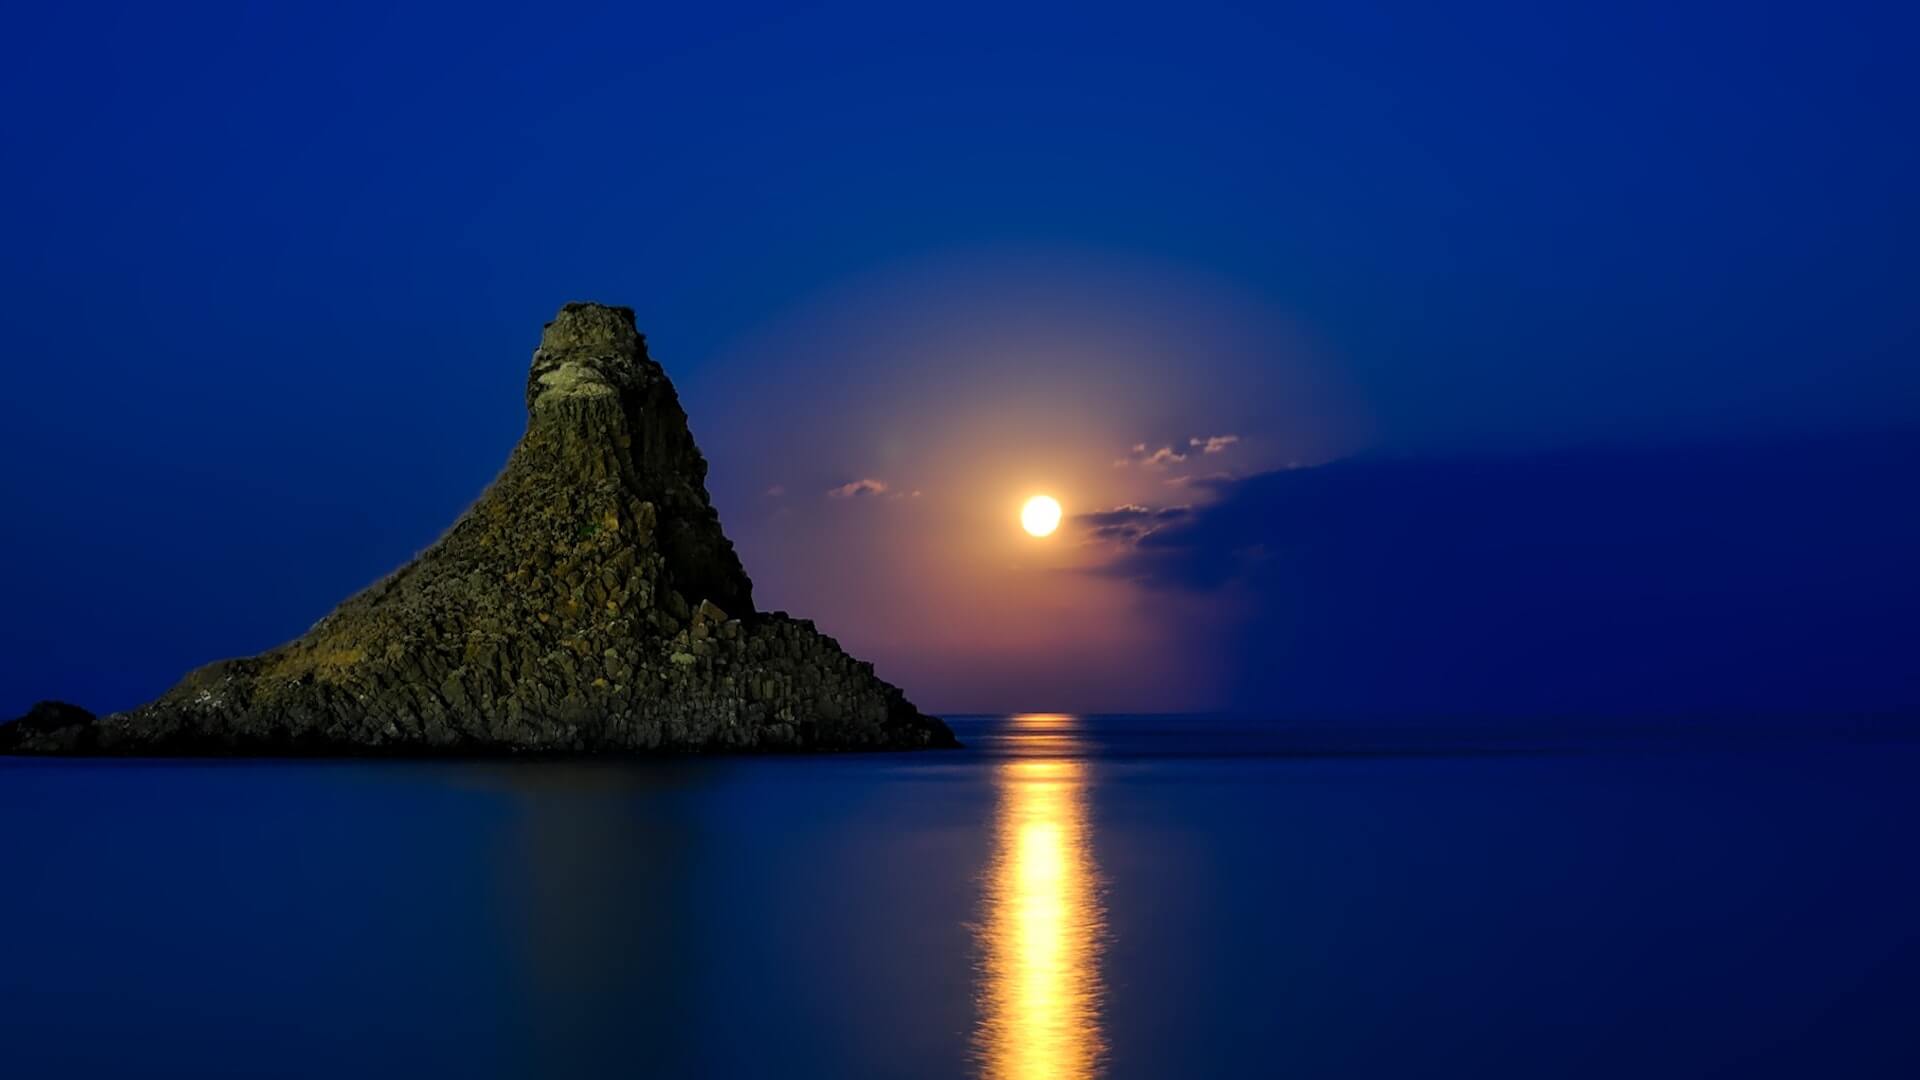
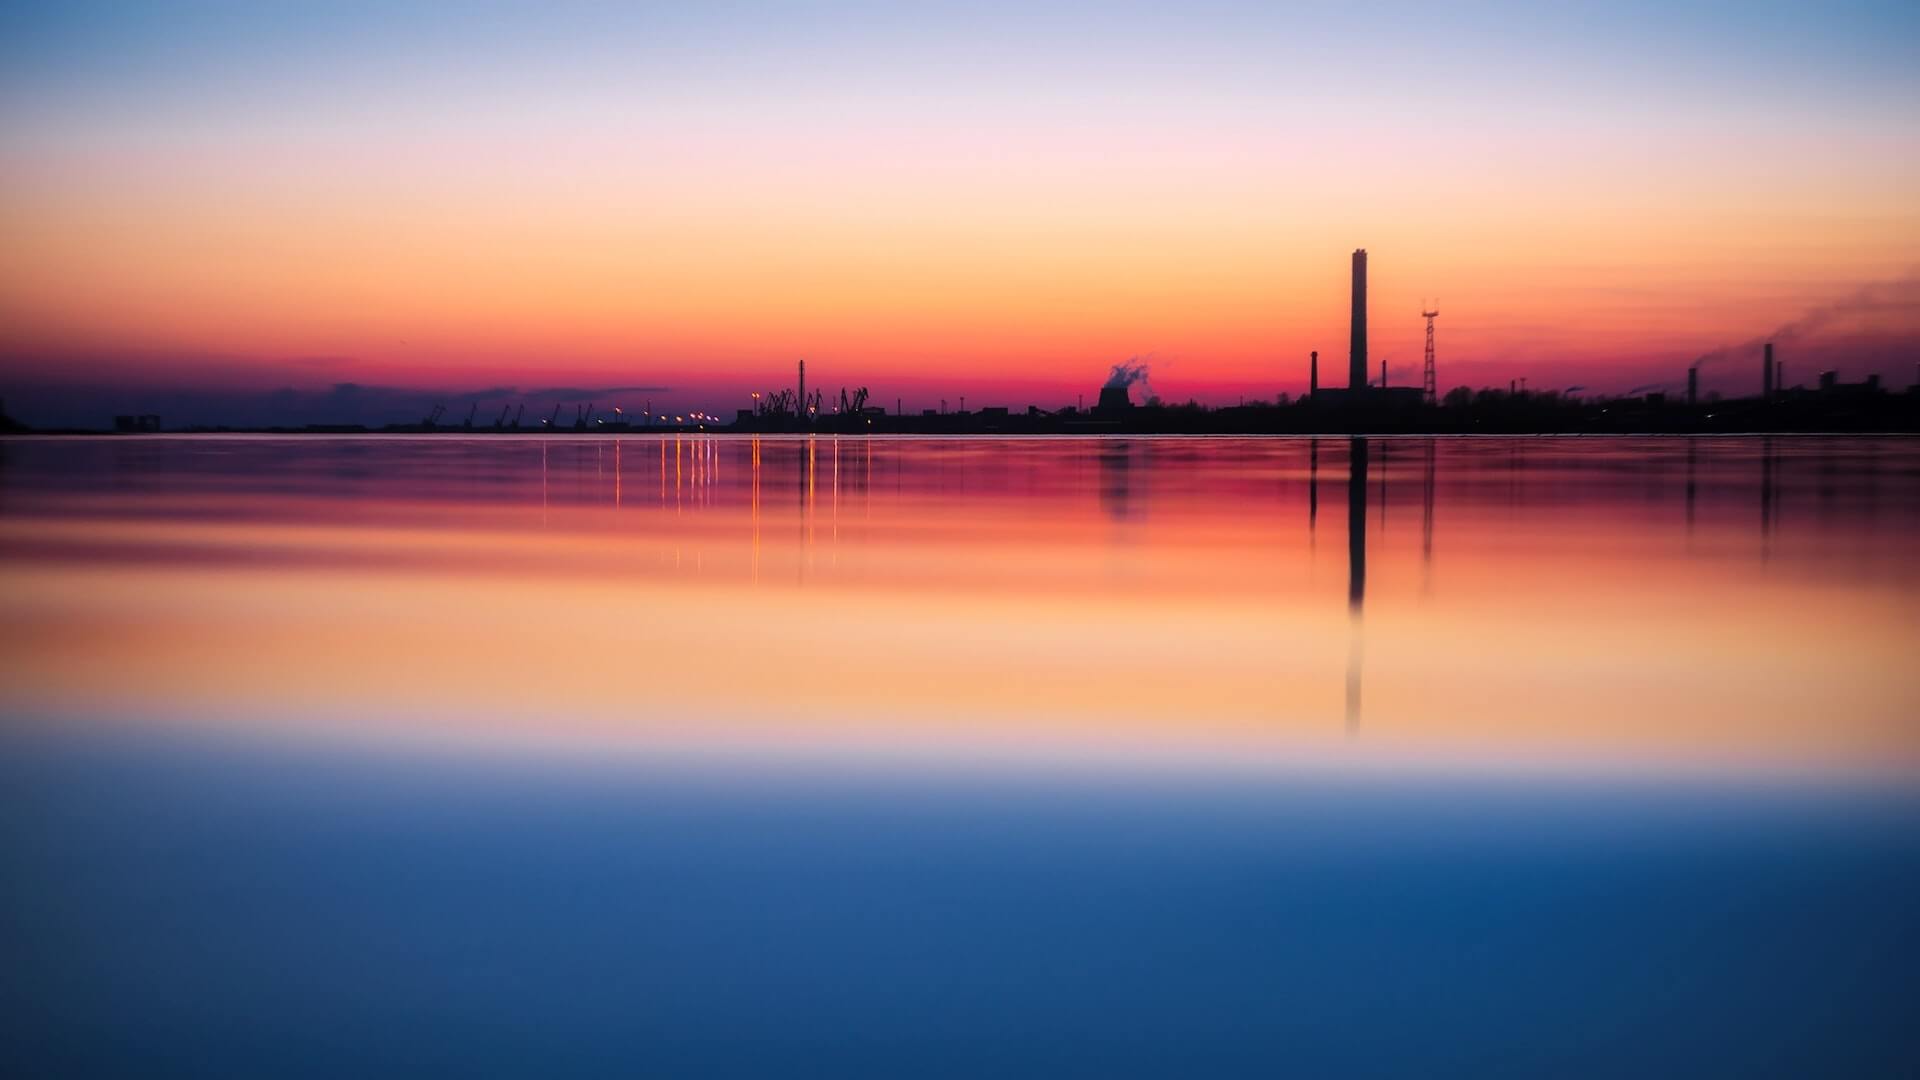
To understand dynamic range better, imagine a sunset scene with a bright sun slowly descending below the horizon. Without HDR, you might end up with a beautifully exposed sky but lose all the details in the foreground. On the other hand, if you expose for the foreground, the sky might become overexposed and lose its vibrant colors.
HDR photography allows you to capture a series of exposures, including the brightest and darkest areas, and blend them together in post-processing. This technique helps to create a final image with a wider dynamic range, showcasing both the intricate details in the shadows and the subtle nuances in the highlights.
Equipment needed for HDR photography
To achieve stunning HDR (High Dynamic Range) photography, you’ll need a few essential pieces of equipment. While it’s true that you can create HDR images with just a smartphone, having the right gear can greatly enhance your results and elevate your photography to the next level.
1. Camera:
A digital SLR or mirrorless camera with manual controls is ideal for capturing the multiple exposures needed for HDR photography. These cameras allow you to adjust settings such as aperture, shutter speed, and ISO, giving you more control over the final image.
2. Tripod:
Stability is crucial when shooting HDR images, as you’ll be capturing multiple exposures of the same scene. Using a sturdy tripod ensures that your camera remains perfectly still throughout the bracketing process, resulting in sharp and aligned images.
3. Remote Shutter Release:
A remote shutter release or cable release eliminates any camera shake caused by pressing the shutter button manually. This helps maintain the consistency of each exposure and ensures that all images are aligned perfectly during post-processing.
4. Wide Dynamic Range Lens:
While any lens can be used for HDR photography, using a wide dynamic range lens can enhance the overall image quality. These lenses can capture a wide range of tones, allowing for more detail in both the highlights and shadows of the scene.
5. ND Filters:
Neutral Density (ND) filters are useful for balancing the exposure of a scene with extreme contrast. By reducing the amount of light entering the camera, ND filters enable you to capture longer exposures, which can be beneficial when shooting landscapes or architectural scenes.
6. Software:
In addition to the physical equipment, you’ll need software capable of merging and tonemapping the multiple exposures captured. There are various HDR software options available, such as Adobe Photoshop, Photomatix, and Aurora HDR, each offering their own unique features and capabilities.
Choosing the right subjects for HDR photography
When it comes to HDR photography, choosing the right subjects can greatly enhance the final outcome of your images. The goal of HDR photography is to capture a wide range of tonal values, from the darkest shadows to the brightest highlights, and blend them together for a more dynamic and visually stunning result.
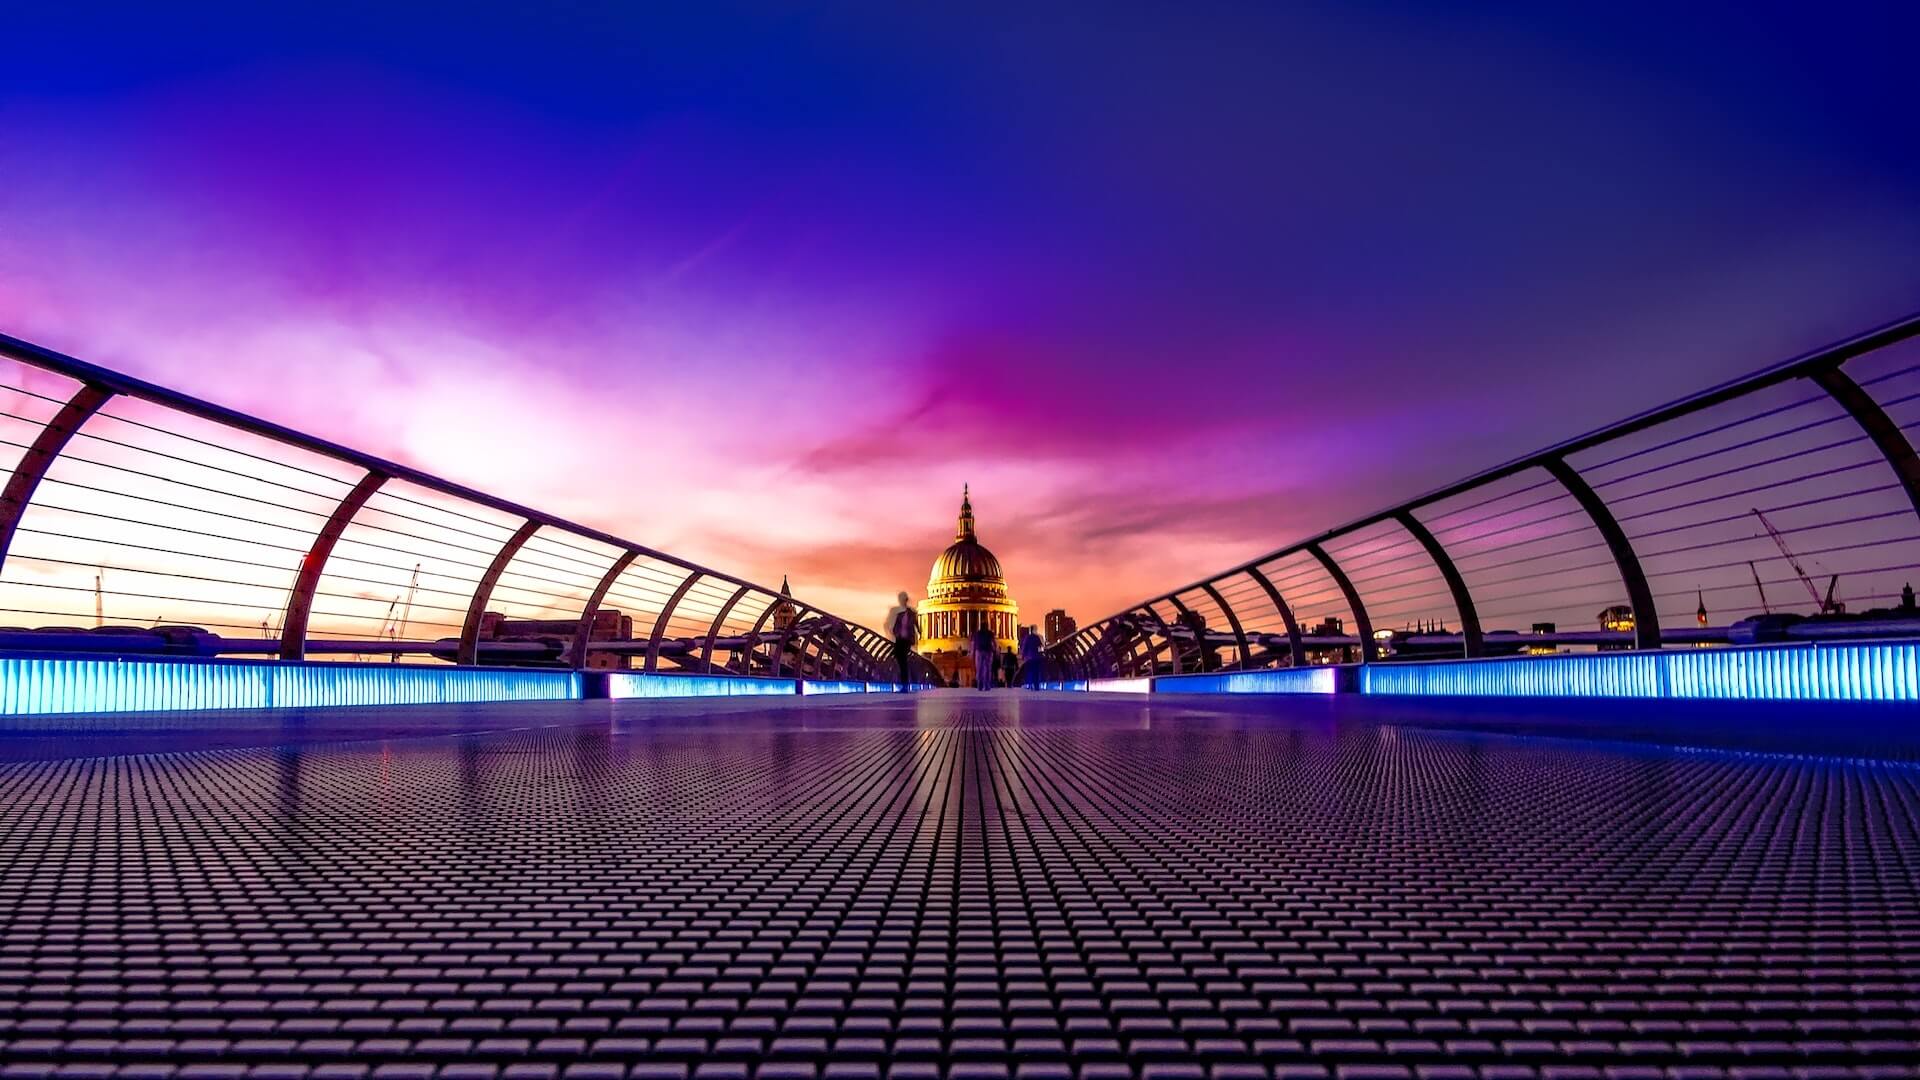
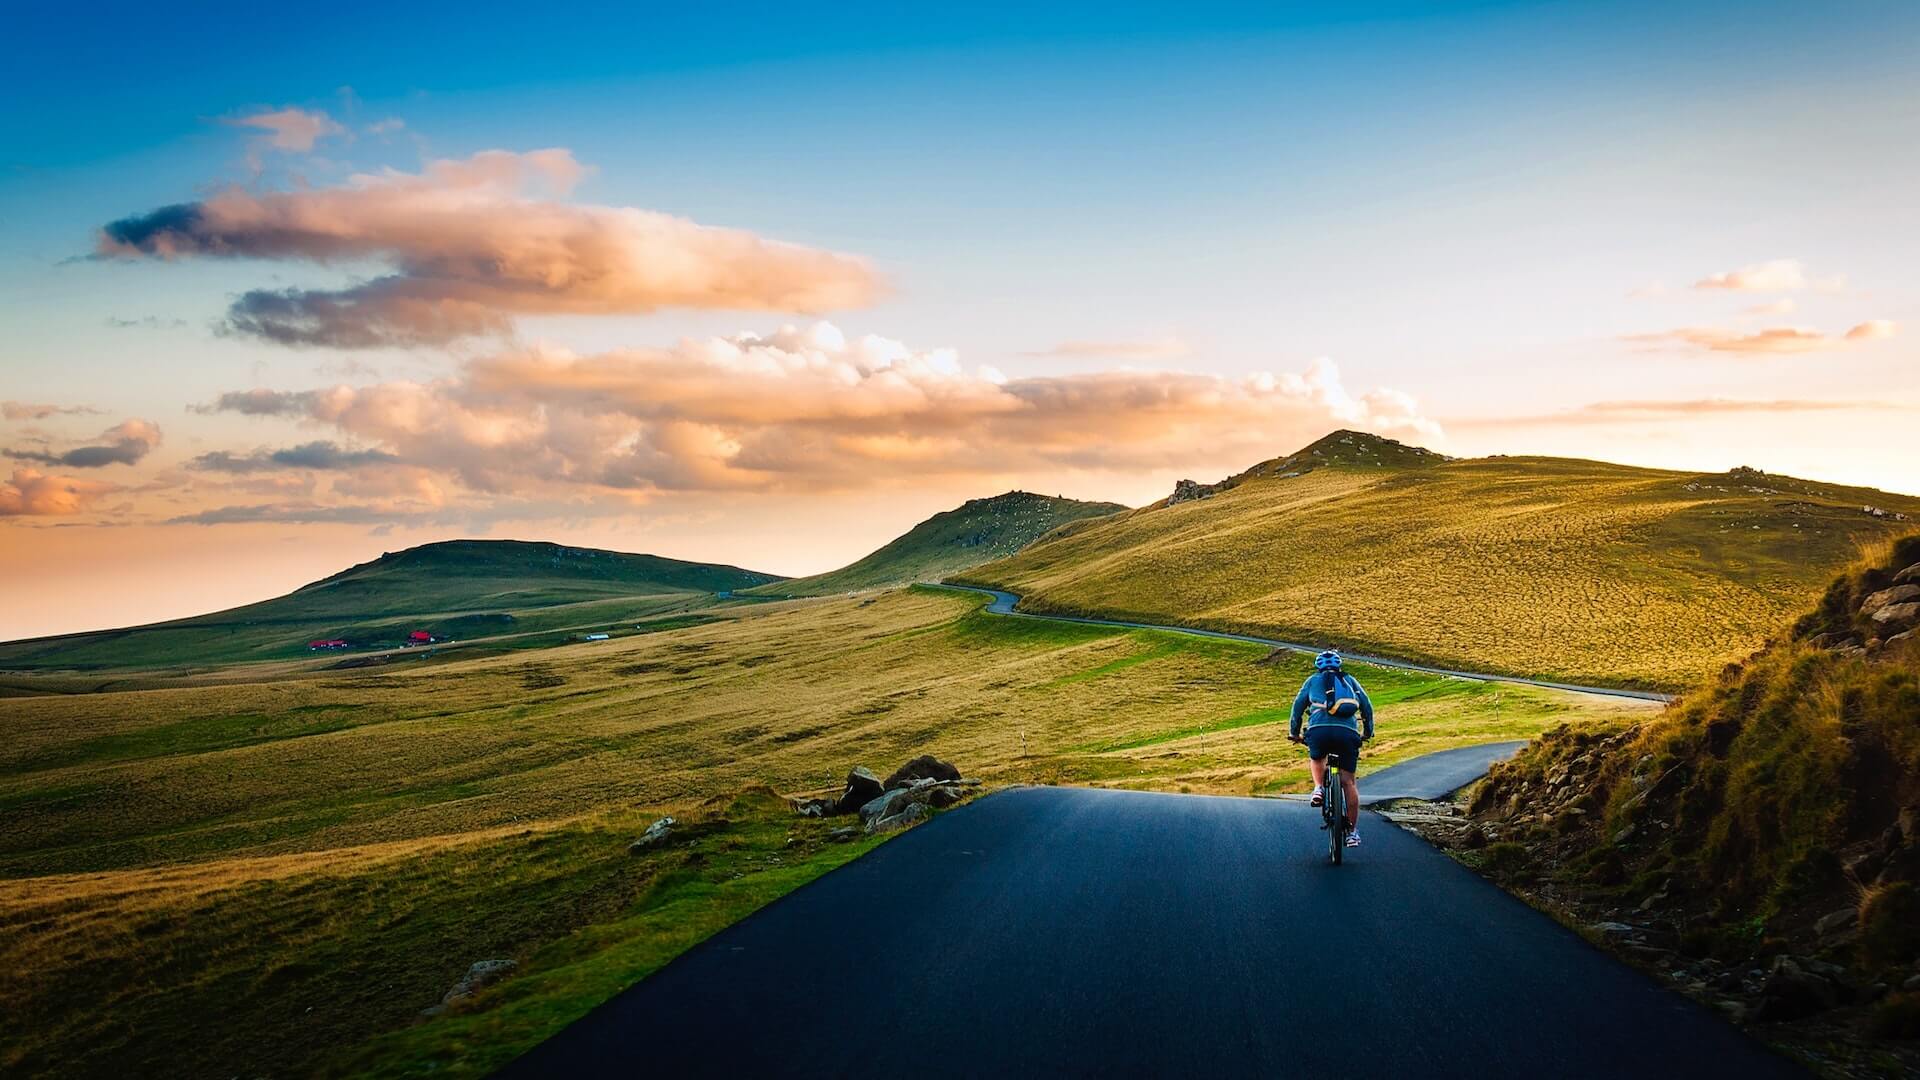
One of the key factors to consider when selecting subjects for HDR photography is the presence of high contrast lighting conditions. Scenes with extreme differences between light and dark areas, such as a sunset landscape with vibrant colors or an interior shot with dramatic light streaming through windows, can produce breathtaking results when captured using the HDR technique.
Another important aspect to consider is the texture and details within the subject. HDR photography can bring out intricate details and textures that may be lost in a single exposure. Therefore, subjects that feature intricate patterns, architectural details, or natural elements such as foliage or water can make for compelling HDR images.
Additionally, it’s worth noting that HDR photography is not limited to only outdoor or landscape scenes. Various subjects, such as urban cityscapes, interior architecture, still life, and even portraits, can benefit from the HDR treatment. The key is to identify subjects that can benefit from the enhanced tonal range and bring out their unique characteristics through the HDR process.
Shooting techniques for capturing multiple exposures
HDR photography involves combining multiple exposures of the same scene to capture a wide range of light and detail. Here are some tips to help you perfect your shooting techniques for capturing multiple exposures:
1. Use a tripod:
To ensure that your multiple exposures align perfectly, it is essential to use a sturdy tripod. This will eliminate any camera shake and help maintain consistency throughout your shots.
2. Set your camera to bracketing mode:
Most cameras have a bracketing mode that allows you to automatically capture a series of exposures with different exposure values. This feature simplifies the process of capturing multiple exposures and ensures consistency in the image alignment.
3. Determine the optimal exposure range:
Before you start shooting, evaluate the scene’s dynamic range and determine the number of exposures you will need to capture all the details. Generally, three to five exposures with varying exposure values will suffice for most scenes.
4. Consider using a remote shutter release:
Using a remote shutter release or a timer delay can further minimize camera shake. This is especially important when shooting long exposures for capturing details in darker areas of the scene.
5. Use exposure compensation:
If your camera doesn’t have a bracketing mode, you can manually adjust the exposure compensation settings between each shot. Start with the base exposure, then underexpose and overexpose subsequent shots accordingly.
6. Focus and depth of field:
To maintain consistent focus throughout the multiple exposures, it is recommended to use manual focus. Additionally, consider using a smaller aperture to increase the depth of field and ensure that all elements in your scene are sharp.
7. Experiment with different compositions:
While capturing multiple exposures, take the opportunity to explore various compositions and perspectives. HDR photography allows for greater flexibility in post-processing, so don’t be afraid to experiment with different angles and framing techniques.
Bracketing and exposure blending methods
When it comes to capturing stunning HDR (High Dynamic Range) photographs, bracketing and exposure blending methods are essential techniques to master. Bracketing involves taking multiple shots of the same scene at different exposure levels, while exposure blending combines the best parts of each image to create a final photograph with a wide range of tones.

To start, set your camera to bracketing mode, which allows you to automatically capture a series of images at different exposures. Typically, you’ll want to take three shots: one at the regular exposure, one underexposed, and one overexposed. Adjust the exposure compensation to achieve the desired range.
Once you have your bracketed shots, you can use various software programs, such as Adobe Photoshop or Lightroom, to blend the exposures into a single HDR image. These programs offer tools and presets specifically designed for HDR photography, making the blending process intuitive and efficient.
Alternatively, you can manually blend the exposures using layers in Photoshop. This gives you more control over the final result, allowing you to selectively choose the best parts of each image. Start by opening all the bracketed shots as layers, aligning them if necessary. Then, mask out the overexposed and underexposed areas, revealing the well-exposed parts underneath. This technique requires some post-processing skills but can yield stunning results.
Additionally, you can explore HDR software specifically designed for merging bracketed shots, such as Photomatix or Aurora HDR. These programs offer advanced algorithms and settings to produce natural-looking HDR images with enhanced details and vibrant colors.
HDR software options and their features
When it comes to HDR photography, having the right software is crucial to achieving stunning results. There are several options available in the market, each offering unique features and capabilities. Here, we’ll explore some popular HDR software and what sets them apart.
1. Adobe Photoshop:
As a powerhouse in the creative industry, Photoshop offers a robust HDR feature set. It allows you to merge multiple exposures, fine-tune tonal range, and apply creative effects. With its intuitive user interface, extensive editing tools, and advanced masking capabilities, Photoshop provides unparalleled control over your HDR images.
2. Aurora HDR:
Developed by Skylum, Aurora HDR is specifically designed for creating high dynamic range images. It boasts an impressive range of features, including AI-powered tone mapping, HDR denoise, and a wide range of customizable filters. With its user-friendly interface and presets designed by professional photographers, Aurora HDR makes it easy to achieve stunning HDR results.
3. Photomatix Pro:
Widely recognized as one of the pioneers in HDR software, Photomatix Pro offers a comprehensive set of tools for merging and tone mapping multiple exposures. It provides various blending options, ghost removal, and a range of tone mapping algorithms to suit different styles. Photomatix Pro also supports batch processing, making it ideal for handling large volumes of HDR images.
4. Nik Collection:
While not exclusively an HDR software, the Nik Collection, now owned by DxO, includes HDR Efex Pro, a powerful tool for creating HDR images. With its extensive range of presets, fine-grained adjustment controls, and advanced tone mapping algorithms, it offers a flexible and creative approach to HDR photography. The Nik Collection also integrates seamlessly with other popular editing software like Adobe Photoshop and Lightroom.
5. EasyHDR:
As the name suggests, EasyHDR focuses on providing a user-friendly experience for HDR enthusiasts. It offers an intuitive interface, automated alignment and ghost removal, and a comprehensive range of tone mapping options. EasyHDR also supports batch processing and provides features for handling 360-degree panoramic images.
Step-by-step guide to creating stunning HDR images
Creating stunning HDR images can seem intimidating at first, but with the right techniques and a step-by-step approach, you can master this art form and elevate your photography to a whole new level.
Step 1: Capture a Series of Bracketed Exposures
To begin, set your camera to bracketing mode and capture a series of exposures, typically three or more, at different exposure settings. Ensure that each exposure captures a different range of highlights and shadows.
Step 2: Import and Align the Images
Import the bracketed images into your preferred HDR software. Most software options have an alignment feature that helps correct any slight variations in camera movement between shots, ensuring a seamless final result.
Step 3: Merge and Tone Map
Next, merge the bracketed images into a single HDR image. This process combines the properly exposed areas from each exposure to create a dynamic range that is not possible with a single shot. After merging, use the tone mapping feature to adjust the overall tonality, contrast, and color saturation of the image.
Step 4: Fine-Tune the Settings
Once you have a basic tone-mapped image, delve into the advanced settings to fine-tune the results. Adjust the gamma, exposure, saturation, and other parameters to achieve the desired look and feel. Be mindful not to overdo these adjustments, as it can result in an unnatural and artificial appearance.
Step 5: Enhance Local Details with HDR Editing
To bring out the best in your HDR image, consider utilizing HDR editing techniques. This involves selectively enhancing specific areas or details within the image using adjustment brushes or layers. By applying targeted adjustments, you can highlight textures, increase sharpness, or selectively adjust colors to create a more captivating and visually striking final image.
Step 6: Evaluate and Refine
Before finalizing your HDR image, take a step back and evaluate the overall composition and tonal balance. Make any necessary refinements to ensure a visually harmonious and pleasing result. Pay attention to details such as noise reduction, lens distortions, and chromatic aberrations, as these can affect the overall quality of your image.
Post-processing techniques for enhancing HDR photos
While HDR photography captures a wider dynamic range of light and shadows, the raw images often need some fine-tuning to achieve the desired result. Here are some effective post-processing techniques to elevate your HDR photos to the next level.
1. Tone Mapping:
Tone mapping is a popular technique used to compress the dynamic range of an HDR image, making it visually appealing and well-balanced. Experiment with different tone mapping algorithms and settings to achieve the desired level of contrast, saturation, and detail.
2. Selective Adjustments:
With HDR images, certain areas may require specific adjustments to bring out their best qualities. Use selective editing tools to make targeted adjustments to highlight details in shadows, recover blown-out highlights, or enhance the colors in specific areas. This level of control allows you to create a more balanced and visually striking final image.
3. Color Grading:
Color grading can significantly impact the mood and atmosphere of an HDR photo. Experiment with different color grading techniques to enhance the overall look and feel of the image. Adjust the white balance, saturation, and vibrancy to achieve the desired color palette and create a cohesive visual story.
4. Noise Reduction:
HDR images often tend to have higher levels of noise due to the merging of multiple exposures. Utilize noise reduction tools to minimize noise while preserving the fine details in your photo. Finding the right balance between noise reduction and retaining important details is crucial for a clean and professional-looking image.
5. Sharpening and Detail Enhancement:
To bring out the intricate details and textures in your HDR photo, apply sharpening techniques selectively. Enhance the overall sharpness and clarity without introducing artifacts or exaggerating noise. This step can make a significant difference in the overall impact and sharpness of your image.
6. Composition and Cropping:
Post-processing is not limited to technical adjustments; it also allows you to refine the composition of your HDR photo. Experiment with different cropping ratios and consider removing any distracting elements that may take away from the main subject. A well-composed and balanced image can enhance the visual impact of your HDR photo.
Common mistakes to avoid in HDR photography
One of the most common mistakes in HDR photography is over-processing. It’s tempting to push the sliders to the extreme, creating an overly saturated and unnatural look. While HDR allows for greater dynamic range, it’s crucial to maintain a balance and keep the final image looking realistic. Avoid excessive saturation, over-sharpening, and artificial-looking colors to achieve a more pleasing and natural result.
Another mistake to avoid is using too many brackets. While it’s important to capture multiple exposures to create a high dynamic range, using too many brackets can lead to issues during the merging process. Extra brackets can introduce unwanted noise, artifacts, and can make the final image appear unnatural. Instead, focus on capturing a well-exposed bracket series that adequately covers the dynamic range of the scene.
Composition is another aspect that should not be overlooked in HDR photography. It’s easy to get carried away with the technical aspects of HDR and forget about the fundamentals of composition. Remember to pay attention to leading lines, symmetry, balance, and other compositional techniques to create visually pleasing images. HDR should enhance your composition, not distract from it.
Lastly, it’s important to be mindful of halos and ghosting artifacts. Halos occur when there is a noticeable bright or dark halo around high contrast areas, such as the edge of a building against the sky. Ghosting artifacts can appear when there is movement in the scene between the bracketed exposures, such as moving clouds or people. To avoid these issues, use a tripod to ensure consistent alignment between exposures and utilize software tools that offer options to reduce or eliminate these artifacts.
Conclusion
HDR photography is a creative technique that allows you to capture stunning images with enhanced dynamic range and vibrant colors. By following the tips and techniques we’ve shared, you’ll be able to elevate your photography skills and take your images to the next level. So grab your camera, experiment with bracketing, and embrace the world of HDR photography. We can’t wait to see the breathtaking shots you capture!