

In the fast-paced world of e-commerce, product photography is everything. It’s the first thing a customer sees when browsing online, and it can make or break a sale. That’s why it’s important to get it right. But mastering the art of product photography can be a daunting task, especially for beginners. With so many elements to consider, from lighting and composition to styling and editing, it can be overwhelming. That’s why we’ve put together this guide to help you achieve stunning product shots that will make your products stand out from the crowd. Whatever your skill level, we’ve got you covered with tips and tricks to take your product photography to the next level. So, grab your camera and let’s get started!
Understanding the purpose and goals of product photography
Product photography serves a crucial role in showcasing your products to potential customers. It is not merely about taking a picture, but rather a deliberate effort to capture the essence and appeal of your product. To master the art of product photography, it is essential to understand the purpose and goals behind it.
First and foremost, the purpose of product photography is to accurately represent your product. Your images should provide an honest and clear depiction of what customers can expect to receive. This helps in building trust and credibility with your audience, as they rely heavily on visual cues to make purchasing decisions.

Additionally, product photography aims to highlight the features, details, and benefits of your product. This includes capturing close-up shots that showcase intricate designs, textures, and unique selling points. By effectively communicating these aspects through your images, you can pique the interest of potential buyers and compel them to explore further.
Another goal of product photography is to evoke emotions and create a connection with your target audience. Visual storytelling plays a vital role in this aspect, as it allows customers to envision themselves using or benefiting from your product. By carefully crafting the composition, lighting, and overall aesthetic, you can create a captivating image that resonates with your viewers on an emotional level.
Lastly, product photography should align with your brand identity and convey your overall brand message. Consistency in style, tone, and visual elements across your product images helps in establishing a recognizable and cohesive brand image. This not only strengthens your brand identity but also enhances brand recall and customer loyalty.
Essential equipment and tools for product photography
When it comes to product photography, having the right equipment and tools is crucial for capturing stunning shots that showcase your products in the best possible light. Here are some essential items that every aspiring product photographer should consider investing in:
1. Camera:
A high-quality camera is the foundation of any successful product photography setup. While a professional DSLR camera is ideal, even a smartphone with a good camera can produce impressive results with the right techniques and lighting.
2. Tripod:
Using a tripod is essential for achieving sharp, well-focused images. It helps eliminate camera shake and allows you to maintain a consistent composition throughout your shoot. Look for a sturdy tripod that can easily support the weight of your camera and lens.
3. Lighting equipment:
Proper lighting is key to capturing the true colors and details of your products. Consider investing in a set of studio lights or continuous lighting kits that provide a consistent and adjustable light source. Softboxes, reflectors, and diffusers can also help control the intensity and direction of light, creating a more professional look.
4. Backgrounds and props:
Choosing the right background and props can enhance the overall aesthetic appeal of your product photos. Seamless paper backdrops, fabric, or textured surfaces can serve as versatile backgrounds, while props like plants, accessories, or lifestyle elements can add context and visual interest.
5. Tripod or tabletop stand for products:
For smaller products or flat lay shots, a tripod or tabletop stand specifically designed for products can be useful. It allows you to position and angle your products precisely, ensuring they are properly displayed and captured from the best perspective.
6. Editing software:
Post-processing plays a significant role in refining and enhancing your product photos. Software like Adobe Photoshop or Lightroom allows you to adjust colors, contrast, and sharpness, as well as remove any imperfections or distractions from the images.
Setting up a dedicated product photography area
Setting up a dedicated product photography area is essential for achieving stunning shots that truly showcase your products. Having a designated space allows you to have better control over the lighting, backdrop, and overall ambiance of your photos.
Choose a well-lit area in your home or office that offers ample natural light. Position your setup near a window or set up artificial lighting to ensure consistent and flattering illumination. Avoid harsh shadows or overly bright spots that can distract from your product.

Consider investing in a photography backdrop or creating your own using a clean, neutral-colored sheet or paper. This will provide a clean and professional-looking background that won’t compete with your product. Depending on your brand’s aesthetic, you may also experiment with different textured or patterned backdrops to add visual interest.
To maintain consistency in your product photography, it’s beneficial to have a designated table or surface for placing your products. This will ensure that your shots have a consistent look and feel. Choose a surface that complements your brand’s style, such as a rustic wooden table or a sleek marble countertop.
Additionally, having a tripod can greatly enhance the quality of your product shots. It helps eliminate camera shake and allows you to achieve sharp, focused images. Invest in a sturdy tripod that can hold your camera steady at different angles and heights.
Lastly, organize your product photography area by keeping all your essential tools and props within easy reach. This includes items like reflectors, diffusers, props, and any other equipment you may need. A well-organized setup will save you time and make your photography sessions more efficient.
Lighting techniques to enhance product images
Proper lighting techniques can make a significant difference in the overall appeal and professionalism of your product images. Here are some tips and tricks to enhance your product photography with effective lighting:
1. Natural Light:
Utilize natural light whenever possible as it provides a soft and even illumination. Set up your shooting area near a large window or outside on a cloudy day to avoid harsh shadows. Position your product in such a way that it receives ample natural light from different angles, creating a balanced and pleasing effect.
2. Diffuse the Light:
Harsh direct light can create unflattering shadows and reflections. To soften the light, use diffusers such as white curtains, translucent fabric, or a lightbox. These materials scatter the light, resulting in a more gentle and even illumination that enhances the details of your product.
3. Use Reflectors:
Reflectors are a valuable tool to manipulate light and fill in shadows. They bounce the natural or artificial light back onto the subject, reducing the contrast and creating a more balanced exposure. You can use a white foam board, a reflector disc, or even aluminum foil to reflect light onto the darker areas of your product.
4. Light Tent or Softbox:
For small products or items that require a controlled lighting environment, consider using a light tent or a softbox. These tools diffuse the light and provide a soft, even illumination around the product, minimizing unwanted shadows and reflections. Light tents are particularly useful for capturing jewelry, small electronics, or food items.
5. Experiment with Artificial Lighting:
If natural light is limited or inconsistent, artificial lighting can be a reliable alternative. Invest in a quality photography lighting kit with adjustable intensity and color temperature. Experiment with different lighting setups and angles to find the most flattering and dramatic effect for your products.
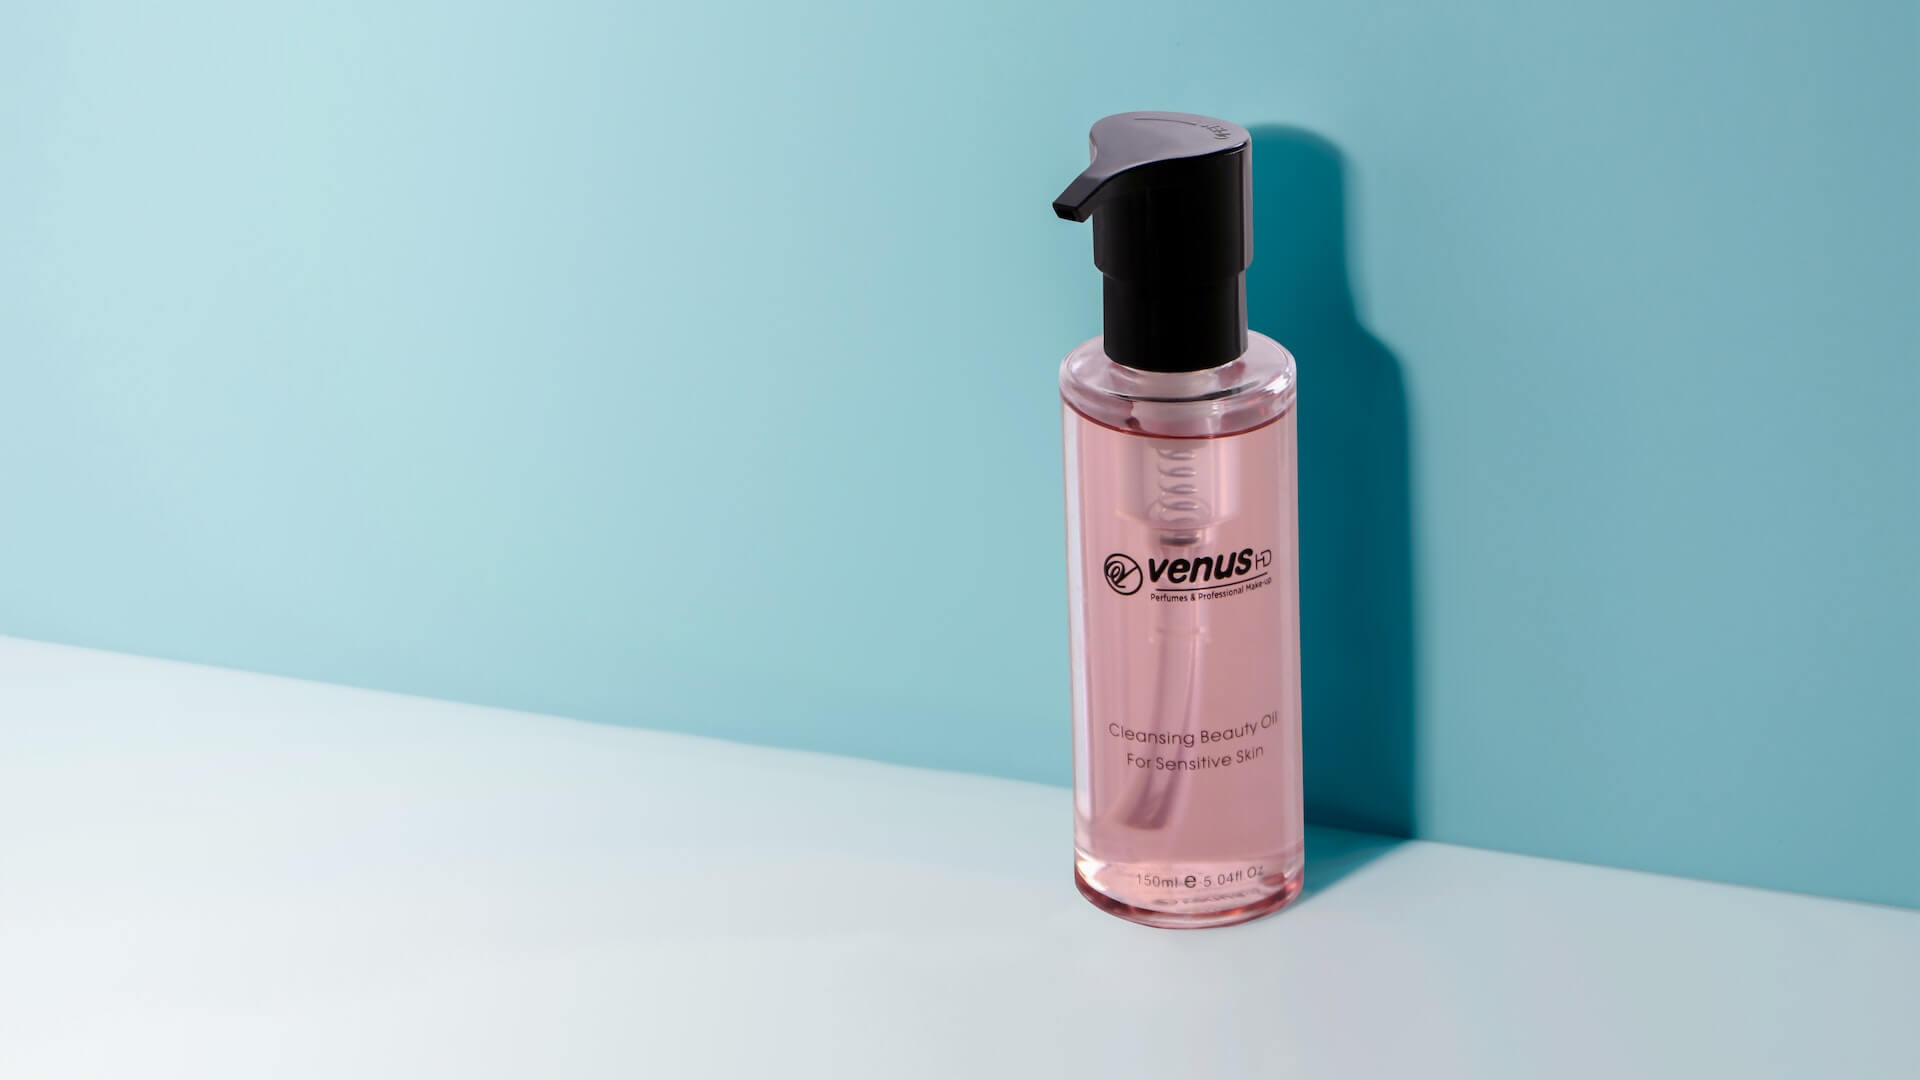
Choosing the right background and props to complement the product
The background and props you select can greatly enhance the overall aesthetic and highlight the unique features of your product.
When selecting a background, consider the style and mood you want to convey. A clean and simple background, such as a plain white or neutral-colored backdrop, can help your product stand out and maintain focus. This minimalist approach works well for most products, especially those that have intricate details or vibrant colors.
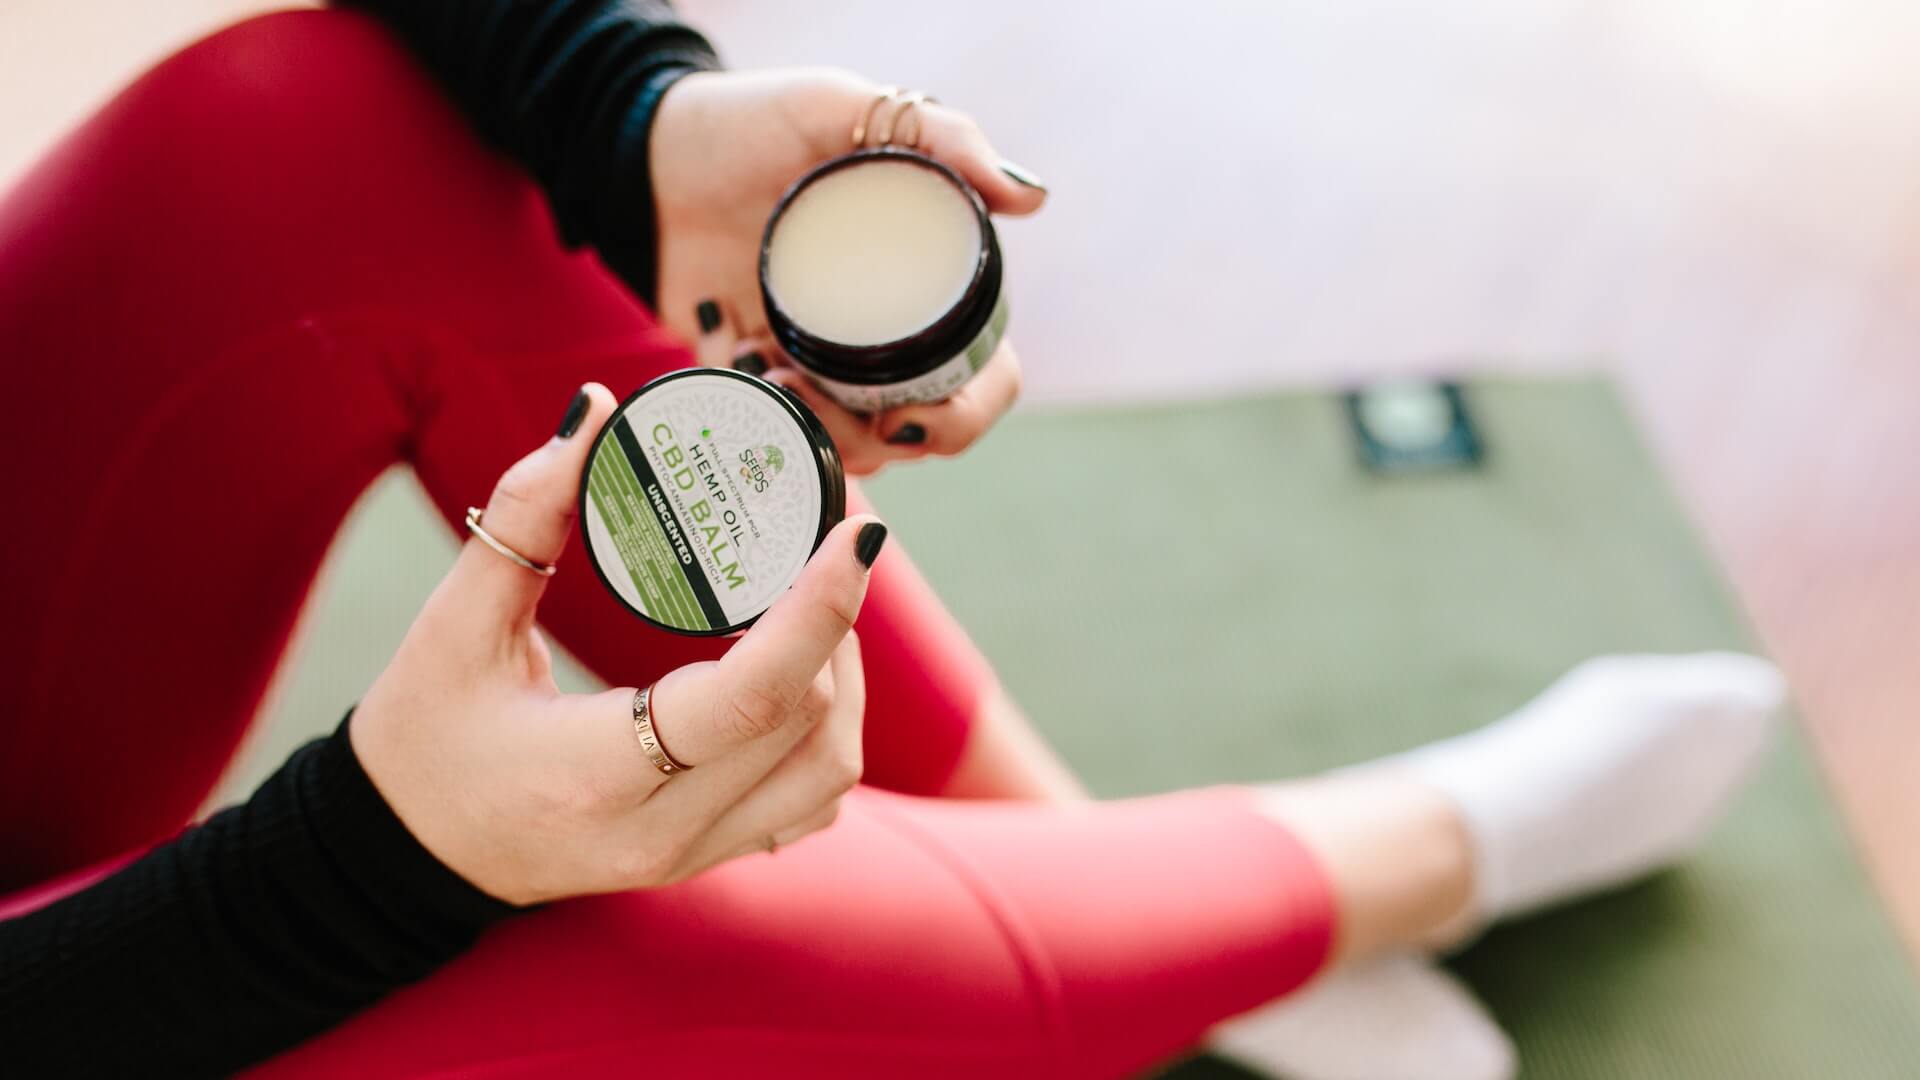
On the other hand, incorporating props can add depth and context to your product photography. Props can help tell a story or create a lifestyle around your product, making it more relatable to your target audience. For example, if you’re selling outdoor camping gear, including a tent, camping stove, and other camping accessories as props can transport your viewers into the camping experience.
However, it’s important to strike a balance and ensure that the props don’t overshadow or distract from the main subject – your product. The props should complement and enhance the product, rather than steal the spotlight.
Consider the color scheme and theme of your product when selecting props. Opt for props that harmonize with your product’s colors and style. For instance, if you’re showcasing a collection of vibrant, tropical-themed swimwear, incorporating beach towels, sunglasses, and tropical fruit as props can create a cohesive and visually appealing composition.
Additionally, pay attention to the texture and materials of both the product and the props. Mixing different textures can add visual interest and create a more dynamic composition. For example, if you’re photographing a luxurious silk scarf, consider including a wooden jewelry box or a velvet cushion as props to add contrast and texture.
Composition and framing tips for visually appealing shots
When it comes to product photography, composition and framing play a crucial role in capturing visually appealing shots that grab attention and showcase your products in the best possible way. Here are some tips and tricks to help you master the art of composition and framing in product photography.
1. Rule of Thirds:
One of the fundamental principles of composition is the rule of thirds. Imagine dividing your frame into a 3×3 grid, and place your main subject or points of interest along these gridlines or at their intersections. This creates a visually balanced and pleasing composition.
2. Negative Space:
Don’t be afraid of empty spaces in your composition. Negative space can provide breathing room for your product, allowing it to stand out and creating a sense of elegance and simplicity. Experiment with different amounts of negative space to find the right balance.
3. Leading Lines:
Utilize leading lines within your composition to guide the viewer’s eye towards your product. These can be actual lines or shapes within the frame that naturally lead the eye towards the main subject. This technique adds depth and visual interest to your shot.
4. Symmetry and Patterns:
If your product has symmetrical elements or is part of a pattern, make use of it in your composition. Symmetry creates a sense of harmony and balance, while patterns can add a dynamic and visually captivating element to your shot.
5. Depth and Layering:
To create a sense of depth in your photos, consider incorporating elements in the foreground, middle ground, and background. This can be achieved by using props, textures, or differentiating the focus and sharpness levels. Layering adds dimension and visual interest to your composition.
6. Framing Techniques:
Experiment with different framing techniques to add context and tell a story about your product. This can include using props, capturing close-ups of textures or details, or incorporating elements that reflect the product’s purpose or lifestyle
Product styling techniques to make your products stand out
The way you present your products can significantly impact the perception of their quality and desirability. Here are some effective product styling techniques that can elevate your photography game:
1. Focus on the details:
Highlight the unique features and intricate details of your products by using close-up shots. Zoom in on textures, patterns, and intricate designs to create visually compelling images that evoke curiosity and captivate your audience.
2. Create a cohesive theme:
Develop a consistent visual style that aligns with your brand and product offerings. This can be achieved through the use of consistent backgrounds, props, and color palettes. A cohesive theme not only makes your product images visually appealing but also reinforces your brand identity.
3. Utilize props strategically:
Props can be used to enhance the story or concept behind your products. Choose props that complement your products and help convey their purpose or lifestyle. For example, if you’re selling kitchenware, you can include fresh ingredients or cooking utensils to create a sense of context and usage.
4. Play with lighting:
Lighting is a key element in product photography. Experiment with different lighting setups, such as natural light, studio lighting, or a combination of both, to achieve the desired mood and highlight the product’s features. Soft diffused light can create a gentle and flattering effect, while dramatic lighting can add depth and create a captivating atmosphere.
5. Showcase product variations and versatility:
If your products come in different colors, sizes, or styles, show them off! Displaying product variations together can give customers a comprehensive understanding of their options and help them visualize how the product can fit into their lives.
6. Incorporate lifestyle elements:
Depicting your products in real-life situations or settings can help customers envision themselves using or benefiting from them. Consider showcasing your products in action or incorporating elements that reflect the lifestyle and aspirations of your target audience.
Post-processing and editing tips for professional-looking images
Once you’ve captured your product shots, the next step to take them to the next level is post-processing and editing. This is where you can enhance the visual appeal, correct any imperfections, and create a consistent and professional look for your images.
First and foremost, invest in a good photo editing software. There are several options available, ranging from beginner-friendly to advanced professional tools. Find one that suits your needs and spend time familiarizing yourself with its features and functions.

When it comes to editing product photos, there are a few key areas to focus on. Start by adjusting the exposure, brightness, and contrast to ensure a balanced and well-lit image. Be careful not to overdo it, as you want your product to look natural and true to life.
Next, consider the color balance and saturation. Adjusting these settings can help make your product stand out and appear more vibrant. Pay attention to any color casts or inconsistencies and use the appropriate tools to correct them.
Sharpening is another important step in the editing process. It can help bring out the details and make your product look crisp and clear. Be careful not to over-sharpen, as it can lead to unwanted artifacts or a fake-looking appearance.
Don’t forget about cropping and straightening your images. This can help eliminate any distractions and create a clean and focused composition. Experiment with different cropping ratios to find the one that works best for showcasing your product.
Lastly, consider adding a watermark or logo to your images. This not only helps protect your work but also reinforces your brand identity. Keep it subtle and strategically placed so that it doesn’t distract from the main subject.
Showcasing your product photography on different platforms and channels
Once you have created stunning product photographs, it’s time to showcase them on various platforms and channels to maximize their visibility and reach. This will help attract potential customers and increase the chances of converting them into buyers.
One of the most obvious platforms to showcase your product photography is your own website. Utilize high-resolution images that highlight the details and features of your products. Make sure to optimize the images for web viewing, ensuring fast loading times without compromising on quality. Organize your product images into relevant categories and create visually appealing galleries or slideshows to engage visitors.
Social media platforms are also powerful channels for displaying your product photography. Each platform has its own visual requirements, so be sure to understand the optimal image dimensions and formats for each. Craft visually appealing posts and captions that reflect your brand’s style and message. Consider using relevant hashtags and engaging with your audience by responding to comments and messages.
In addition to your website and social media, consider utilizing online marketplaces and e-commerce platforms to showcase your product photography. These platforms often have large user bases and established customer trust, providing an opportunity to reach a wider audience. Optimize your product listings with compelling images, detailed descriptions, and relevant keywords to improve search visibility and attract potential buyers.
Don’t forget about offline channels as well. If you have physical stores or participate in trade shows or exhibitions, print high-quality images to display your products. Invest in professionally designed marketing materials such as brochures, catalogs, or flyers that feature your captivating product photography. These tangible materials can leave a lasting impression on potential customers and drive them to explore your online presence.
Remember, consistency is key across all platforms and channels. Maintain a cohesive visual style and ensure that your product photography aligns with your brand identity. Regularly update and refresh your images to keep your content relevant and engaging.
Common mistakes to avoid in product photography
When it comes to product photography, avoiding common mistakes is essential to ensure that your shots turn out stunning and showcase your products in the best light possible. Here are some mistakes you should steer clear of:
1. Poor lighting:
Using improper lighting can result in dull and unappealing product images. Avoid harsh shadows or uneven lighting by investing in proper lighting equipment or utilizing natural light sources effectively. Experimenting with different lighting setups can help you achieve the desired results.
2. Cluttered backgrounds:
A cluttered or distracting background can take away the focus from your product. Keep the background simple, clean, and uncluttered to let your product take center stage. Consider using a plain backdrop or a complementary setting that enhances the product’s aesthetic appeal.
3. Incorrect product positioning:
The way you position your product can greatly impact its visual impact. Avoid awkward angles or unflattering compositions. Instead, showcase the product from its best angles and highlight its unique features. Experiment with different angles and compositions to find the most visually appealing arrangement.
4. Lack of attention to details:
Paying attention to small details can make a significant difference in product photography. Ensure that your product is free from dust, fingerprints, or any imperfections. Take the time to clean and prepare your product before shooting to capture it in its best condition.
5. Overediting or excessive filters:
While post-processing can enhance your images, it’s important not to overdo it. Avoid excessive editing or applying heavy filters that distort the true representation of your product. Keep the editing minimal and focus on enhancing the product’s natural beauty.
Conclusion
Capturing stunning shots of your products is essential for attracting customers and driving sales. By following the tips and tricks we shared, you can elevate your photography skills to a professional level. Remember to practice, experiment with different techniques, and always strive for creativity. We can’t wait to see the beautiful and captivating product photos you’ll create with these newfound skills. Happy shooting!

