

Photography is a wonderful way to capture the beauty of the world around us. One of the most magical moments for photographers is the golden hour, also known as the magic hour. This is the time just after sunrise and just before sunset when the sun is low in the sky, casting a beautiful golden glow on everything it touches. During this time, the light is soft, warm, and flattering, making it the perfect time for photography. It’s a time when even the most mundane subjects can be transformed into something breathtakingly beautiful. In this blog post, we will share with you tips and tricks for mastering the magic hour and capturing the beauty of this time in your photography. From understanding the science behind the light, to choosing the right equipment and settings, you’ll learn everything you need to know to create stunning images during the golden hour.
Understanding the golden hour and its characteristics
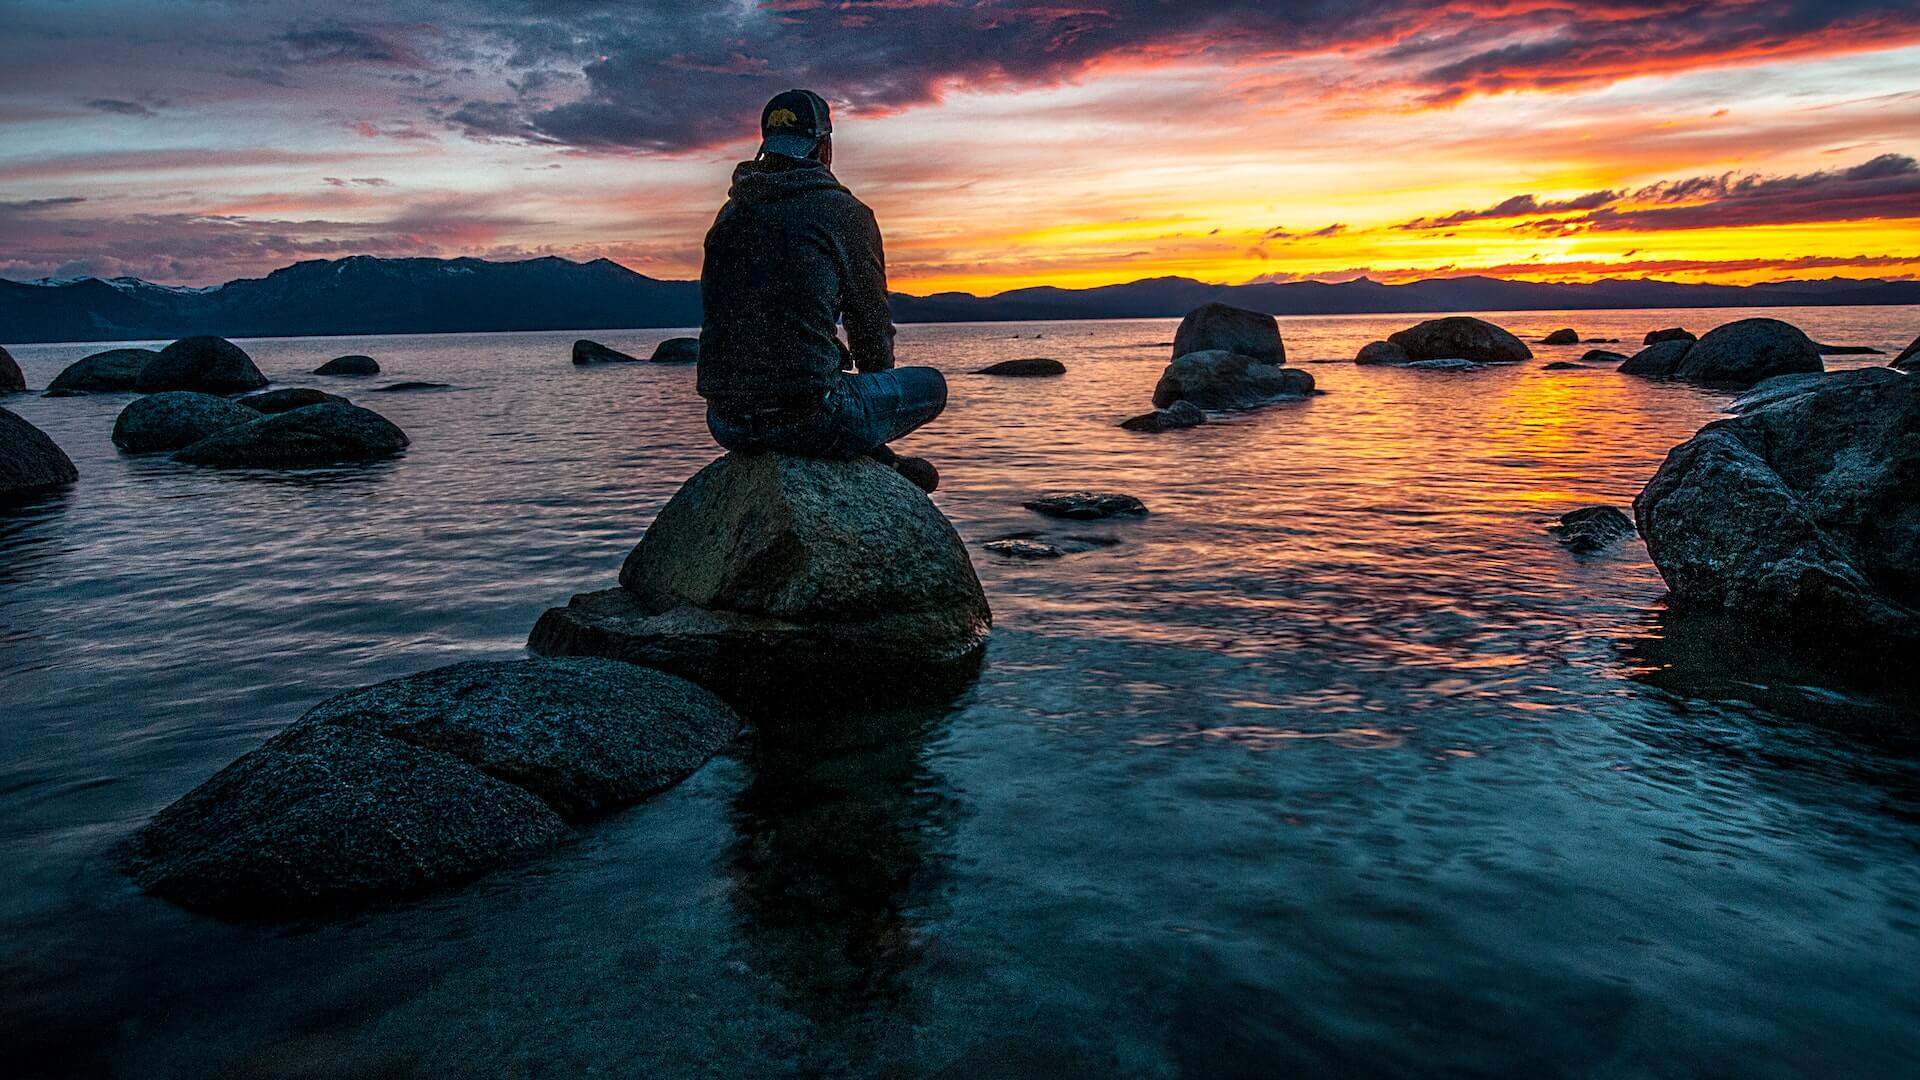
Understanding the golden hour and its characteristics is essential for any photographer looking to capture the breathtaking beauty of this magical time. The golden hour refers to the period shortly after sunrise or before sunset when the sun is low in the sky, casting a warm and soft golden light over the landscape.

During this time, the angle of the sun creates long and dramatic shadows, adding depth and dimension to your images. The warm golden light also enhances the colors, making them appear more vibrant and saturated. This unique lighting creates a magical atmosphere that can transform an ordinary scene into something extraordinary.
One of the key characteristics of the golden hour is its fleeting nature. It only lasts for a short period, usually around an hour, hence the name. This means that you need to plan your photography sessions accordingly and be prepared to make the most of this limited time window.
Another important aspect to consider is the direction of the light. During the golden hour, the sun is positioned lower in the sky, which creates a softer and more flattering light compared to the harsh midday sun. The light also comes from a more oblique angle, resulting in longer shadows and interesting patterns.
To make the most of the golden hour, it’s crucial to scout locations in advance and understand how the light interacts with the surroundings. Pay attention to the way the light falls on different elements, such as trees, buildings, or bodies of water, as this can create stunning silhouettes or reflections.
In addition to its aesthetic appeal, the golden hour also offers practical advantages for photographers. The soft, warm light reduces the risk of harsh highlights and shadows, making it easier to achieve a well-balanced exposure. It also allows for greater flexibility in terms of shooting angles and compositions, as the even lighting can flatter subjects from various perspectives.
Planning for the golden hour shoot: location scouting and timing
Planning for a golden hour shoot requires careful consideration of location scouting and timing. The golden hour, also known as the magic hour, refers to the brief period of time just after sunrise or before sunset when the lighting is soft, warm, and diffused, creating a captivating and ethereal atmosphere for photography.
First and foremost, it is crucial to choose the right location for your golden hour shoot. Look for places that offer interesting backdrops, such as scenic landscapes, urban cityscapes, or even architectural elements that can add depth and interest to your photos. Consider the natural elements present, such as water bodies, mountains, or foliage, as they can enhance the overall composition and create a harmonious visual experience.
Scout your chosen location beforehand to familiarize yourself with the surroundings. Take note of any potential obstacles or factors that may affect the lighting conditions, such as tall buildings or trees that could cast unwanted shadows. Additionally, consider the accessibility of the location for yourself and your equipment, ensuring a smooth and hassle-free experience during the shoot.
Timing is key when it comes to capturing the perfect golden hour shots. Plan your shoot well in advance, taking into account the time of sunrise or sunset in your specific location. There are various smartphone apps and online tools available that can provide accurate information about the golden hour timings based on your geographical location. Arriving early at the location will allow you to set up your equipment, compose your shots, and fully immerse yourself in the magical ambiance that unfolds during this time.
Remember that the golden hour is relatively short, usually lasting about an hour or less, so it’s essential to be prepared and make the most of this precious window of opportunity. Keep in mind that the quality and intensity of the golden light can change rapidly, creating different moods and atmospheres. Experiment with different angles, compositions, and subjects to fully capture the beauty and essence of the golden hour in your photography.
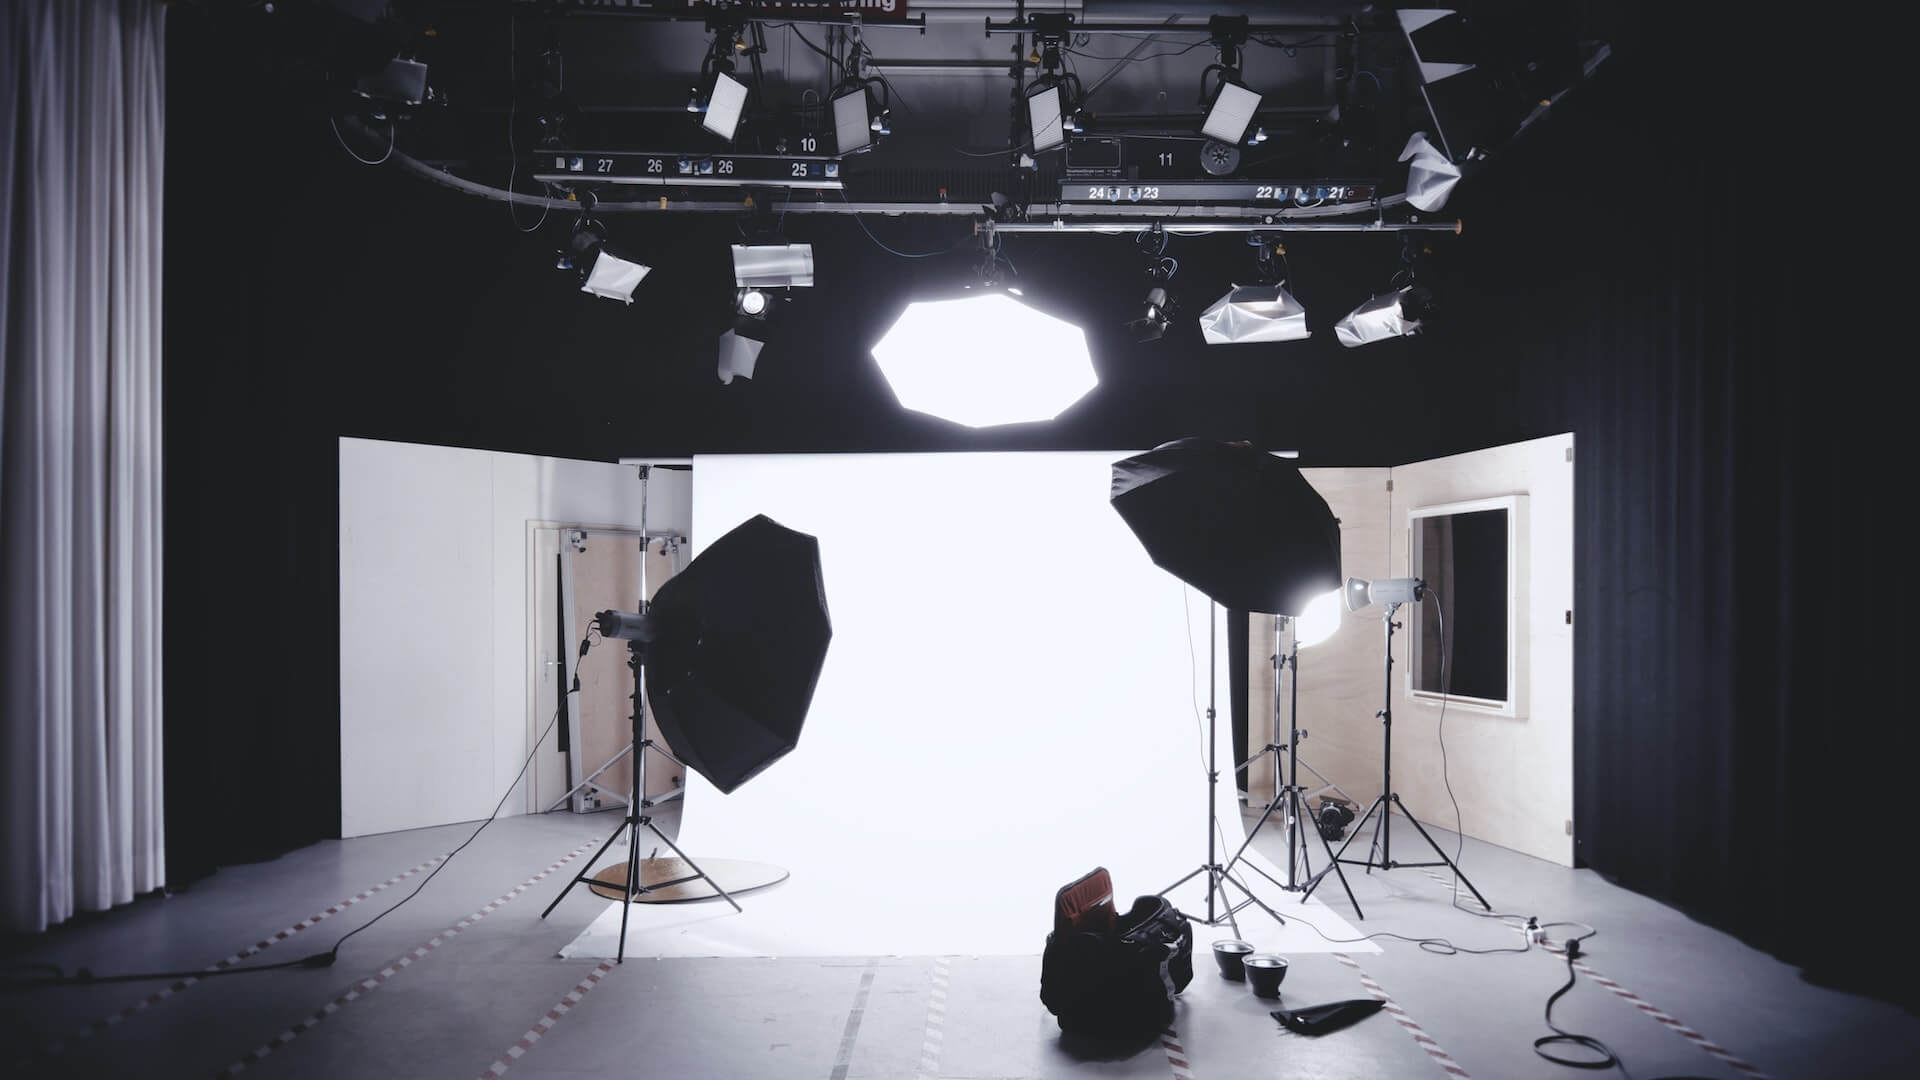
Essential equipment and camera settings for capturing the magic hour
First and foremost, you’ll need a reliable camera with manual controls, such as a DSLR or mirrorless camera, to have complete control over your settings. These types of cameras allow you to adjust the exposure, aperture, and shutter speed to capture the golden hour’s unique qualities.
In terms of lenses, a wide-angle lens or a standard zoom lens is often preferred during the golden hour. Wide-angle lenses can help you capture the expansive landscapes and gorgeous skies that are often associated with this time of day. On the other hand, a standard zoom lens can give you more versatility to frame various subjects and compositions.
Now, let’s dive into the camera settings. Shooting in manual mode is highly recommended to have full creative control. Start by setting a low ISO, such as 100 or 200, to ensure minimal noise in your images. Since the golden hour offers ample natural light, you can also select a smaller aperture, like f/8 or higher, to achieve a greater depth of field and keep more elements in focus.
As for the shutter speed, it will depend on the specific scene and motion you want to capture. If you’re photographing a stationary landscape, you can opt for a slower shutter speed to capture the soft, dreamy movement of the golden hour light. However, if you’re photographing moving subjects, such as people or wildlife, you may need to increase the shutter speed to freeze the action.
Be mindful of your white balance settings too. The golden hour light has a warm, golden tone that adds a magical touch to your photos. To preserve this warmth, you can manually set your white balance to “cloudy” or “shade” mode, or even experiment with the “golden hour” or “sunset” presets if your camera offers them.
Lastly, consider using a tripod to ensure stability and sharpness in your images, especially if you’re using slower shutter speeds. This will help you avoid any unwanted camera shake and allow you to capture the intricate details and rich colors of the golden hour.
Techniques for composing stunning golden hour photographs
When it comes to capturing the beauty of the golden hour in photography, mastering the art of composition is key. The golden hour, that magical time just after sunrise or before sunset, offers a soft, warm light that can transform any scene into a breathtaking masterpiece. Here are a few techniques to help you compose stunning golden hour photographs:
1. Rule of Thirds:
One of the fundamental principles of composition, the rule of thirds, can be especially effective during the golden hour. Imagine dividing your frame into a grid of nine equal parts, using two horizontal and two vertical lines. Place your main subject or points of interest along these lines or at their intersections, creating a visually pleasing composition.
2. Leading Lines:
Golden hour light can enhance the impact of leading lines in your photographs. Look for natural or man-made lines like roads, pathways, or even the shoreline that can guide the viewer’s eyes through the image. These lines can add depth and dimension to your composition, leading the viewer towards the main focal point.
3. Silhouettes:
Take advantage of the warm, glowing light during the golden hour by capturing stunning silhouettes. Position your subject in front of the bright sky, allowing their outline to be filled with vibrant colors. Experiment with different poses and angles to create captivating and dramatic silhouettes against the colorful backdrop.
4. Framing:
Utilize natural elements such as trees, archways, or windows to frame your subject during the golden hour. This technique adds depth and layers to your composition, drawing attention to the main focal point while also creating a sense of context and storytelling.
5. Reflections:
Golden hour light beautifully reflects off water surfaces, producing captivating reflections. Look for lakes, rivers, or even puddles to incorporate into your composition. The mirrored image can add a sense of symmetry, tranquility, and visual interest to your photograph.
Utilizing natural light during the golden hour for captivating images
During this time, the quality of light is at its best, with a golden hue that bathes the scene in a warm, diffused glow. The light is softer, more flattering, and creates long, dramatic shadows that add depth and dimension to your images. It’s a photographer’s dream come true.
To make the most of the golden hour, it’s important to plan your shoot in advance. Check the weather forecast and find the exact time when the sun will be at the perfect angle for your desired location. Arrive early to set up your equipment and scout the area for the best compositions.
When shooting during the golden hour, keep in mind that the light changes quickly, so you need to work efficiently. Start by capturing the landscape and the surrounding environment, taking advantage of the warm tones and the beautiful play of light and shadows. Experiment with different angles and perspectives to create unique and visually stunning compositions.
If you’re photographing people or objects, the golden hour light will add a magical touch to your subjects. The warm tones will enhance skin tones and create a romantic, dreamy atmosphere. Encourage your subjects to interact with the environment, capturing candid moments and emotions that are beautifully illuminated by the golden light.
Remember to adjust your camera settings accordingly. Use a wide aperture to achieve a shallow depth of field, allowing your subject to stand out against the soft, dreamy background. Adjust the white balance to retain the warm tones of the golden hour light.
Enhancing the golden hour with creative photography techniques
One technique to enhance the golden hour is silhouettes. By positioning your subject against the radiant backdrop of the setting sun, you can create captivating silhouettes that evoke a sense of mystery and drama. Experiment with different angles and poses to achieve the perfect composition.
Another technique to consider is lens flares. When the sun is low on the horizon, its warm rays can create beautiful flares and streaks of light in your photographs. Embrace these flares and use them to add a whimsical and dreamy atmosphere to your images. Play with different angles and positions to find the most striking effects.

Using reflections is yet another creative way to enhance the golden hour. Look for bodies of water, such as lakes, rivers, or even puddles, to capture the stunning reflection of the sunset. This can add depth and a sense of tranquility to your photographs.
If you’re feeling adventurous, try experimenting with long exposures during the golden hour. This technique involves using a slower shutter speed to capture the movement of elements within your frame, such as waves crashing or clouds drifting. The result can be ethereal and mesmerizing, adding a touch of magic to your golden hour shots.
Lastly, don’t be afraid to get creative with post-processing. Editing software can help you enhance the warm tones and soft lighting that define the golden hour. Experiment with adjusting the saturation, contrast, and warmth of your images to bring out the full beauty of this magical time.
Post-processing tips to bring out the best in golden hour photos
The magic doesn’t end with the click of the shutter. Post-processing plays a crucial role in enhancing the beauty of golden hour photos and bringing out their full potential.
One of the key post-processing techniques for golden hour photos is adjusting the white balance. During this time of day, the light has a warm, golden tone. To enhance this effect, you can slightly increase the temperature in your editing software. This will intensify the warm hues and give your photos that desired golden glow.
Another important aspect to focus on during post-processing is enhancing the contrast and vibrancy of your golden hour photos. By increasing the contrast, you can make the colors pop and create a more dynamic image. Adjusting the vibrancy can further enhance the saturation of the warm tones, making them more vivid and captivating.
Additionally, paying attention to the highlights and shadows can greatly improve the overall look of your golden hour photos. The soft, directional light during this time of day often creates beautiful shadows and highlights. By carefully adjusting the exposure and tonal range, you can bring out the details in both the brighter and darker areas, creating a well-balanced and visually pleasing image.
Furthermore, don’t be afraid to experiment with different creative effects during post-processing. Adding a subtle vignette can draw the viewer’s attention to the central subject, while a touch of clarity or sharpness can enhance the intricate details in the golden hour scene.
Remember, post-processing should be used as a tool to enhance the natural beauty captured during golden hour, rather than overpower it. It’s important to strike a balance between enhancing the colors and details while maintaining the authenticity of the original scene.
Conclusion
The golden hour is a magical time of day when the light is soft, warm, and casts a stunning glow over your subjects. By following the tips and techniques outlined in this post, you can elevate your photography skills and create truly breathtaking images. So grab your camera and head out during the golden hour to capture the enchanting moments that nature offers. Remember, practice makes perfect, so keep experimenting and honing your skills to master the magic hour and create stunning images that leave a lasting impression. Happy shooting!

2 Comments